-
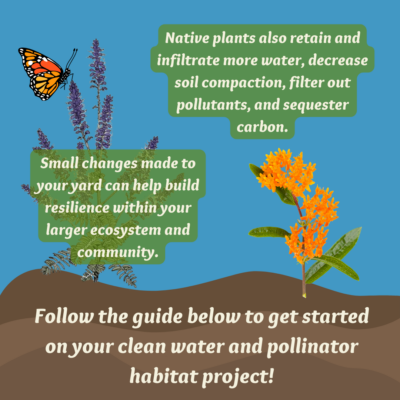
How to Plant for Pollinators & Clean Water
-
How to Plant for Pollinators & Clean Water
-
How to Plant for Pollinators & Clean Water
-
How to Plant for Pollinators & Clean Water
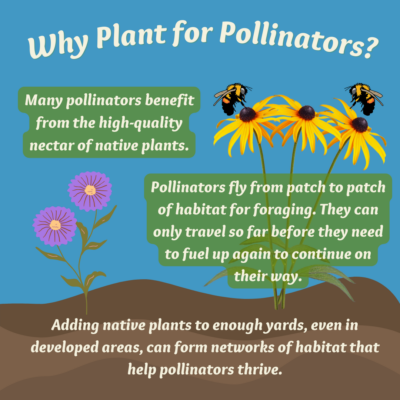
Steps to Plant for Pollinators
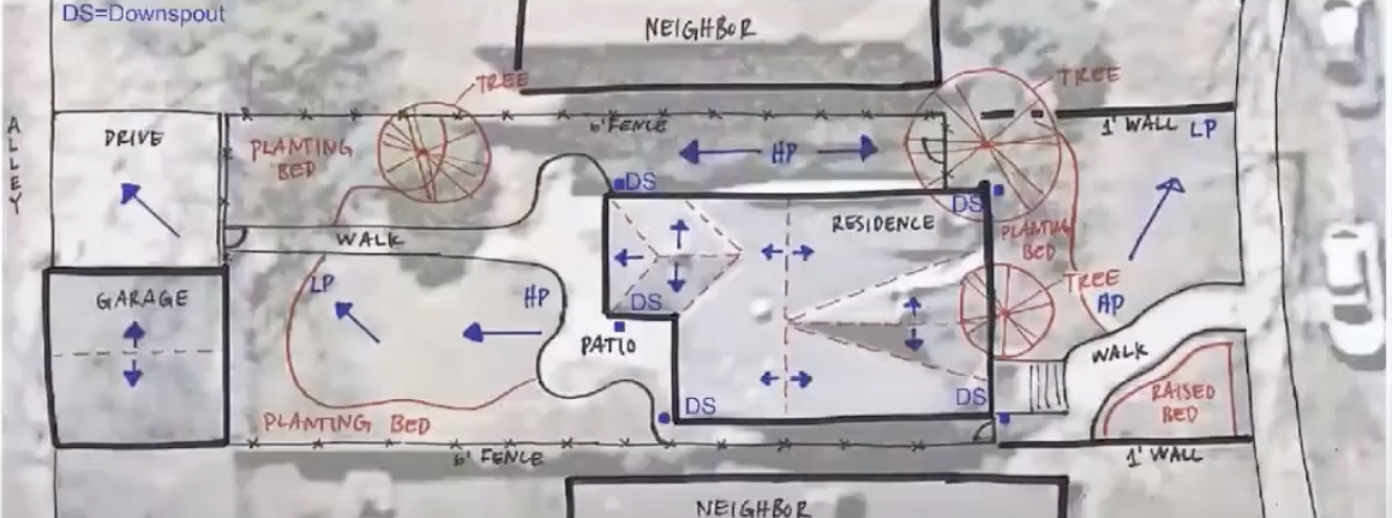 The first and most important step is to assess your yard. What areas of your yard can be used to install a project? How large or small do you want your project to be? Notice where trees and existing landscaping are. Examine the type of soil you have. These are all a part of a site assessment.
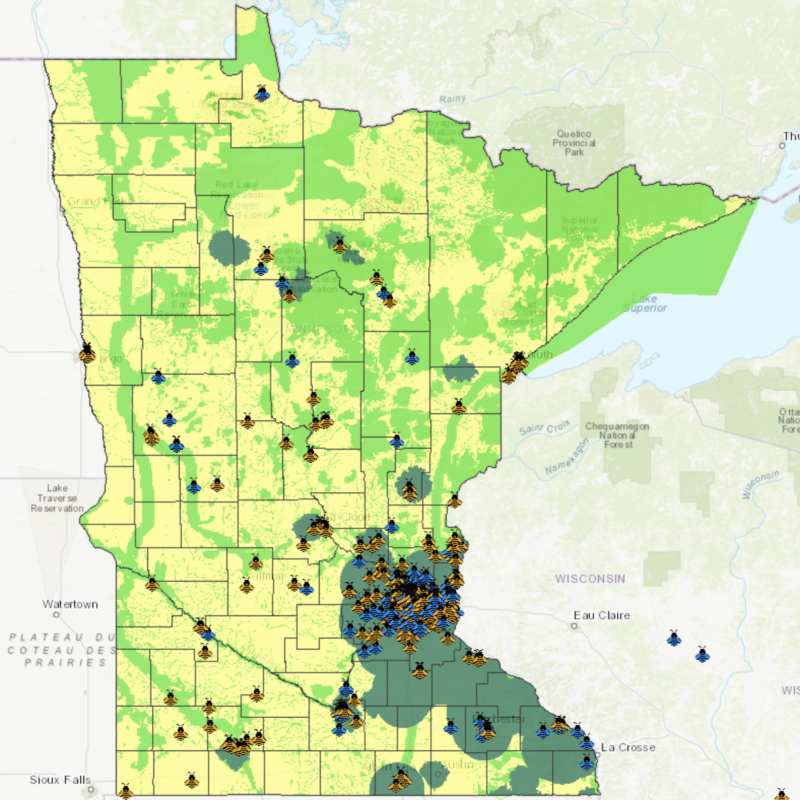
It can also be a valuable exercise to step back and think about where water goes once it leaves your property. Where is the nearest storm drain? Do you know what body of water this storm drain leads to? The Mississippi Watershed Management Organization has a useful Find Your Watershed tool for properties in the Twin Cities area.
You can print a view of your property from your county’s GIS map and draw your site map over it like the image shown to the right.
Step 2: Plan
Choose a project type and location.
Explore the project types below to see what best suits your goals and space:
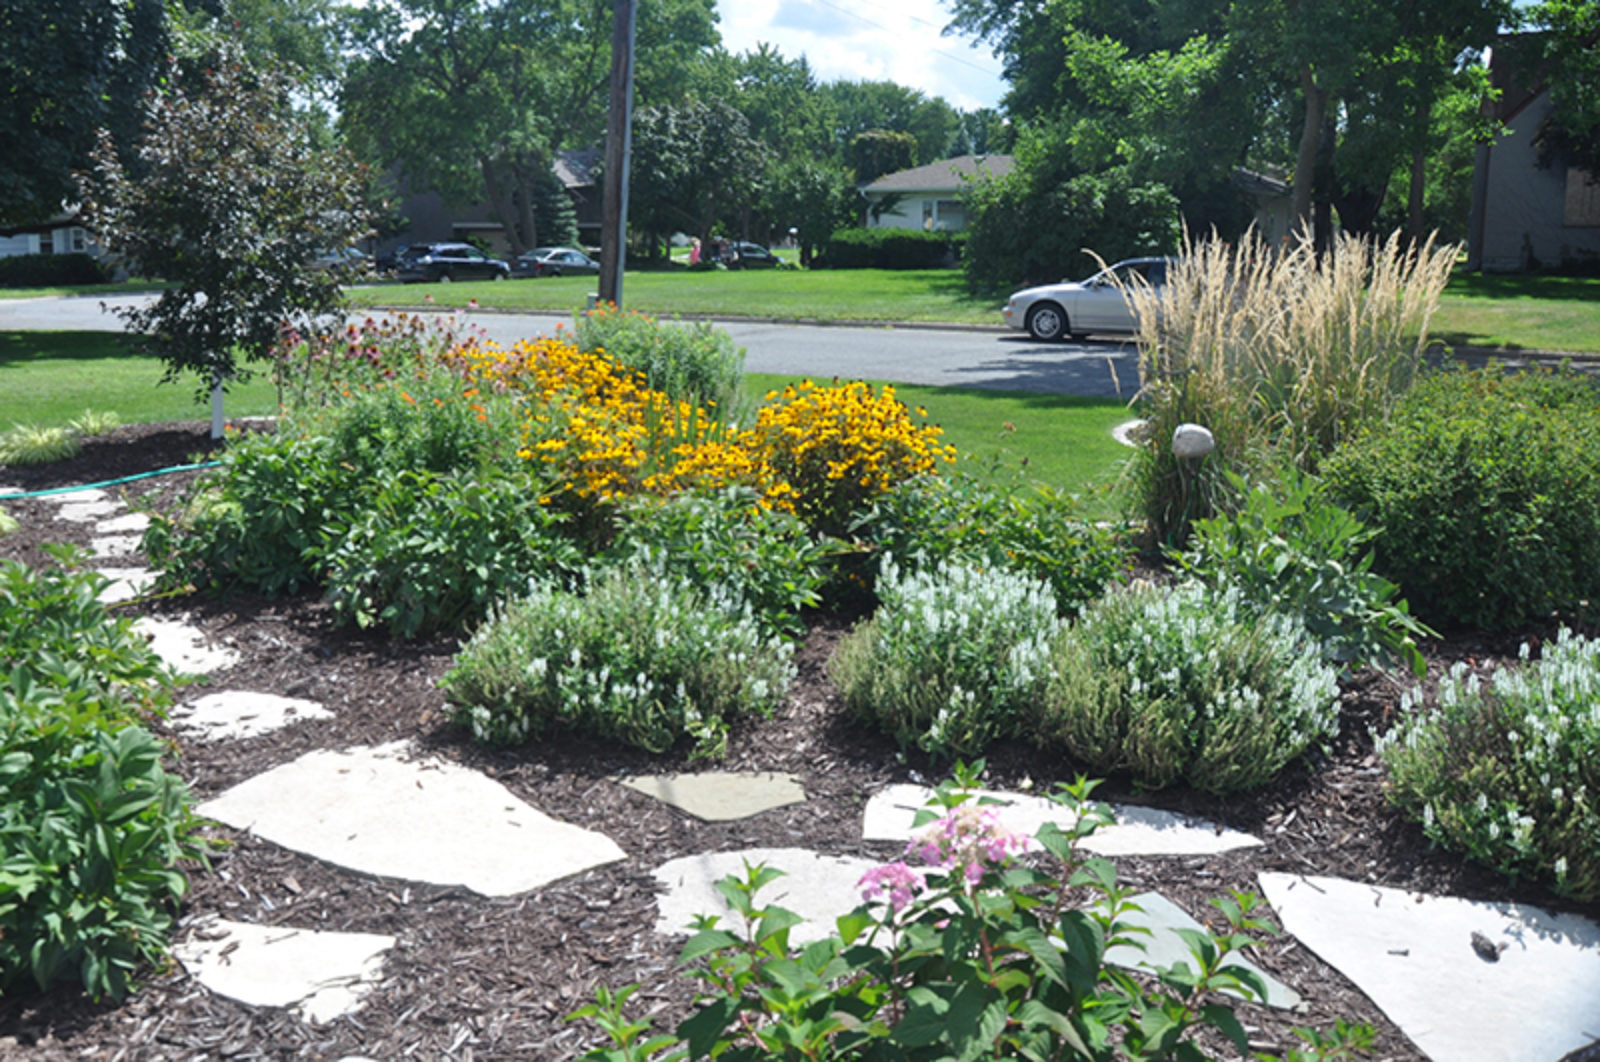
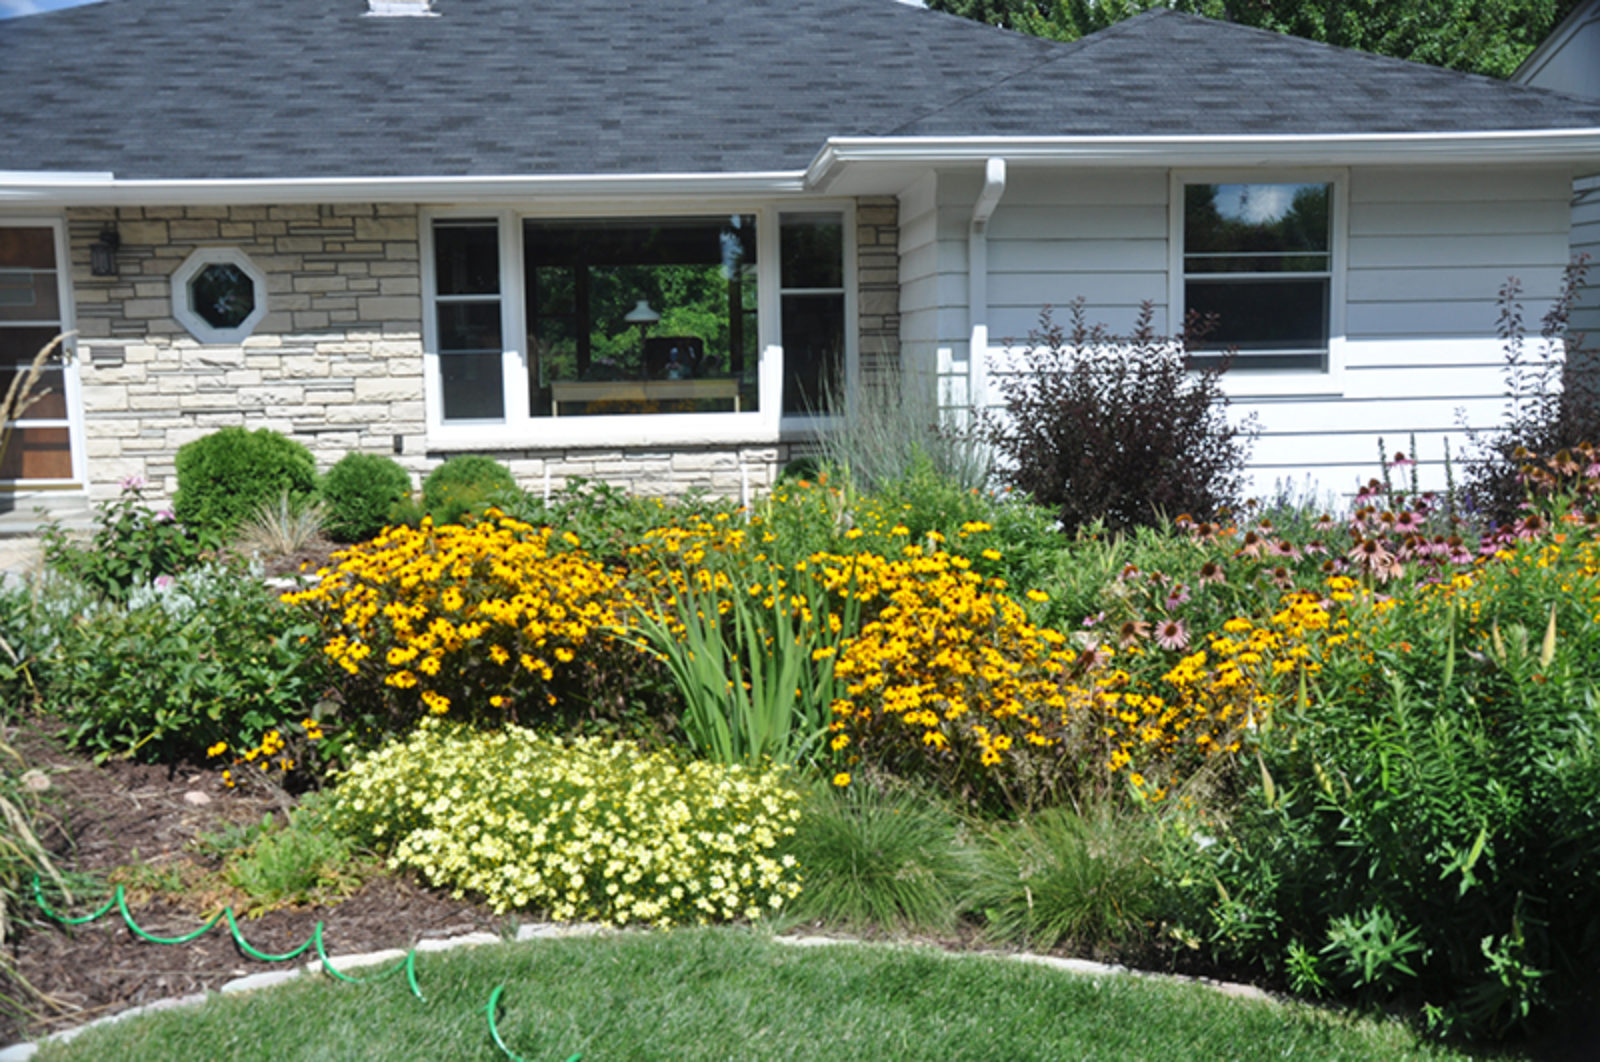
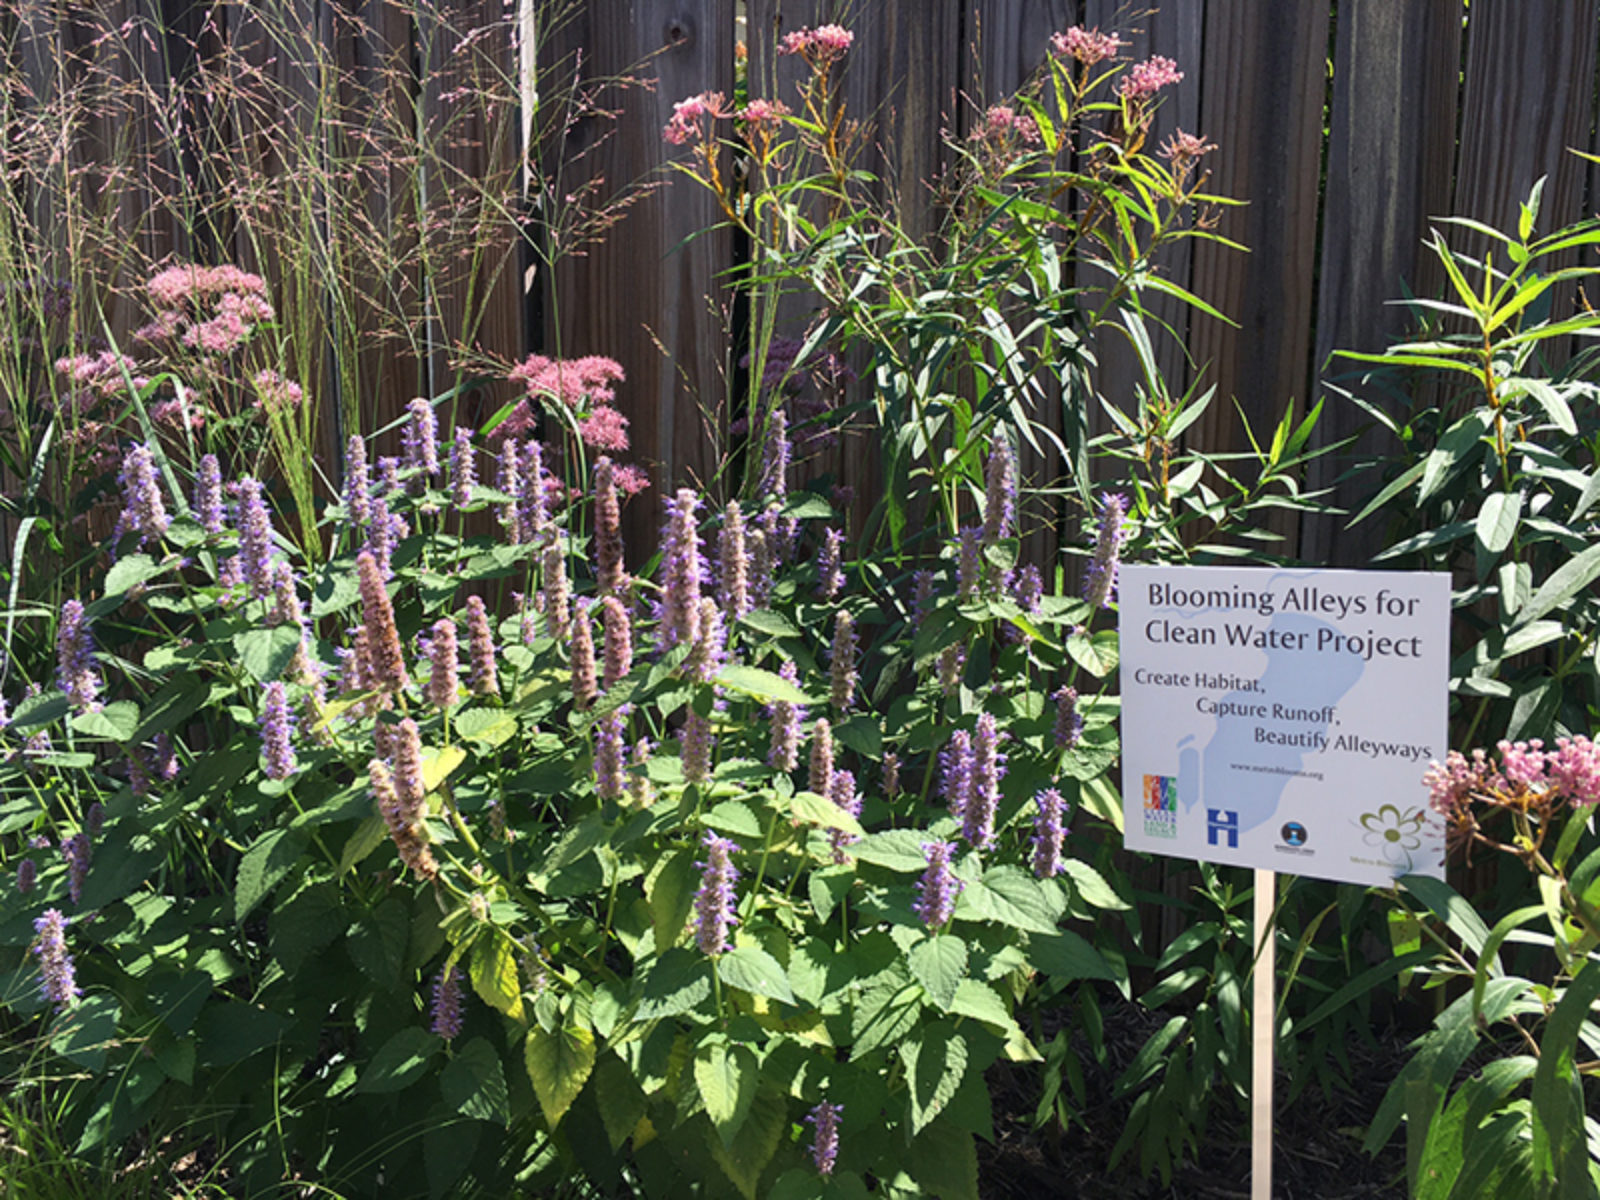
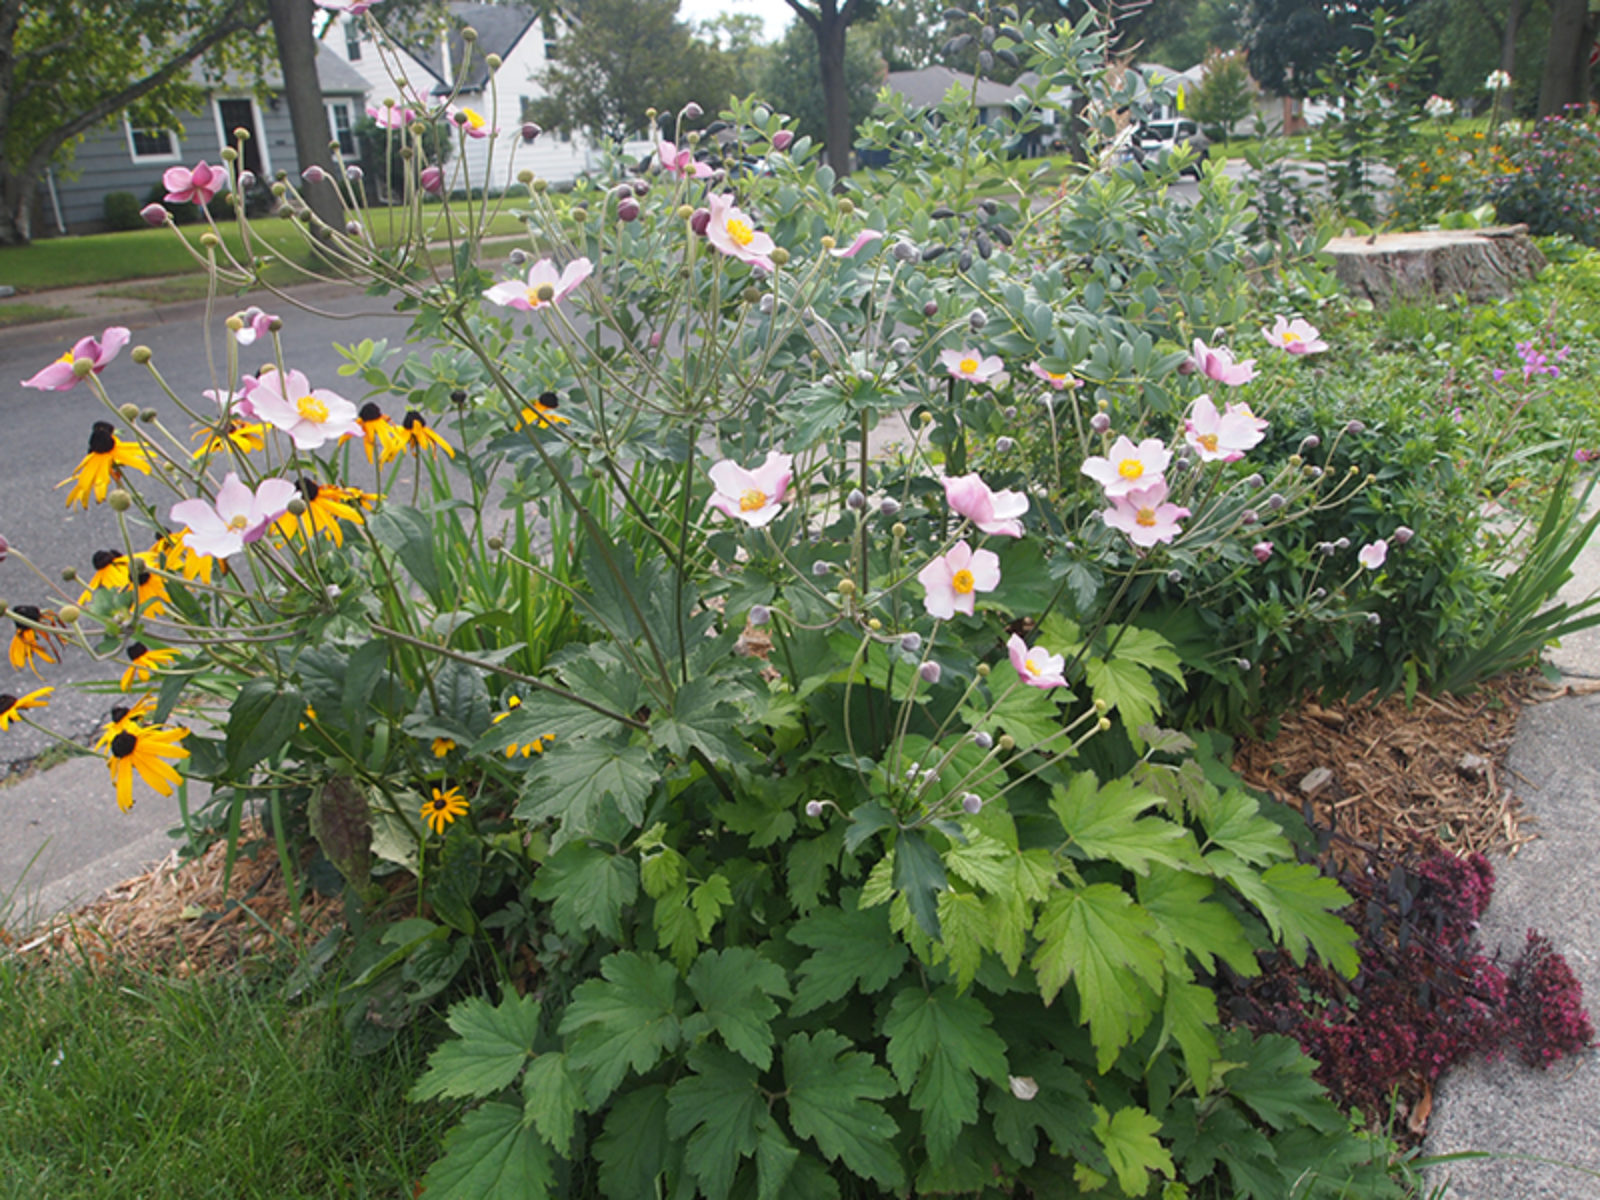
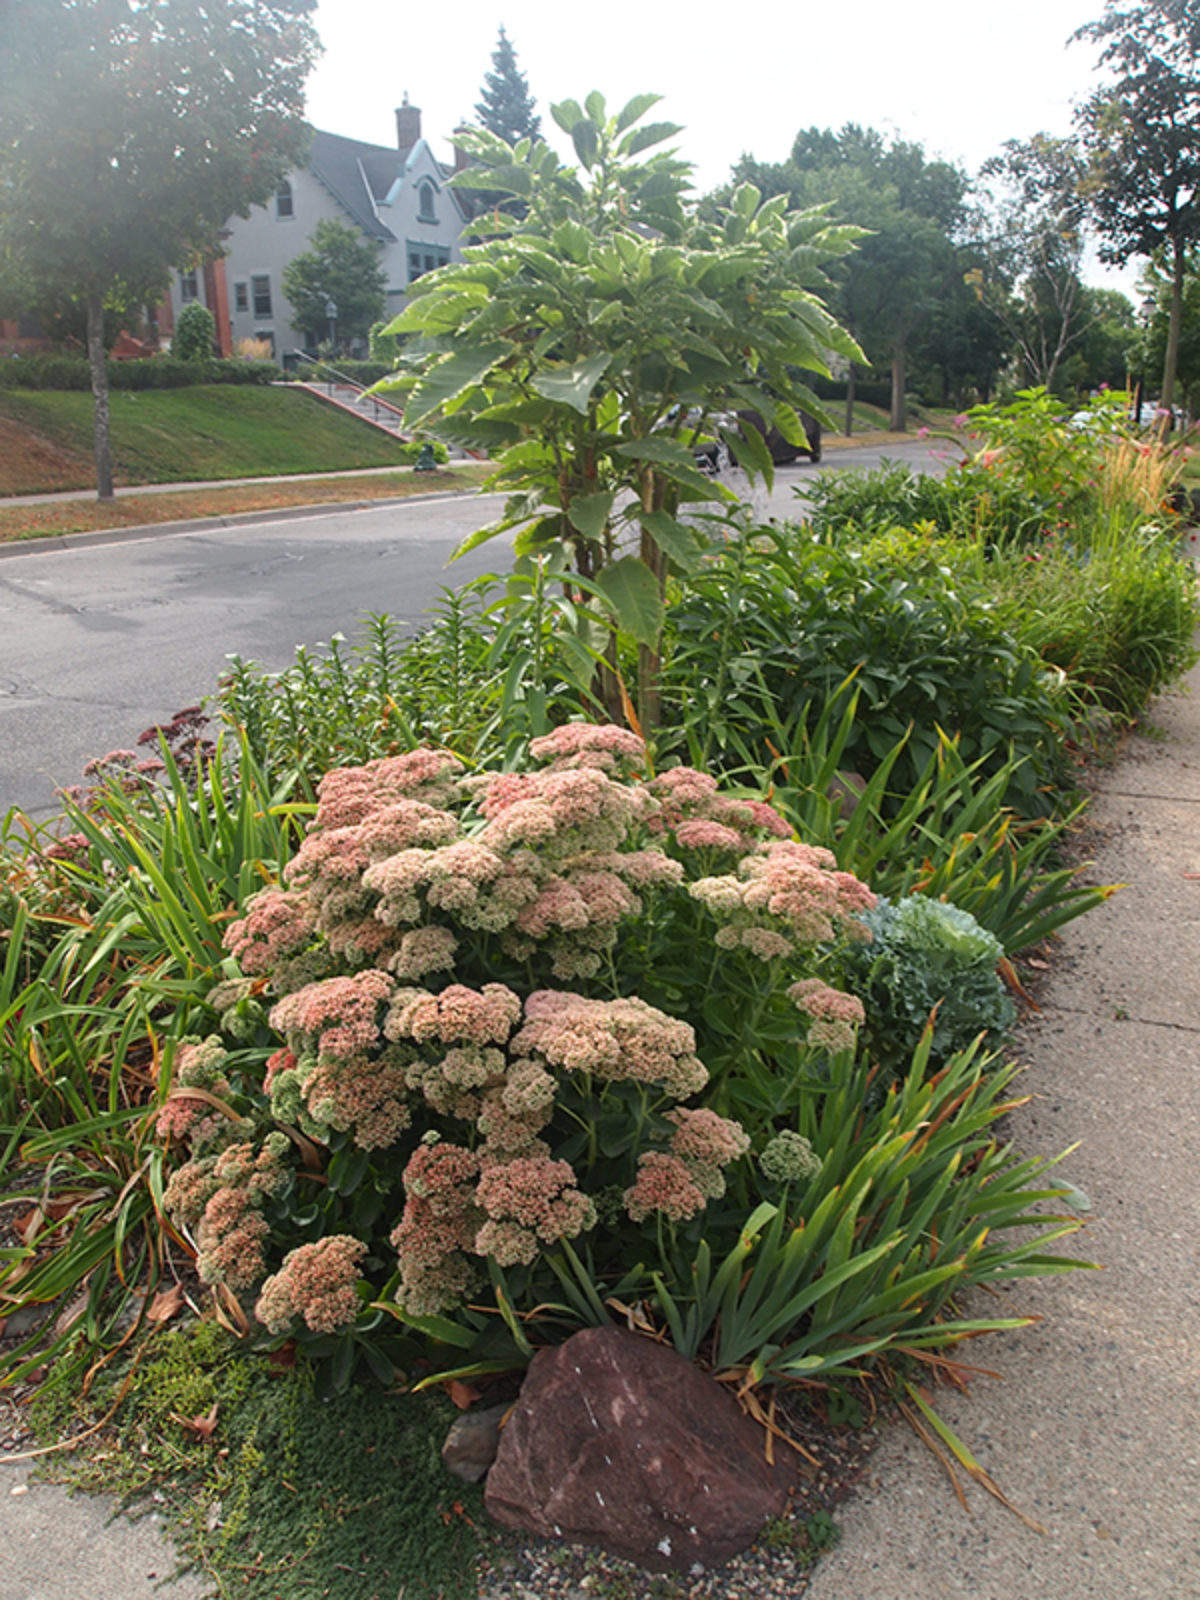
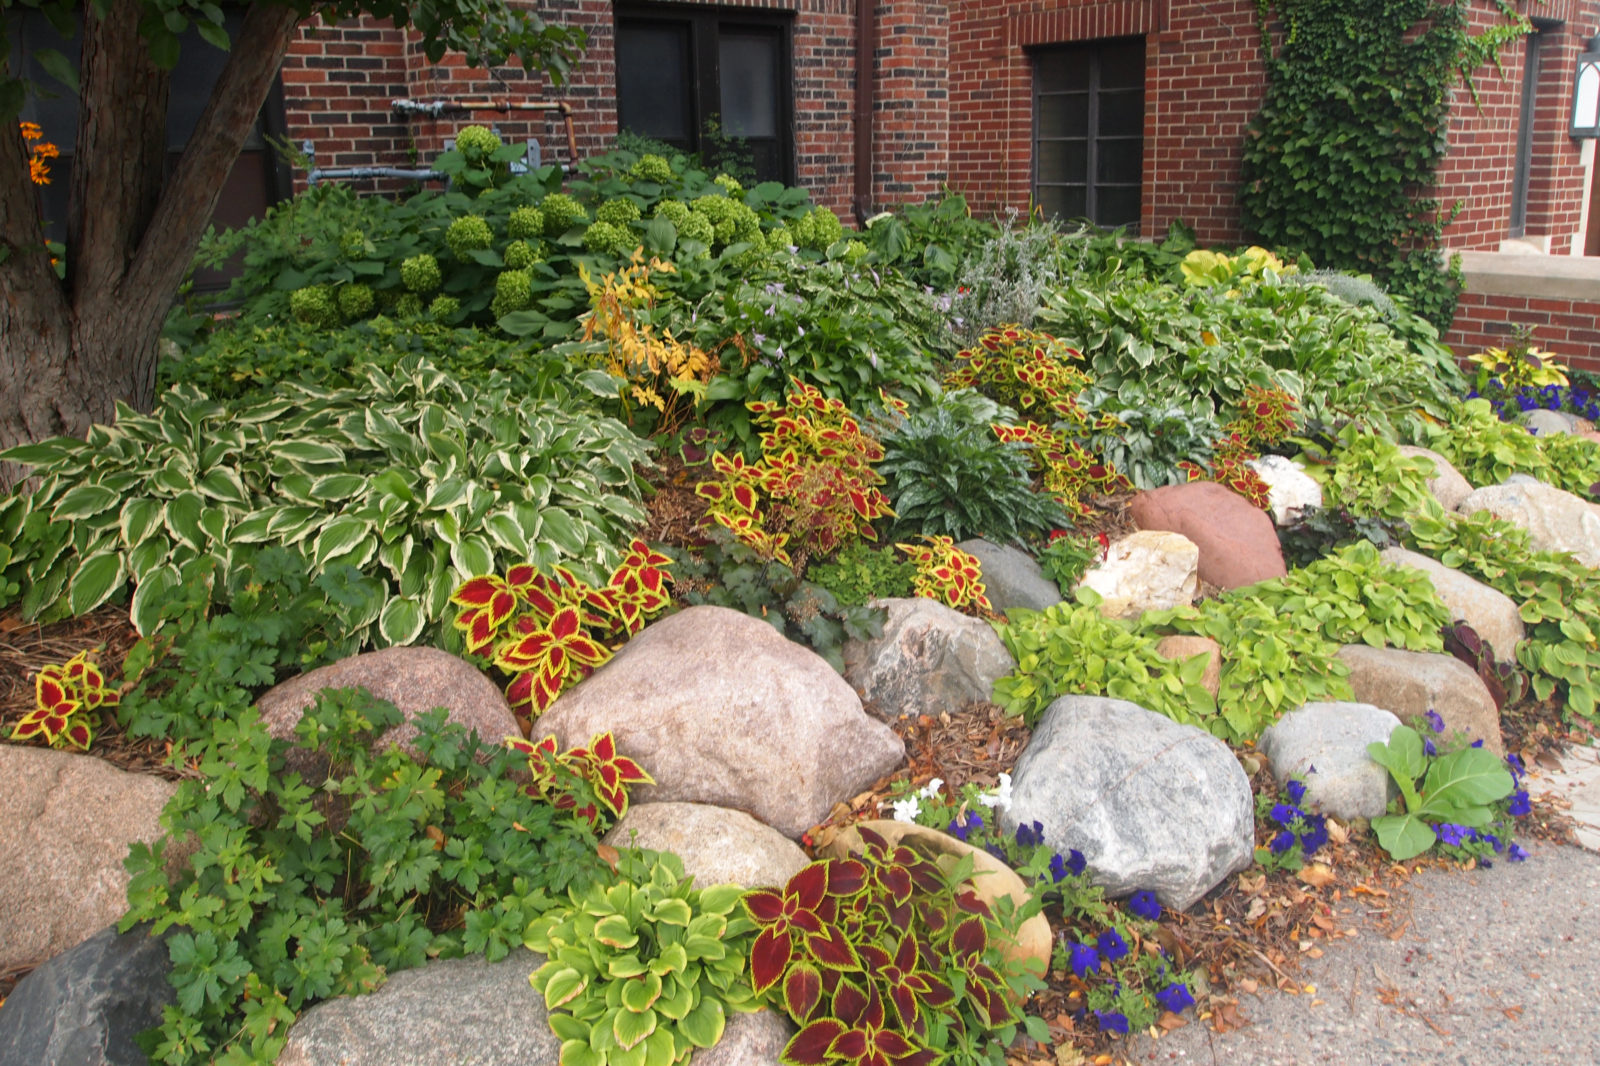
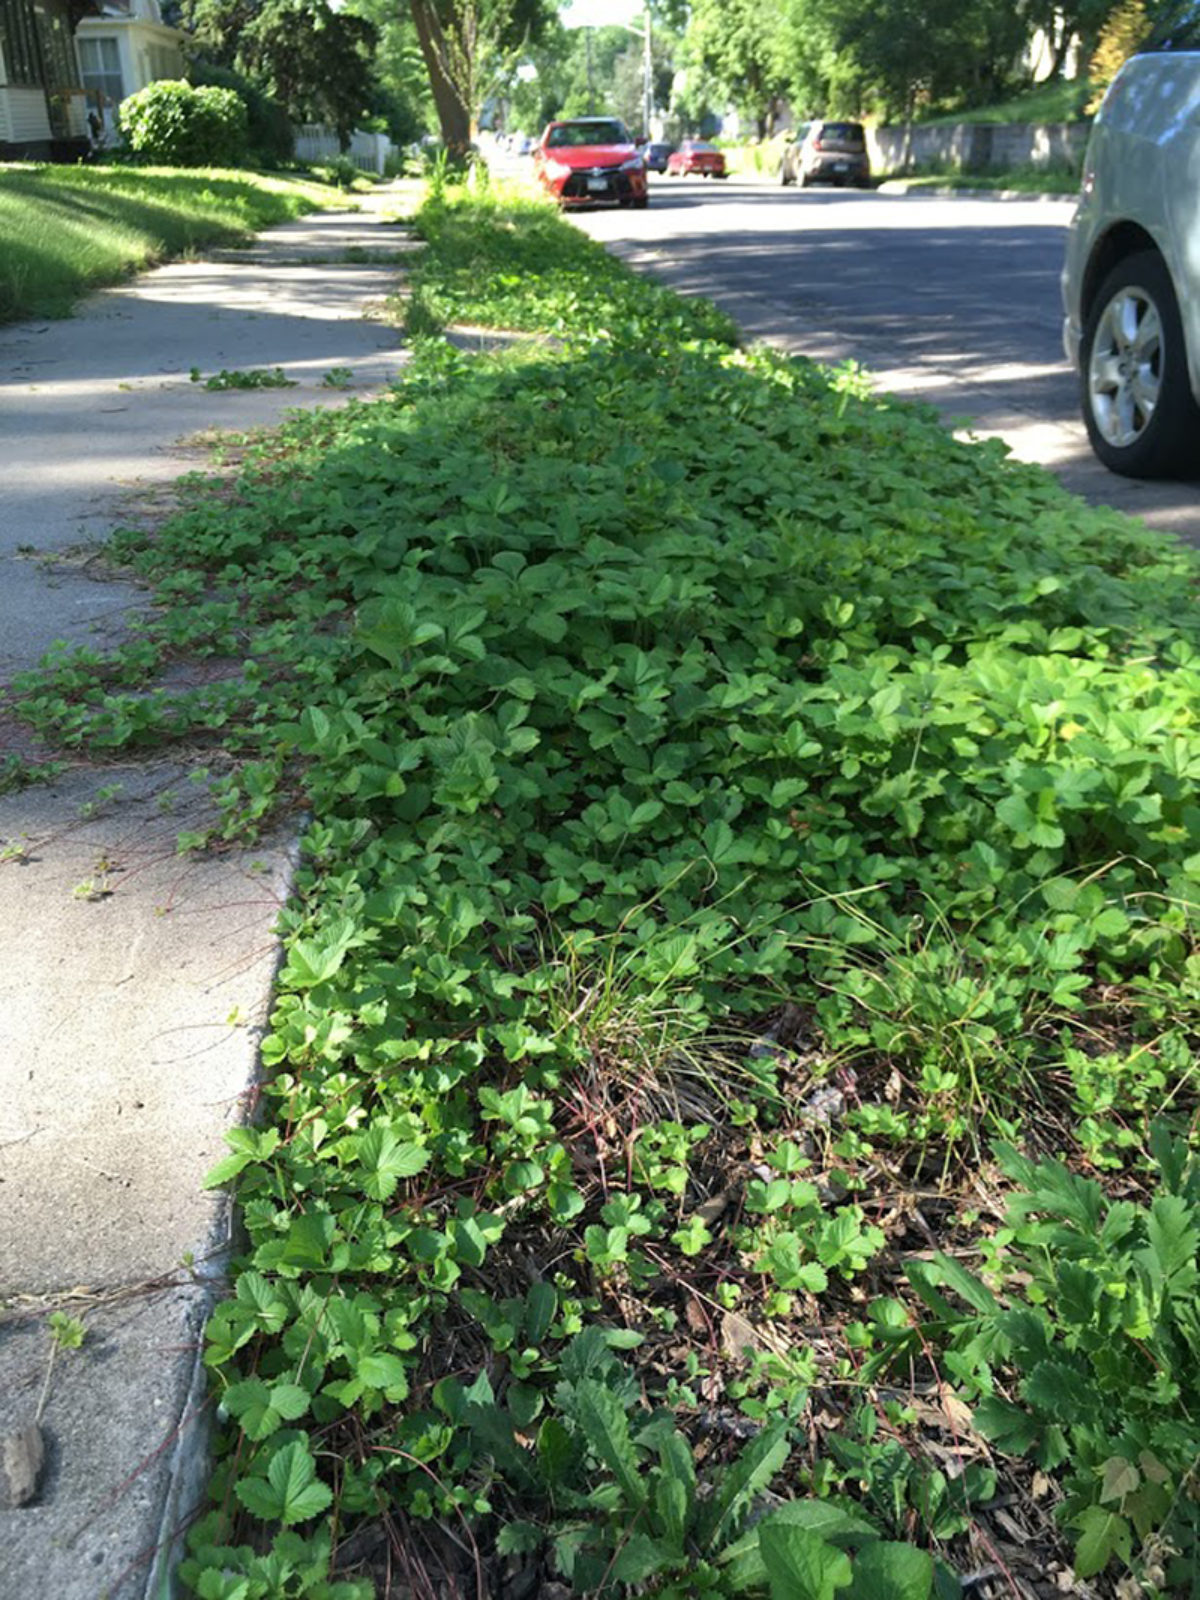
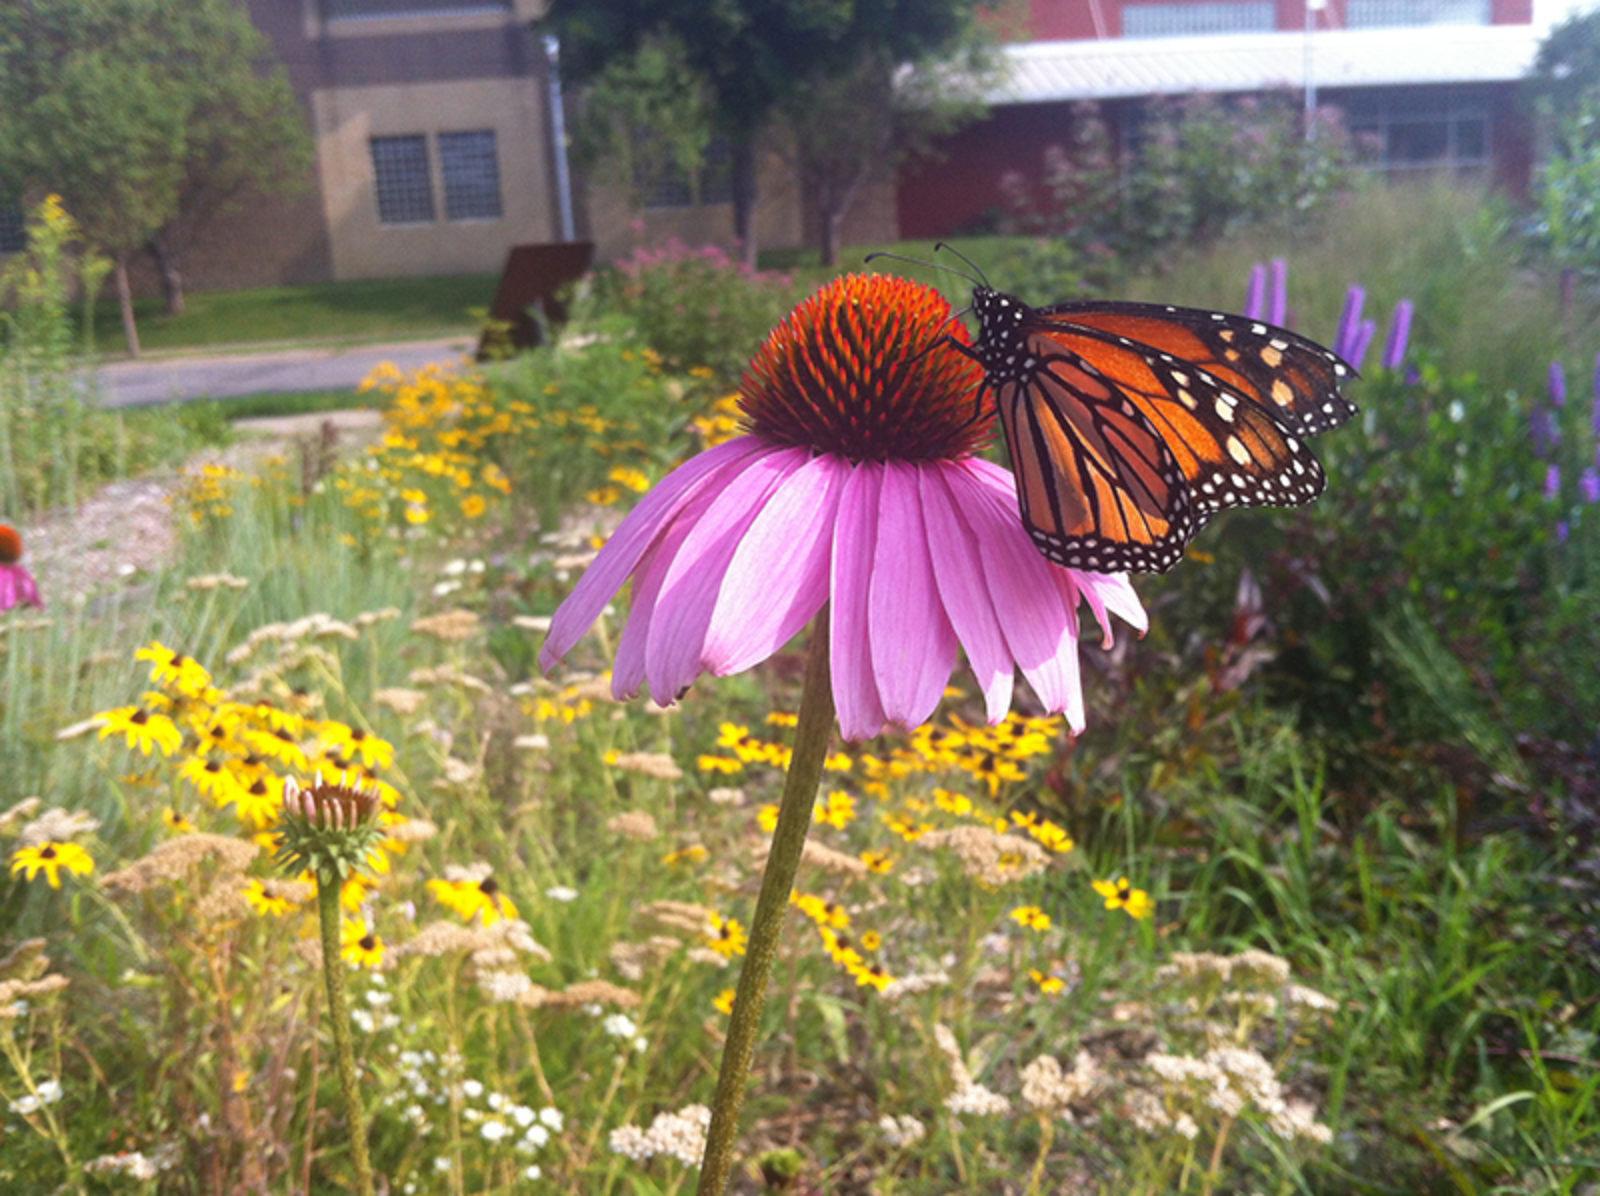
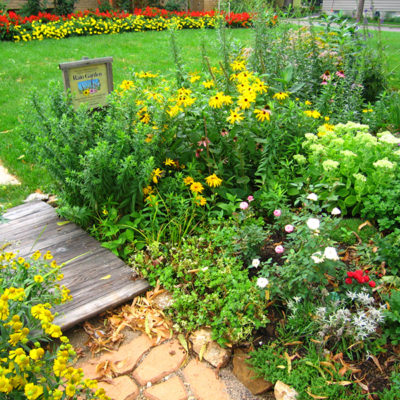 Pocket plantings: There’s room in almost every yard for a small native plant garden. A 10’x10′ pocket planting can be enough to provide pollinator habitat. Creating new areas of native plantings, as well as preserving remnant native vegetation, help preserve biodiversity.
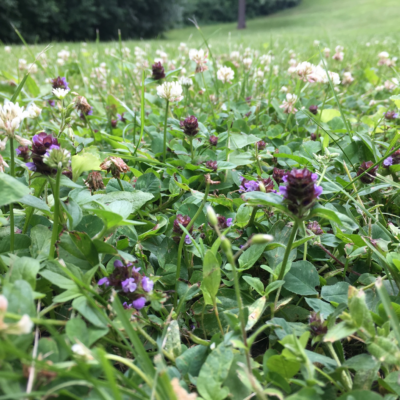
Pollinator lawns: Pollinator lawns are made of a tight mix of grasses and low-growing perennials that offer high-quality nutrition to pollinators. Turf areas that are not heavily used for recreation or that are primarily aesthetic are great locations.
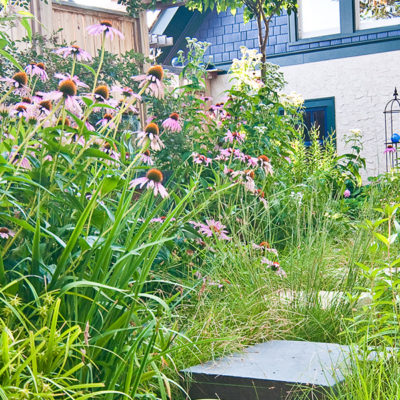
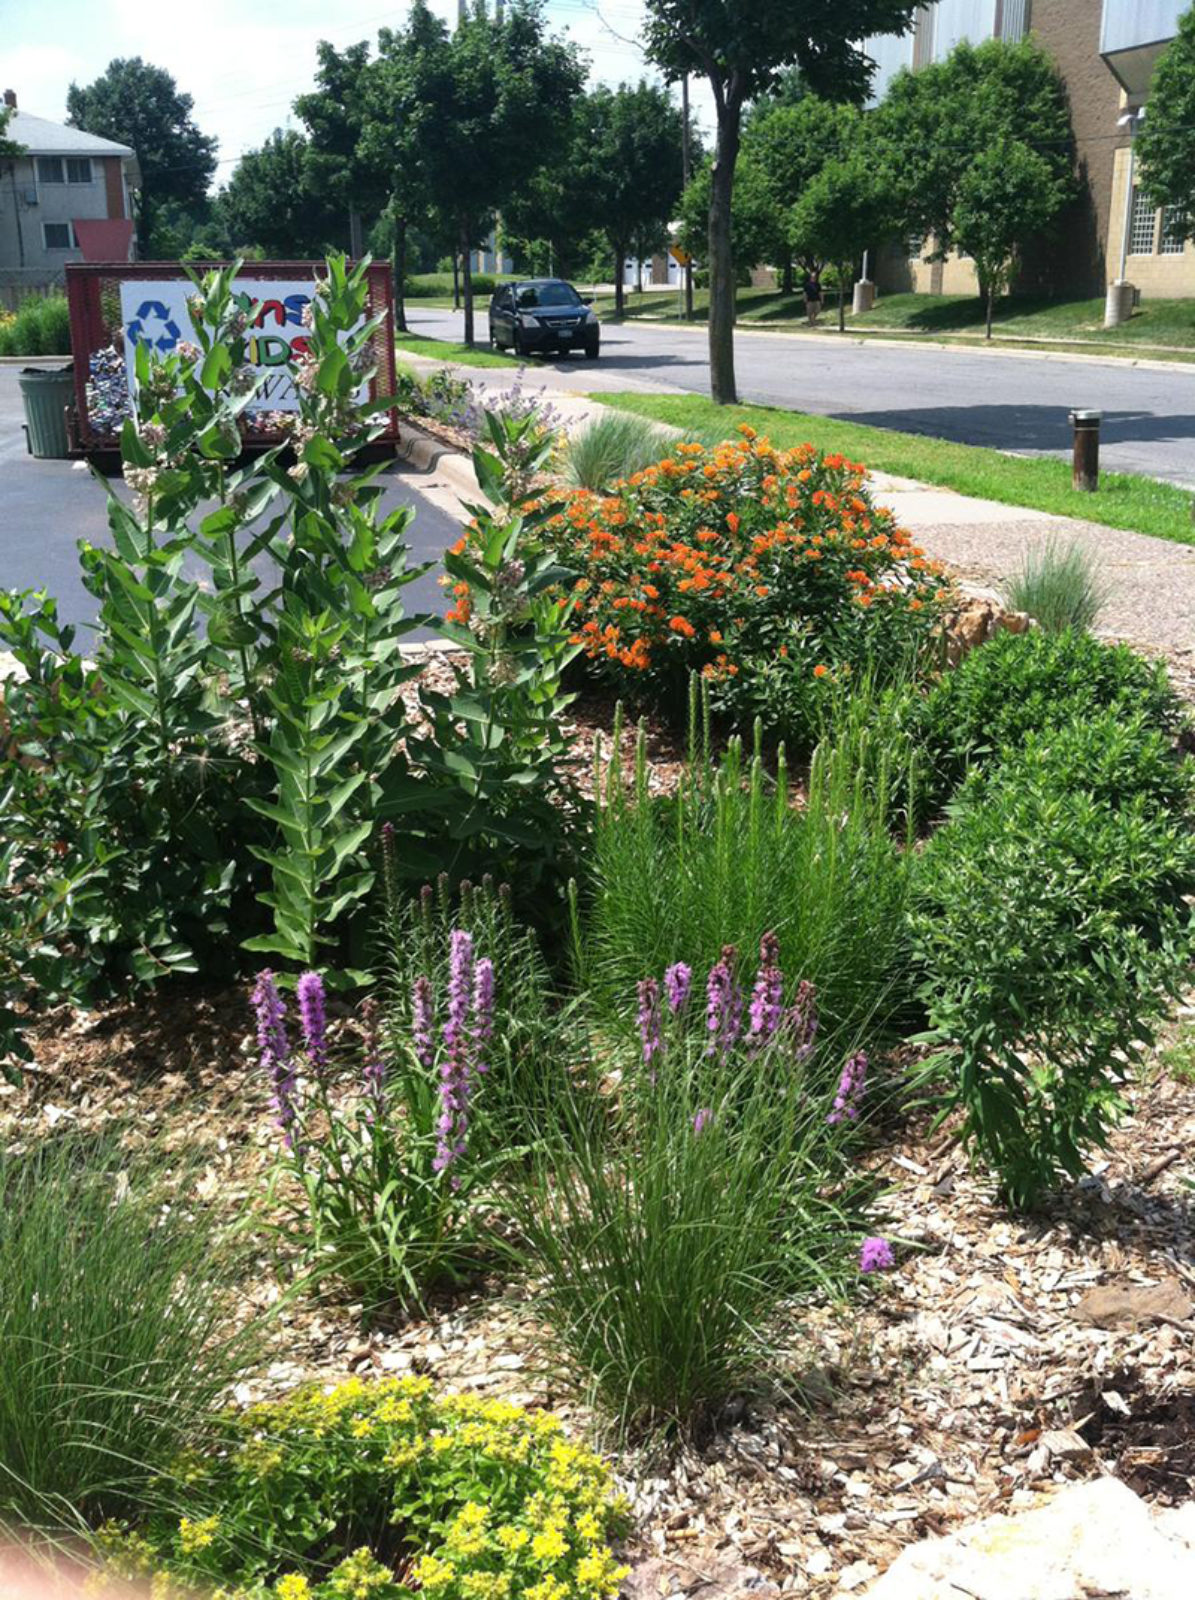
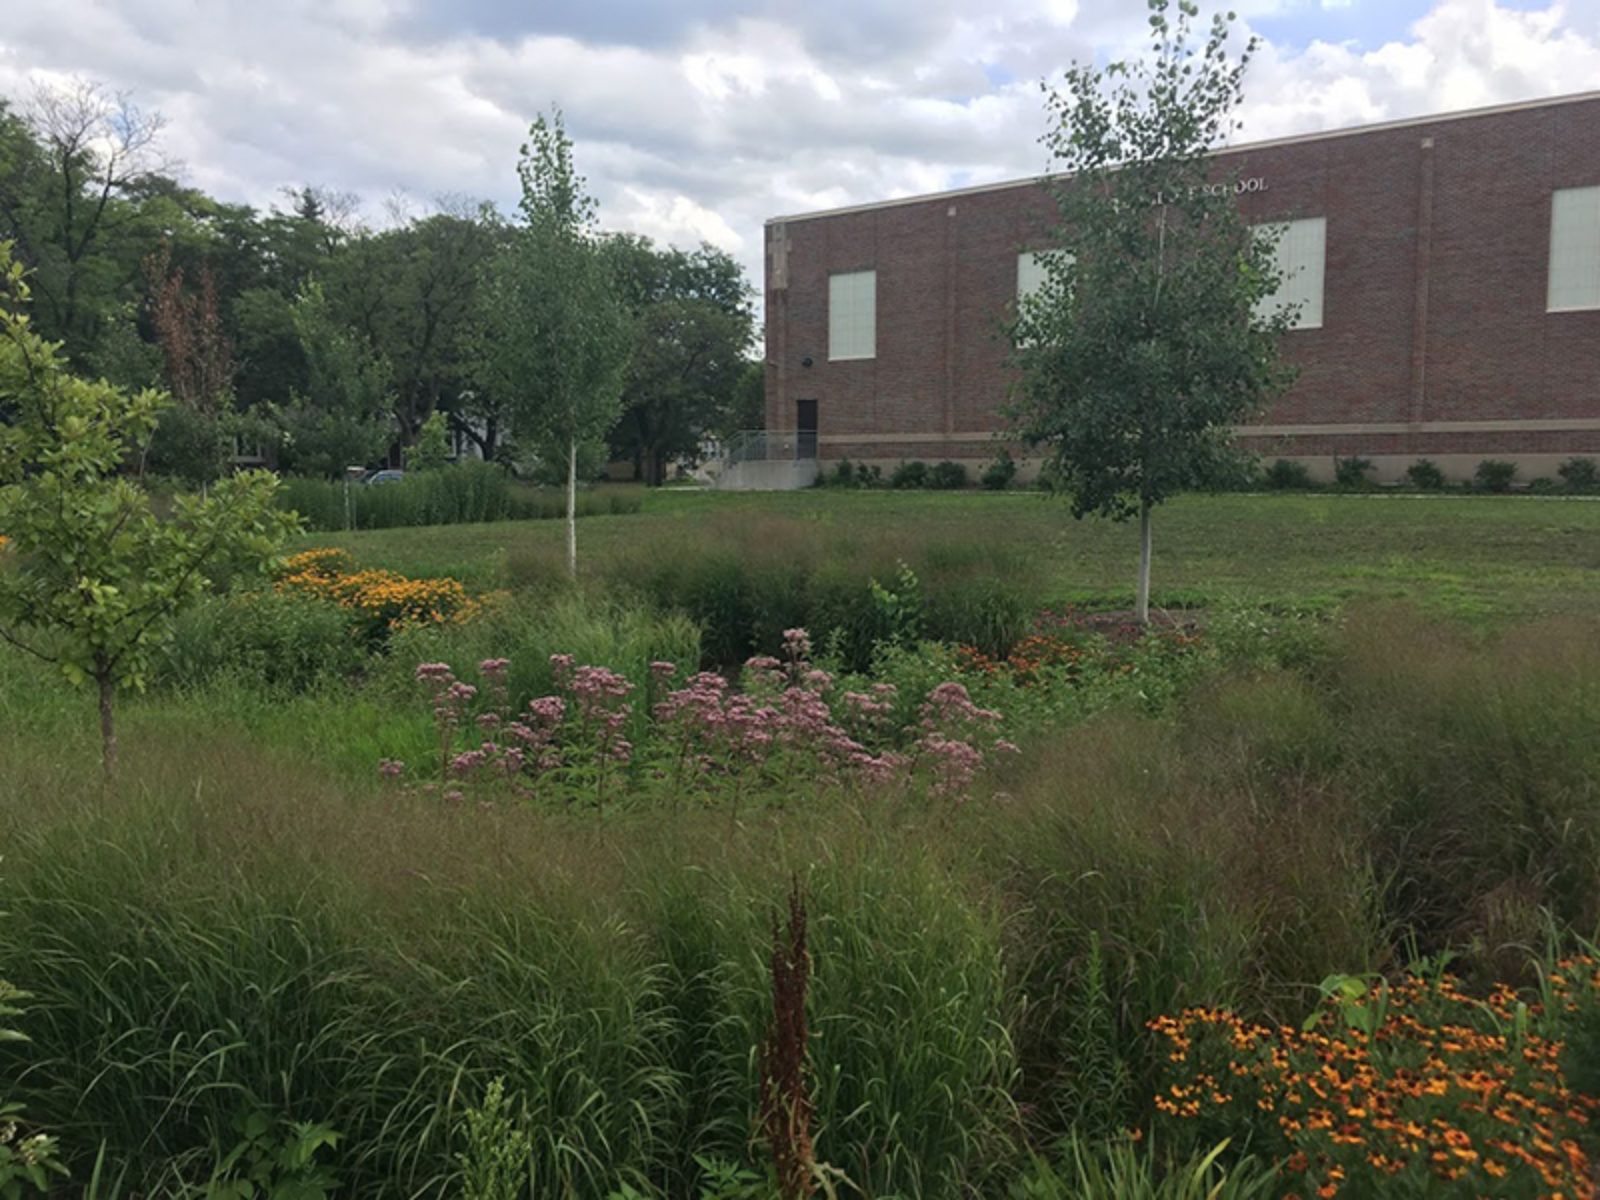
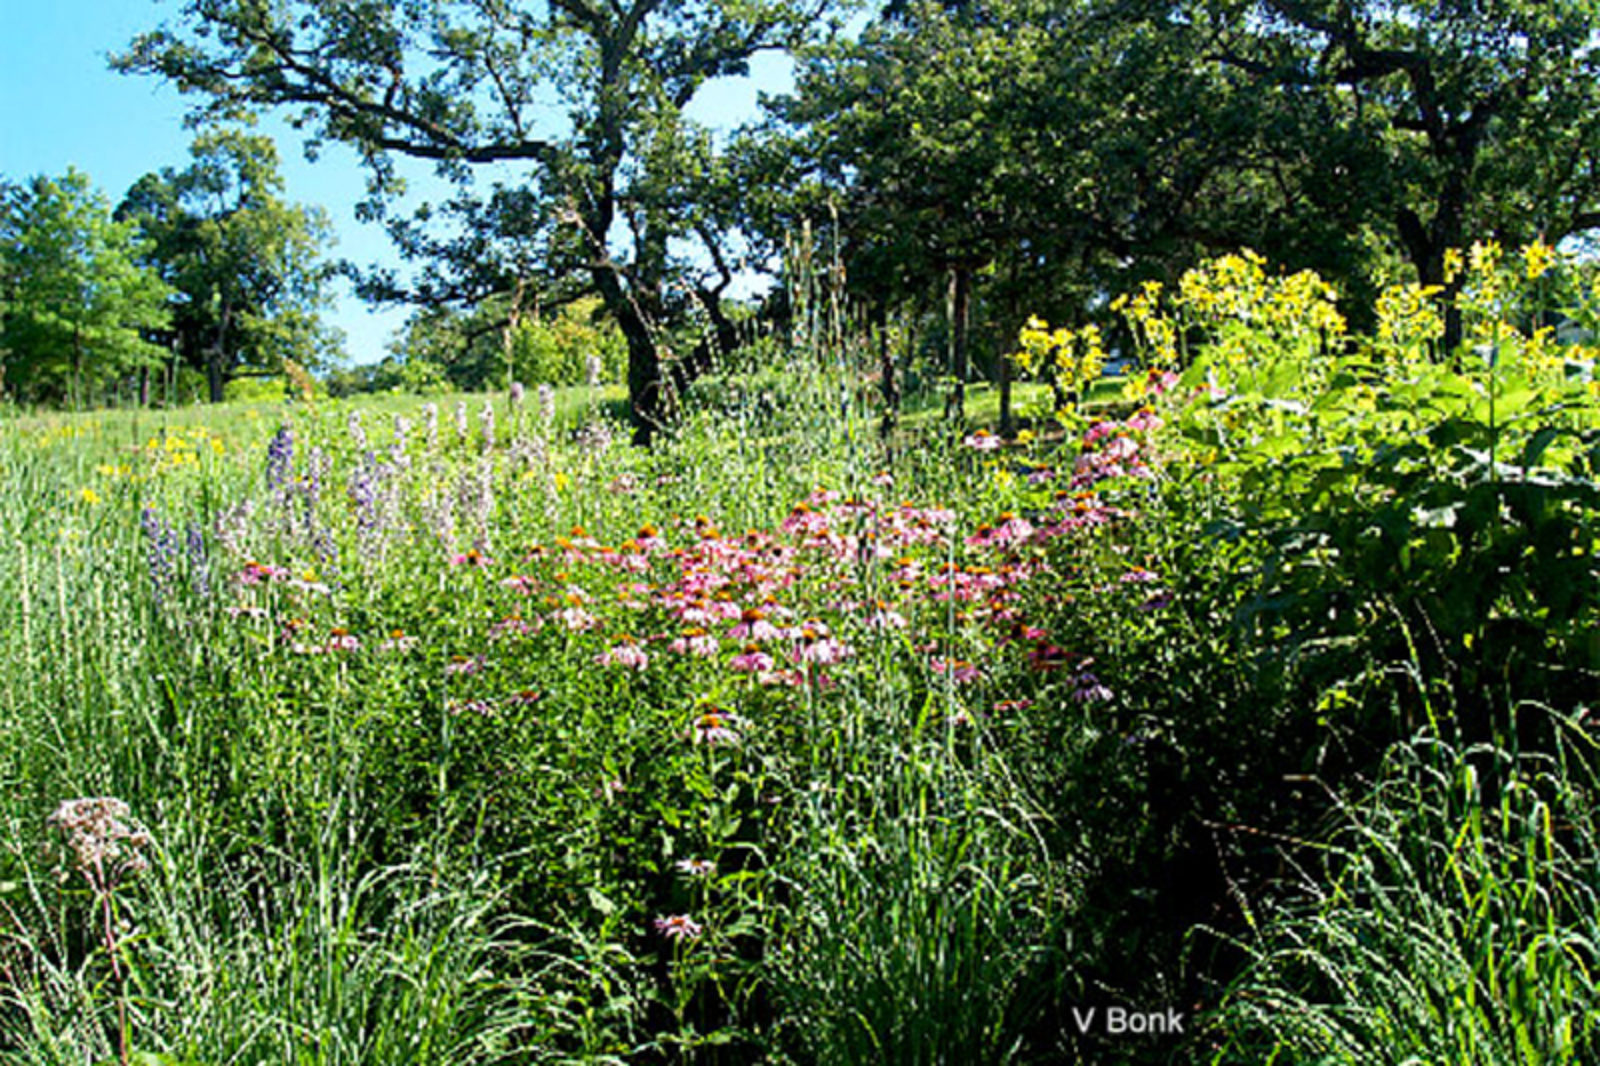
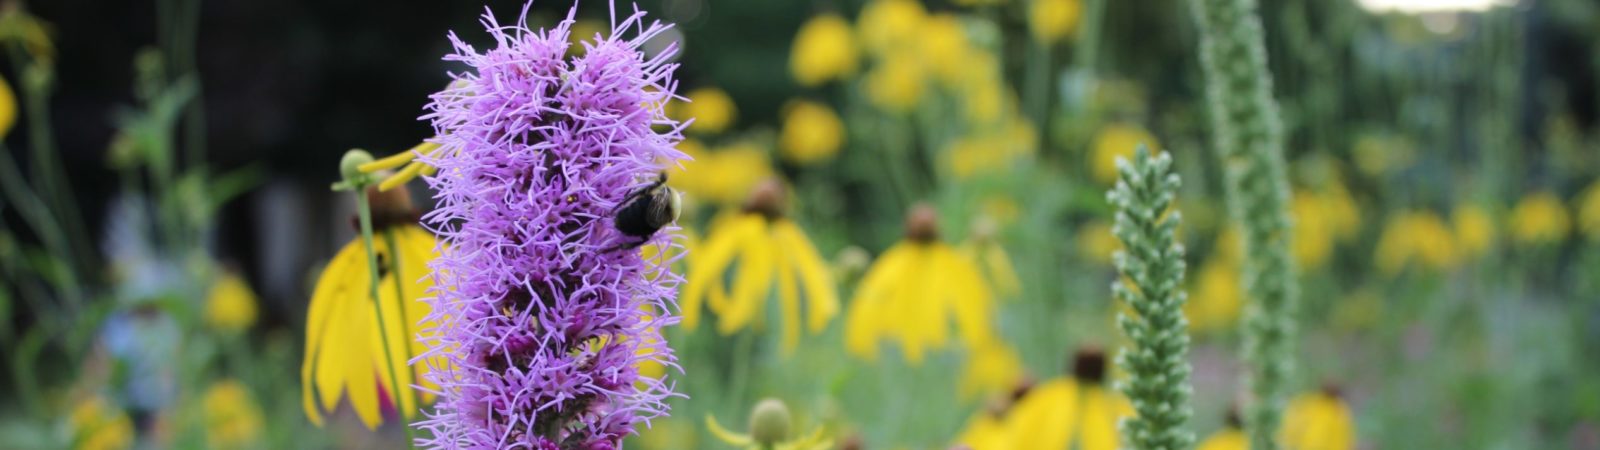
Pollinator meadows: This is the most beneficial choice for diversity, but creating a pollinator meadow requires space, time, and regular maintenance to succeed. The easiest way to achieve this might be to plant pocket gardens side by side, eventually growing them into a meadow.
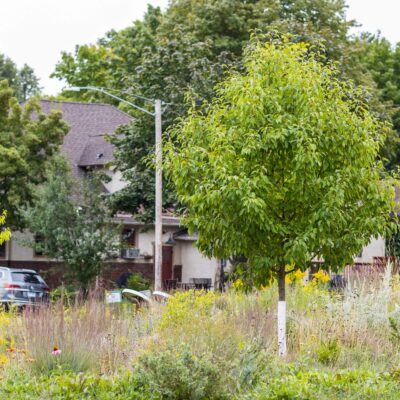 Native trees and shrubs: Pollinator-friendly trees and shrubs can offer a lot of benefits for clean water and pollinators. One flowering tree can provide as much pollinator forage as an entire garden. A large tree can also intercept and retain hundreds of gallons of runoff.
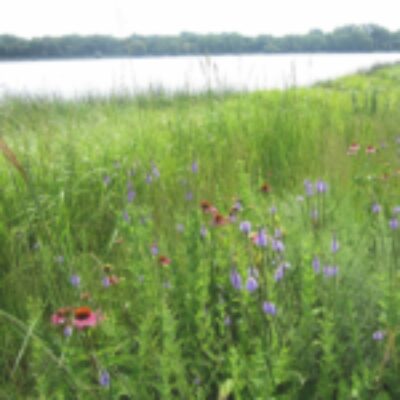
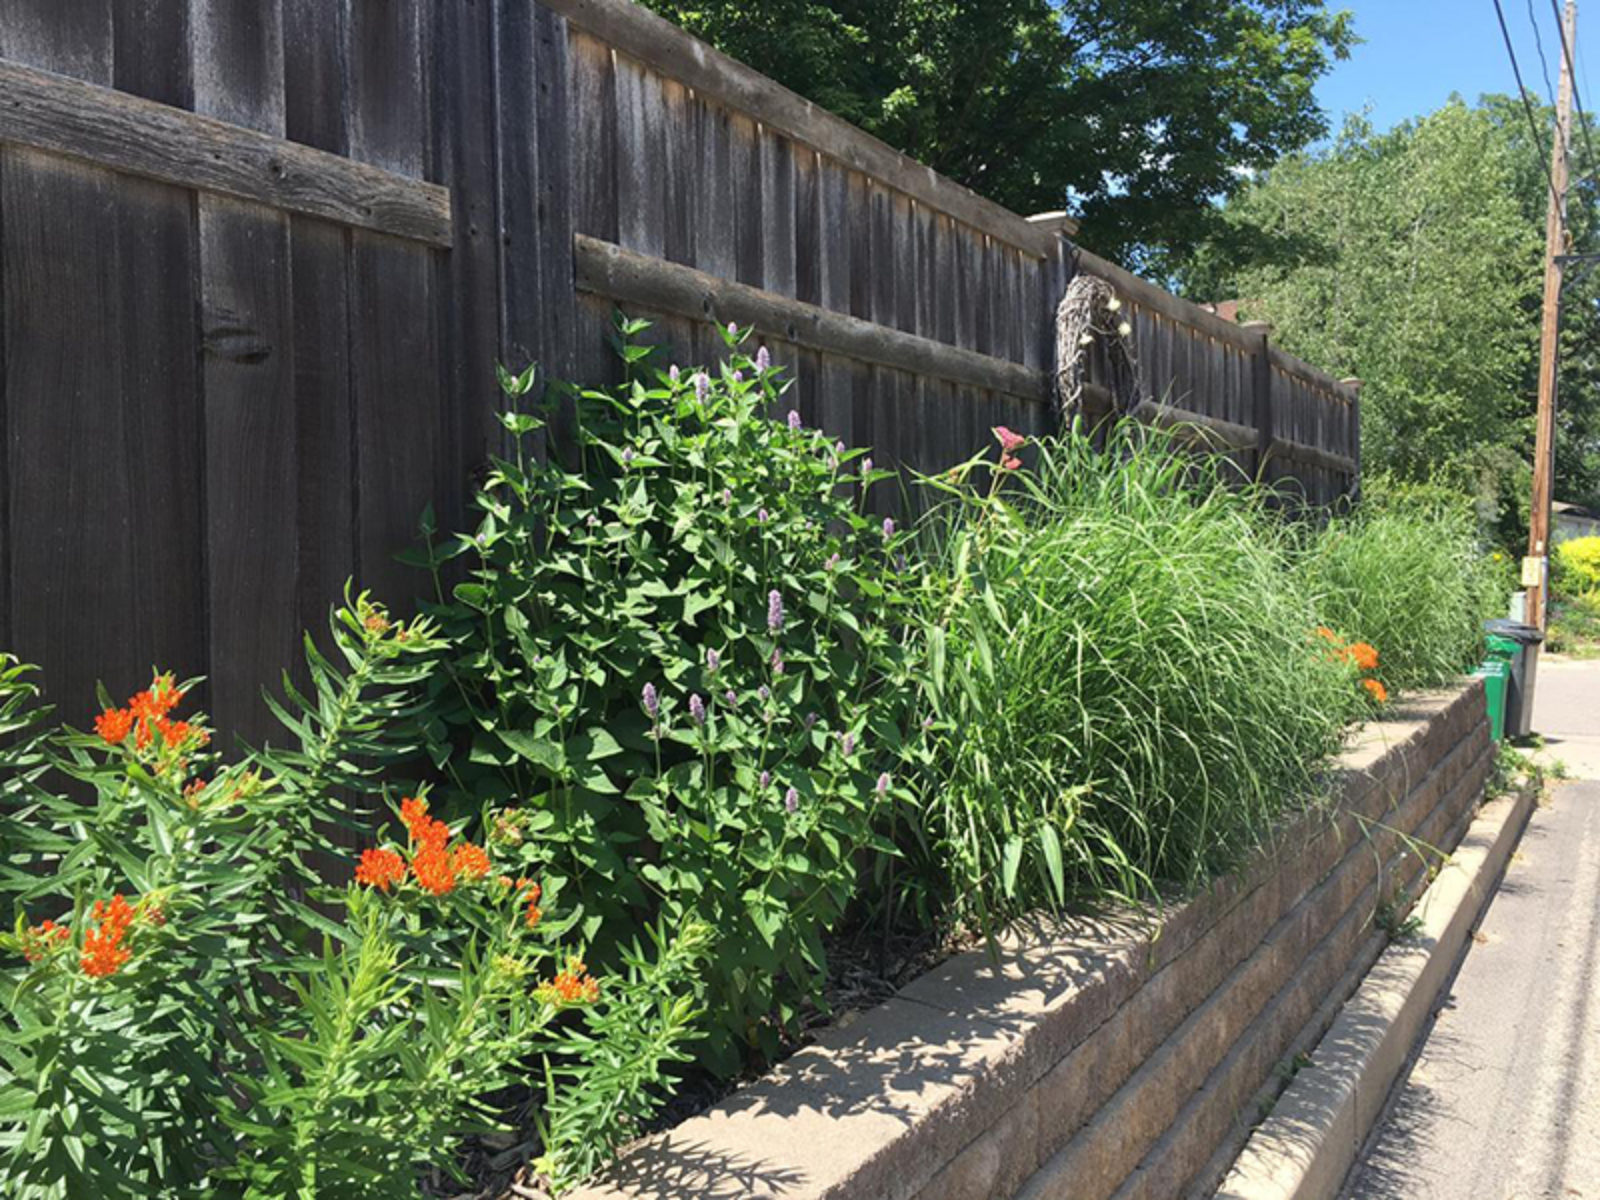
Shoreline stabilization: Native plants stabilize shorelines and act as a buffer between your yard and the lake. The roots of native plants filter and absorb polluted runoff and excess nutrients before they enter the water.
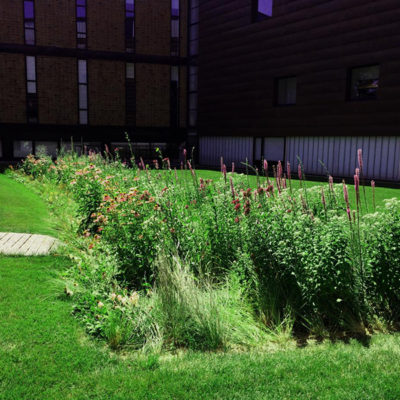
Rain gardens: A rain garden is a shallow depression that stores and absorbs rainwater, which is taken up by the long roots of native plants or soaks deep into the earth. Raingardens serve as water filters, collecting polluted stormwater before it reaches our lakes and streams.
Choose your plants and other materials.
To choose your plants, check out our Resources page for plant lists and design guides. Try out our Plant Finder tool to search for plants based on color, bloom months, light and soil moisture requirements, and more.
Prepare your planting site.
Use our Quick Guide to Site Preparation to determine which site prep method is best for your project.
Find a source to purchase plants and materials.
Make sure that you are purchasing plants that are native to Minnesota. If you’re a Lawns to Legumes grantee, make sure that your purchases are eligible for reimbursement. Double-check your plants on the Minnesota Wildflowers website. If your plant does not show up, it is not a native plant! If you need help, this Native Plants Nurseries & Retailers list may be helpful.
Design your installation.
Consider taking an online workshop to receive guidance and talk to a landscape designer one-on-one.
Step 3: Install
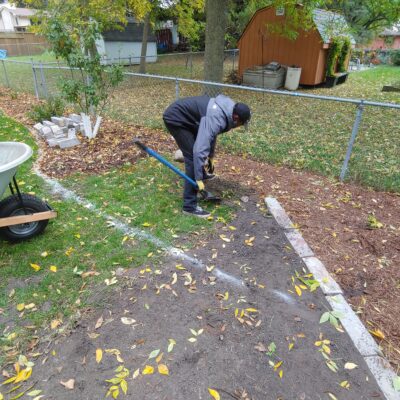
Once you have purchased your plants and materials, prepare your project site.
This step might include removing your grass, removing debris, marking the area, and etc.
Decide whether to hire a professional.
Make sure to plan ahead of time if you are hiring a professional since contractors may be booked weeks, or even months out! See the Blue Thumb Partner Finder to look for contractors to install your project.
Install your project.
You can do this yourself or hire professionals to install it for you. For details specific to your project type, refer to the links in Step 2. You can also learn more about how to successfully install your native planting project via our free Resilient Yards Online Learning Series or Resilient Yards Handbook.
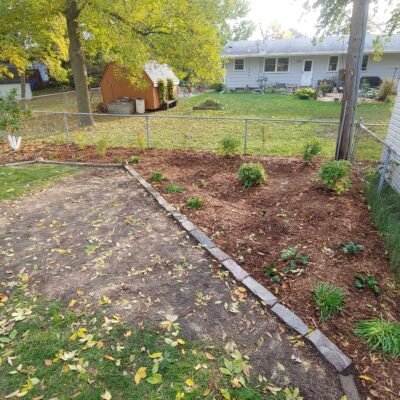
Take before and after photos.
We recommend taking before and after photos of the area you will be installing your new project (from the same perspective) so that you can track your progress!
 |
 |
Step 4: Maintain
The first three years of maintenance are extremely important.
Make sure to weed consistently and water well. See this maintenance guide that explains the maintenance by season and how to pull weeds in detail.
For information on low-maintenance turf alternatives see this turf alternative guide — there’s information on maintenance at the end.
Keep in mind that using pesticides and other chemical treatments may kill off beneficial plants, insects, and pollinators and release harmful chemicals that pollute the soil and run off into lakes, rivers, streams, and wetlands.
Step 5: Report
Congratulations on completing your project!
Map your completed project so we can share the impact of our collective work on protecting the pollinators.