Spring has sprung and pollinators are on the wing, looking for nectar and pollen after a long winter’s fast. But what if you live in an apartment or don’t have a yard? Container gardens offer a solution, acting as pocket ecosystems that support bees, butterflies, and other pollinators. In this post, we’ll walk through the steps to create a container garden from scratch, with some tips from Lawns to Legumes nursery partner Shoreview Natives.
Why Native Perennial Containers?
It’s common to plant ornamental annuals in containers and pots to add some seasonal flair to an outdoor space. But native plants can also thrive in containers with proper care. Native flowers and grasses are finely tuned to Minnesota’s climate and weather patterns. They develop deep roots that improve soil structure and don’t require fertilizer. Pollinators also recognize the floral cues and abundant nectar that native species offer—translating to busier blooms and healthier insects!
Jen Stenersen of Shoreview Natives shares that most of the species they’ve experimented with do well during the growing season and over winter, but she emphasizes that “annuals and short-lived [native] species make excellent container plants because they bloom prolifically the first year. Compared to traditional annuals (petunias, geraniums, etc.), the native annuals are a great value and better resource for pollinators.”
Even if you’re unsure about which species to use, don’t be afraid to experiment. “So far, the mistake I’ve made is to avoid trying species in containers because I think they might not work,” Stenersen says. “I’ve been surprised at how well all the species have done.”
 Gather Your Materials
Setting up a container garden starts with choosing your containers. Aim for at least a 12” depth and diameter for perennials — bigger and deeper pots will help you grow stronger plants. Your container will also need to have drainage holes. Aim for a lightweight material like plastic, metal, or composite. “Five gallon pots or larger, stock tanks, and raised beds are great options,” Stenersen recommends.
Other materials you’ll need:
- Filter fabric, to cover your drain hole (a scrap of an old t-shirt or a piece of woven/mesh fabric will do)
- Small rocks or mulch for drainage
- Potting soil (A good potting soil mix will drain well and not dry out too fast, for example 40% topsoil, 40% compost, 20% coarse sand or perlite for drainage.)
- A trowel and/or small hand rake
…and plants, of course! While plugs cost more upfront than seeds, they’ll have a higher success rate and be quicker to establish. Attend a native plant sale this spring, shop from a local native plant nursery, or see if there is anyone in your area giving out divisions of their native plants.
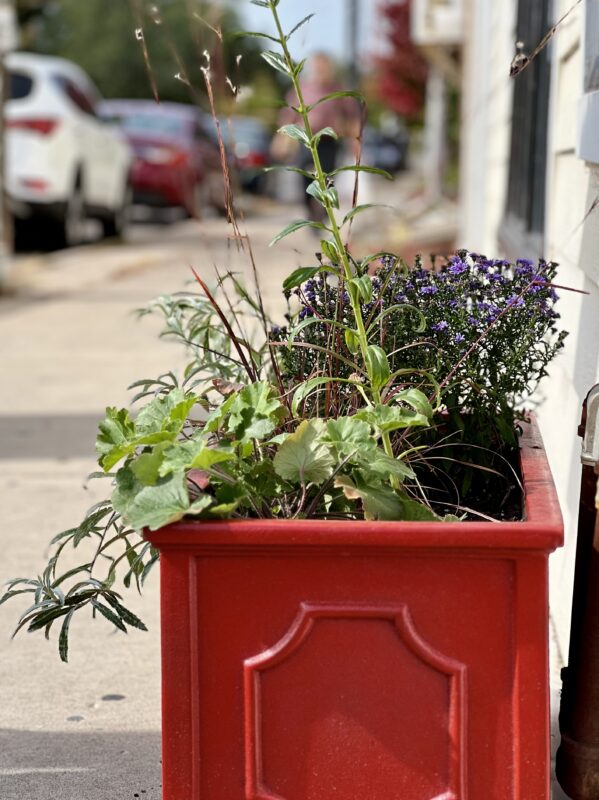
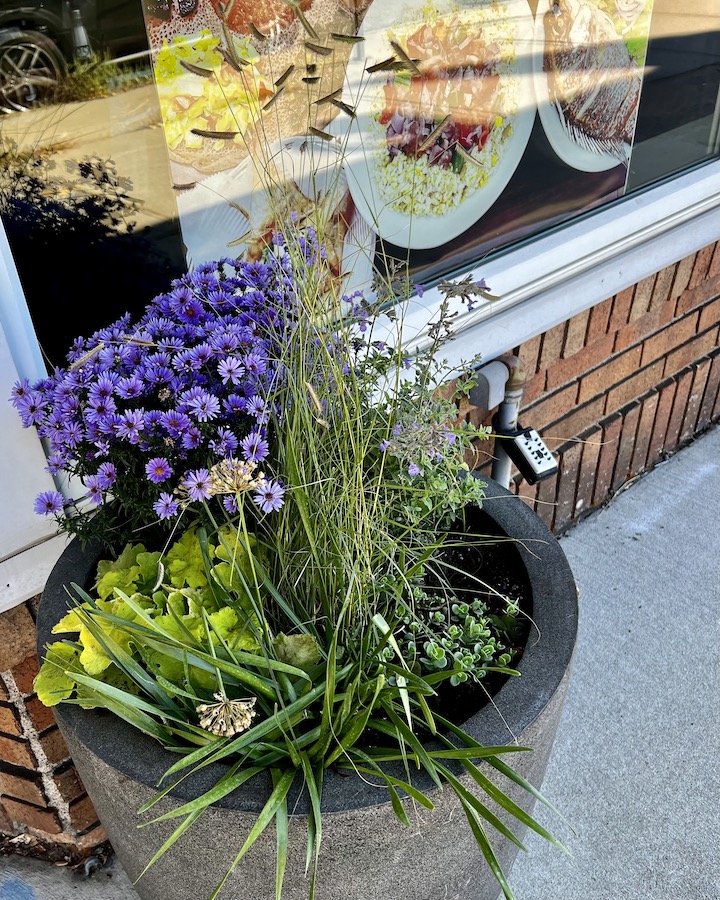
Select 4-6 native plant species for each container, depending on its size. We have some templates with suggested plants here and here (also on our Resources page). Choose a mix of plants that bloom in spring, summer, and fall for pollinators that need blooming flowers from April to October.
For visual interest, in each container you can try incorporating a plant that takes up vertical space (black-eyed Susan, wild bergamot), plants that group together (New England aster, lanceleaf coreopsis), and native grasses to create structure and support for your blooming species.
Step-by-Step Planting Process
 Set up your space. Choose where to put your containers. Determine whether your location is in full sun (6+ hours), part shade (3–6 hours), or shade (<3 hours). Make sure the amount of sunlight works for the plants you’ve chosen.
Prepare your containers. Confirm the drain holes are clear. You can also elevate the pots on feet or brocks to facilitate any excess drainage. Cover the drain holes of your container with your filter fabric.
Build the soil. Add a few inches of your mulch or small rock to the bottom of the container to fill space, reduce weight, and create air pockets for root growth. Next, fill the pot two-thirds full with your soil blend.
Arrange your plants in your containers. Leave 2–4” between plants in small pots, and 4–6” in larger containers to allow roots room to expand.
Planting time! Move the soil aside to create a hole the size of the plant pot. Take the plant out of its small store pot and gently loosen the roots. Place the plant in the hole so its base is in line with the new soil level. Backfill the hole and pat the soil in place. Once you’re done planting your container, water thoroughly until water seeps from the drainage holes. To help with water retention, you can apply a 1” mulch layer, keeping the mulch away from the plant.
Container Care
Water your containers regularly. You can create a DIY self-watering insert from a 2-liter bottle, jar, or tupperware box: cut off the bottom, use a hammer and small nail to poke two holes into the lid/cap, put topside down into the soil. (You can search online for some more detailed tutorials). You can check soil moisture by the finger test, watering when the top 1″ of soil feels dry.
Prune your plants. Some native plants, like coneflowers, require a trim occasionally. Snip the stem at the first set of leaves, and prune any dead stems to keep your container looking healthy and fuller and to encourage new growth. As Stenersen notes, “Native plants in containers take well to pruning. This can be a great hands-on process for people that want to enjoy tending to plants. They can experiment with plant height, shape, branching, or deadheading.”
Add nutrients. As your plants grow and mature, they use up the nutrients in the soil in your container. While our Minnesota native plants don’t need a lot, you can add a bit of plant food once or twice a year. This could be a bit of compost or natural liquid fertilizer from the store.
Prepare for winter. Before the first freeze, let your container/planter dry out to avoid cracking. Leave your container out in the winter and your native perennial plants will come back in the spring! You can leave dead stems and seedheads standing and cut them back in the spring.
Stenersen shares that at Shoreview Natives, “What we’re trying to achieve with the overwintering process is to keep the container and soil frozen once temperatures drop below freezing for the season. This can be achieved by moving containers to a shady location or by insulating them with leaves, bagged leaves, or straw. Covering the containers (whether insulated or not) with white plastic is also extremely helpful because it reflects light which keeps the pots from heating up.” These methods will help keep the soil from drying out and freezing/thawing repeatedly.
Over the years, you may need to refresh your soil and divide your plants as they continue to grow — you can share them with a friend who wants to start a garden of their own!
Welcoming Visitors
You may be surprised how quickly pollinators find your new container garden! Adding a shallow water dish (with pebbles for landing pads) offers support to the hardworking pollinators visiting your garden.
Consider positioning containers near seating areas, entrances, or windows to observe the show. Snap a photo each week, or note species and bloom stages in a simple journal. Sites like iNaturalist are a great way to contribute your pollinator observations to community science. Enjoy the beauty!
Shoreview Natives will be offering several different varieties of container gardens (pre-planted and ready to grow) when retail opens May 22! Each container will include a mix of native species for blooms throughout the spring, summer, and fall.
More Container Planting Resources
- Container Planting Project Page
- Small container garden design templates for sun and shade
- More container garden design templates (large and small)
- Build Your Container Garden PDF
- Container Garden Maintenance (English and Somali)
– Megan Reich, Metro Blooms Communications and Program Manager