
It may be the middle of winter, but now is the time to plan for changes you want to make to your yard this spring. How would you like to support pollinators and clean water this year?
If you are a first-time gardener, starting a pollinator garden from scratch can feel intimidating. In this blog post, we’ll cover some basic steps to set yourself up for success this growing season.
Step 1 — Observe your site conditions.
Every planting site has both challenges and opportunities. Taking note of the conditions in your outdoor space can help you select the most appropriate spot for your planting.
Notice how the sun moves across your outdoor space throughout the day. Most sunlight recommendations for plants are split into three categories: full shade (less than 6 hours of sun a day), part sun/part shade (3-6 hours of sun a day), and full sun (more than 6 hours of sun a day). This rule, however, doesn’t always work. For example you might have an area that is shady most of the day, but gets a couple hours of intense late afternoon sun. In this case, part shade plants will likely do best here.
Once you’ve determined the sunlight conditions in different areas of your yard, check out the design templates on our Resources page for Minnesota native plant recommendations for sunny and shady sites. You can also use our Plant Finder tool to search for native plants suited to different sunlight conditions.
You can also observe how rain runoff and meltwater moves across your landscape. Are there any areas where water pool or ice freezes over? Adding a native garden or rain garden to these areas helps capture stormwater runoff by enabling it to slowly soak into the ground. This not only waters your plants but protects our local water resources in the process. For more information on installing a rain garden, check out our Resilient Yards Online Learning Series.
Step 2 — Consider your conservation goals.
 Planting a pollinator garden has many ecological benefits. Choosing a few benefits to focus on can help you stay connected with the deeper “why” behind your project.
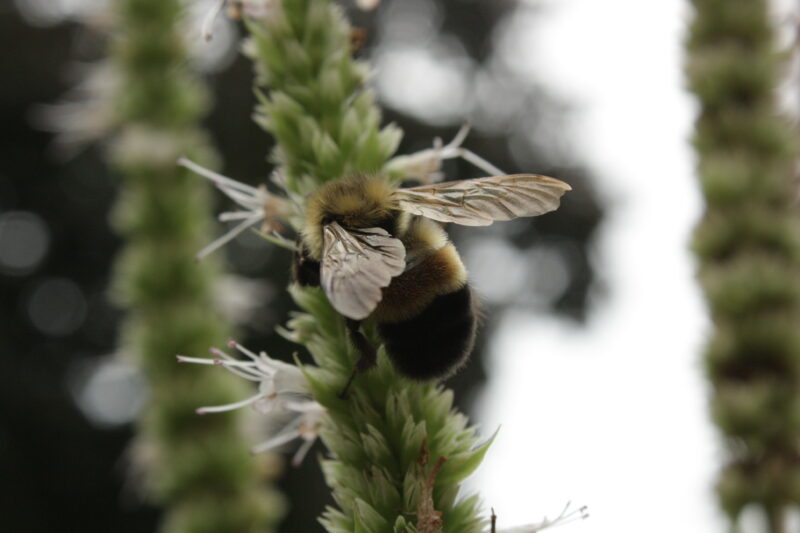
Do you want your planting to benefit a specific pollinator species? Many butterflies and moths rely on specific larval host plants to lay their eggs and provide food for caterpillars. For example, monarch butterflies lay their eggs only on milkweed plants and their caterpillars exclusively feed on the plant. Many native solitary bees are only active for several weeks out of the year, and it’s important they have nectar and pollen resources available to them during that time. Visit our Resources page for a variety of plant lists, including a plant list for the endangered rusty patched bumblebee.
To best benefit a variety of pollinators, choose a combination of plants that have bloom times in the spring, summer, and fall. For birds, consider planting some native trees or shrubs with edible berries for birds, like highbush cranberry, serviceberry, or chokeberry.
You can also think about the specific habitat needs of the wildlife you want to support. Adding shade-loving native plants under trees can provide crucial shelter and habitat for pollinators and other beneficial insects. Many moths and butterfly caterpillars that feed on native trees like oaks complete their life cycles by falling into the vegetation below as a chrysalis, where they overwinter and emerge in their adult form in the spring. (Learn more about this topic on Heather Holm’s “Soft Landings” webpage.) Some native bees nest and lay eggs in the hollows of native plant stems. Incorporating native plants with stalks that remain standing through the winter, like Joe Pye weed, bee balm, or anise hyssop, gives bees this crucial overwintering habitat. This resource from The Xerces Society includes more detailed guidance on creating stem-nesting bee habitat.
Step 3 — Visualize.
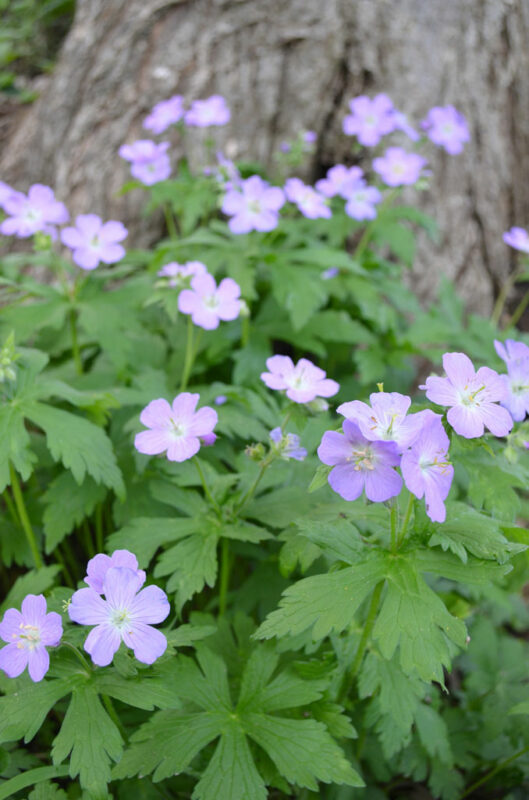
 Where are you going to view your planting from? If your planting is not against a fence and is viewable from all sides, put taller plants in the middle. If you’ll be planting in a boulevard, it’s nice to have smaller plants like wild strawberry or geranium along the edge of sidewalks, so that if taller natives flop over a little bit, they’re not impeding the right of way. A general rule of thumb is to think about arranging your plants like a family photo—tall ones in the back, short ones in the front.
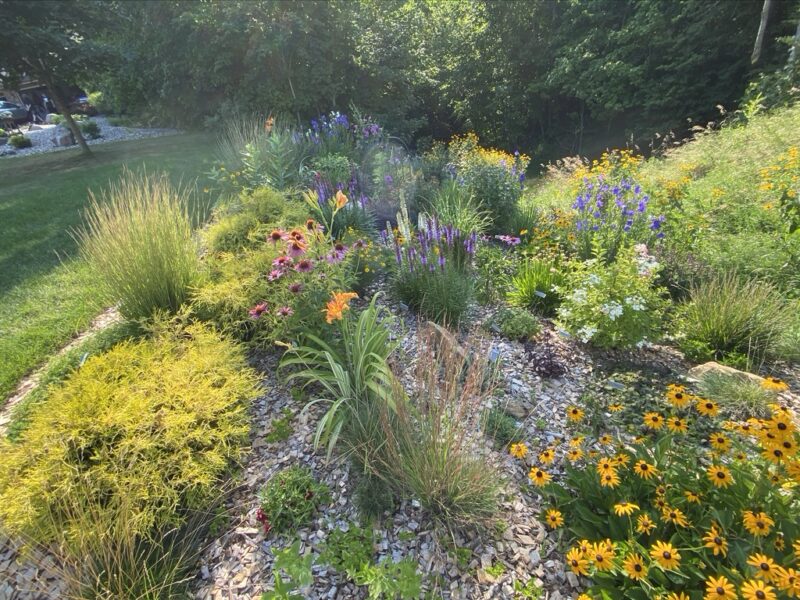
How you arrange species also affects the aesthetic impact of your planting. Two common design styles for native gardens include plant massing and matrix planting. Plant massing is when species are planted together in groups. This works better for smaller spaces and can help you distinguish between weeds and your native plants. Large groupings of blooms also support pollinators throughout the season.
Matrix planting is when a sedge or grass is staggered throughout the growing area, with flowering plants added in a scattered pattern. By selecting plants that bloom at different times, you’ll always have something popping up from the grassy foundation. This is also a good option for suppressing weeds.
It can help to draw a site plan of your planting that you can refer to throughout your planning process. Our Resilient Yards Online Learning Series contains guidance on creating a site plan.
Step 4 — Plan your site prep strategy.
It can take some time to prepare your site for planting, especially if you have existing turfgrass or other vegetation to remove. While everyone has their own technique for site prep, there are three basic options that work well for smaller native plantings:
Sod removal: Manually remove your existing turf using a sod kicker, then turn, loosen, and rake the soil. After applying a layer of mulch to help suppress weeds, plant your new plants. This is the quickest method but is less effective with weedier sites.
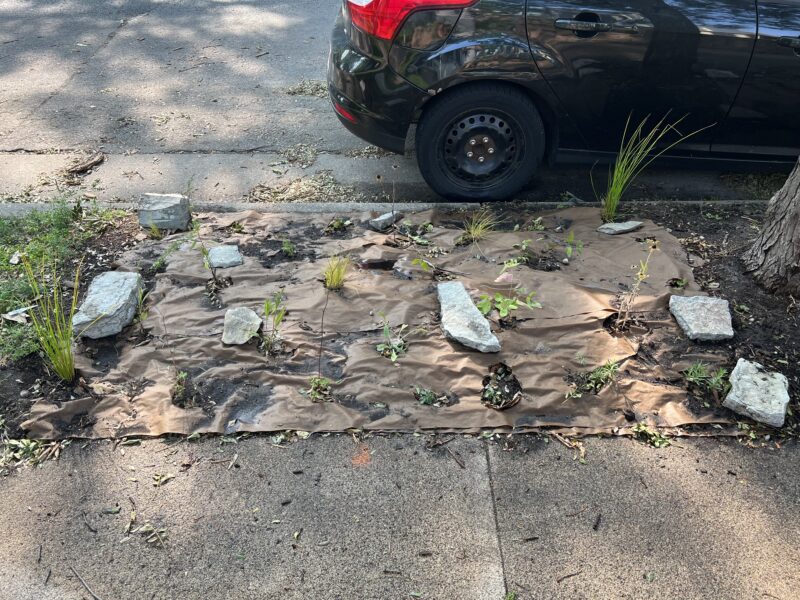
Sheet mulching: At least three months before planting, add a layer of cardboard covered with mulch to suffocate the grass beneath. When you’re ready to plant, cut small holes into the cardboard to dig a hole for each plant. This can be effective when the cardboard is applied in winter to late spring for a fall planting, or applied in fall for a spring planting. Sheet mulching is not effective on steep slopes.
Solarization: “Solarize” your planting area by covering it in a clear plastic sheet. The sun’s heat becomes trapped underneath the plastic, smothering existing vegetation and weed seeds. Solarization is most successful when begun in early to late spring. Remove the plastic and any remaining weeds in fall, and immediately mulch and plant. Solarization can be an effective method if you’re planting in a sunny, relatively flat site.
We recommend the Xerces Society’s Organic Site Preparation guide for detailed explanations of each of these methods.
 Step 5 — Make your purchase plan.
Minnesota has many reputable native plant nurseries and retailers located throughout the state. The Minnesota Department of Natural Resources has regional lists for finding a native plant supplier near you.
Many organizations host native plant sales each spring. Our blog post next month will compile a list of native plant sales around Minnesota and the Twin Cities Metro Area. (You can check out our 2023 list here).
Do you need additional support designing or installing your project? Browse the Blue Thumb Partner Finder for sustainable landscaping professionals that can help. This spring, Blue Thumb will also be hosting virtual and in-person Resilient Yards workshops where you can talk with a landscape designer 1:1 about your project plans. Sign up to be notified when workshops open here.
Step 6 — Wait to start!
Patience is key when it comes to planting time! Waiting until the ground has thawed and soil has warmed enough gives pollinators a chance to emerge. You don’t want to accidentally disturb their nesting habitat. When you start seeing dandelions sprouting, it’s a good time to start preparing your site. Native seeds and containerized plants are often planted in late spring (mid-May to early July). For fall, plant at least one month before the first hard frost. For seeds, you can wait until late fall and spread your seed right before the first snow.
Best of luck with your new pollinator planting! Working with native plants is a rewarding learning journey that fills your yard with life. Feel free to share what you grow this year with Blue Thumb on Facebook or Instagram. We can’t wait to see what you create!
– Megan Reich, Metro Blooms Communications and Program Manager