Rain Gardens
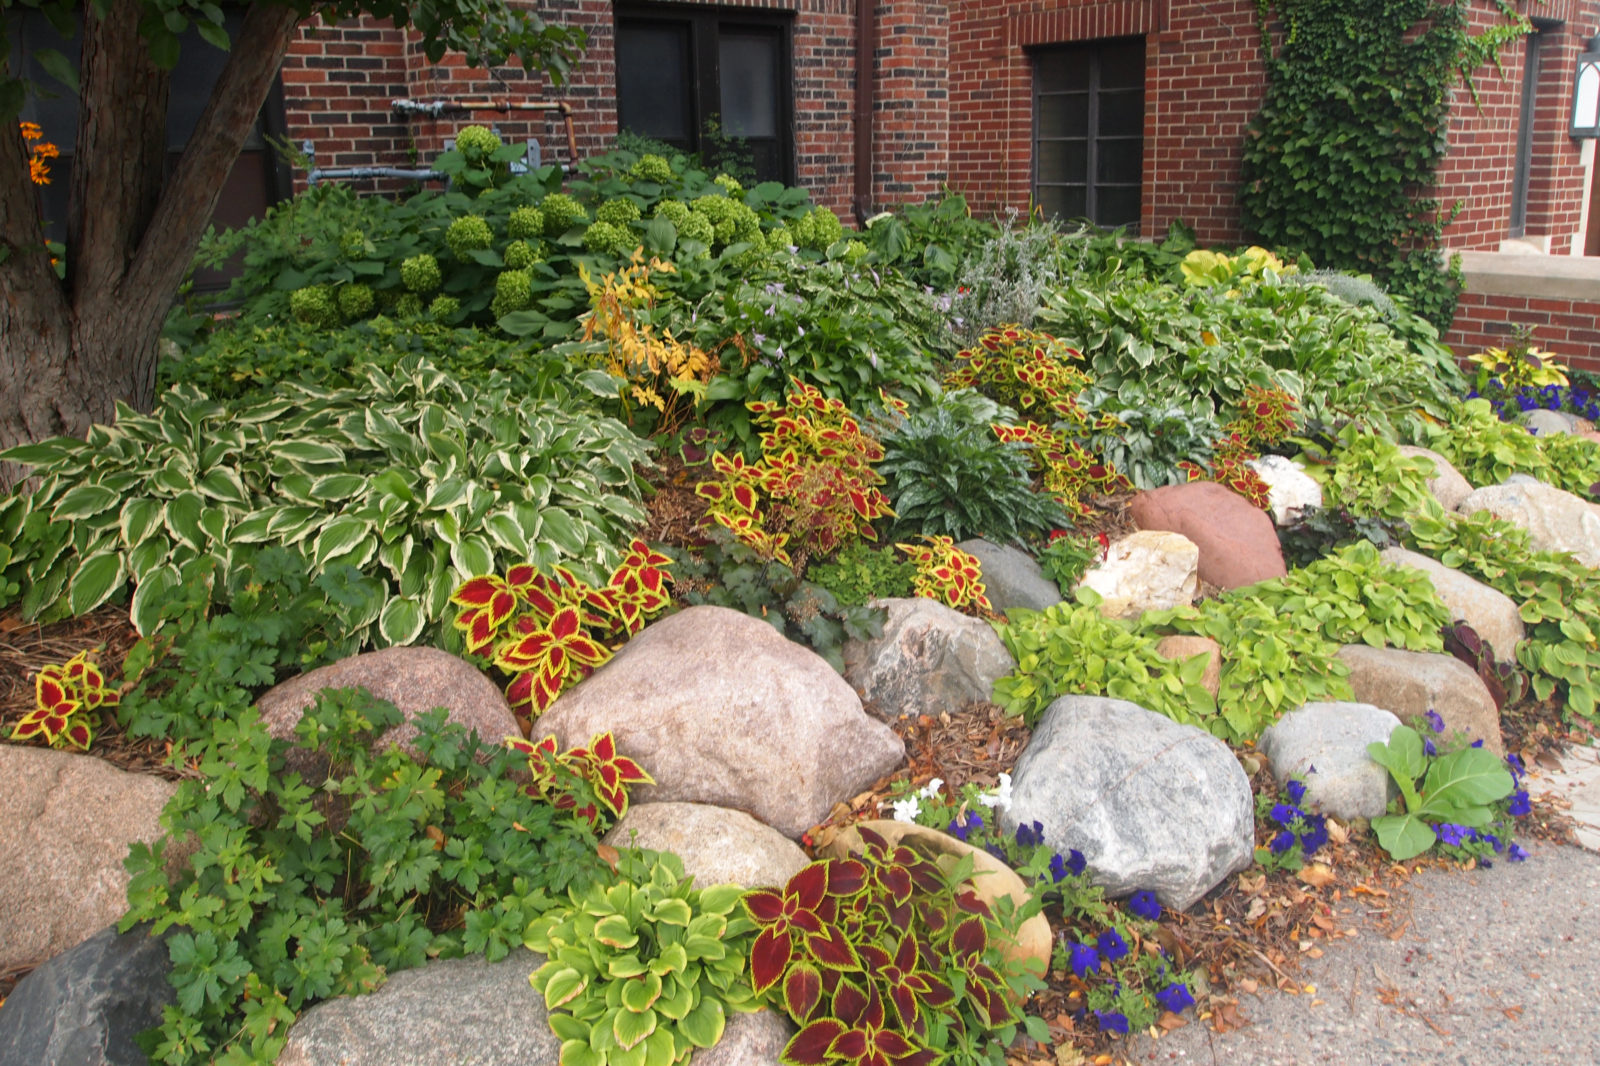
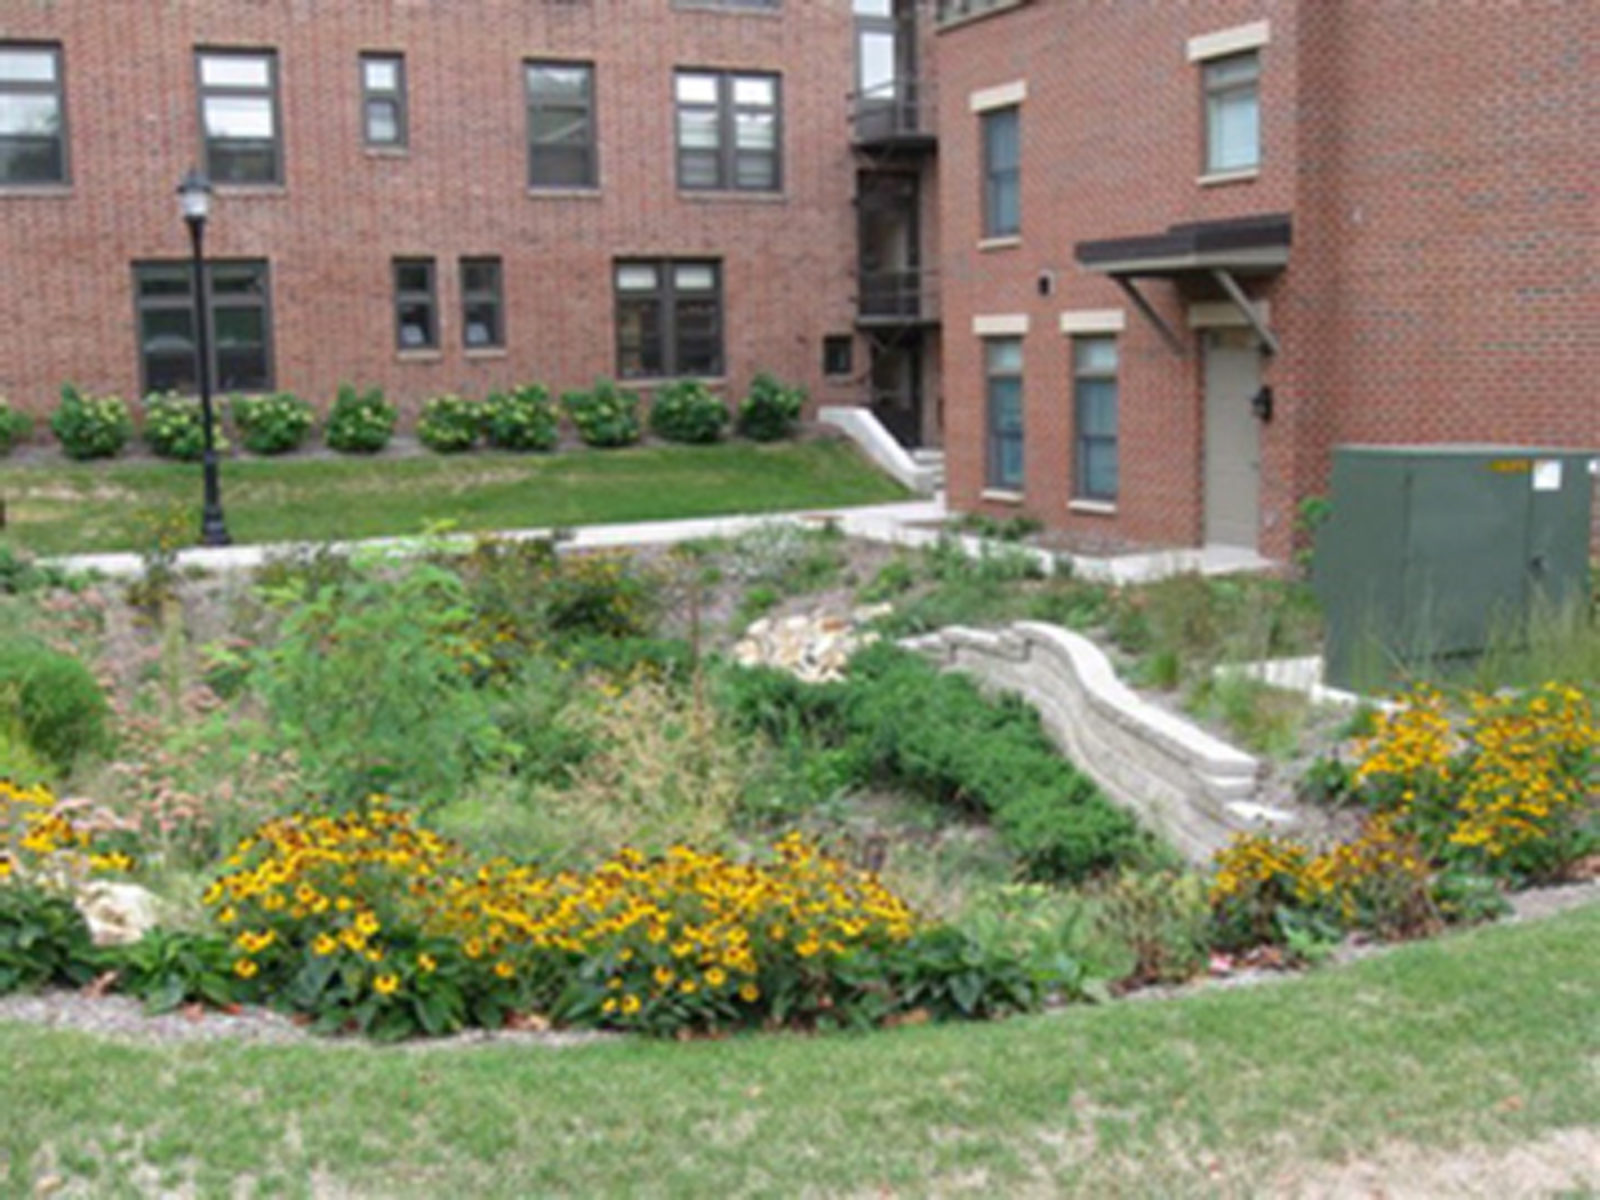
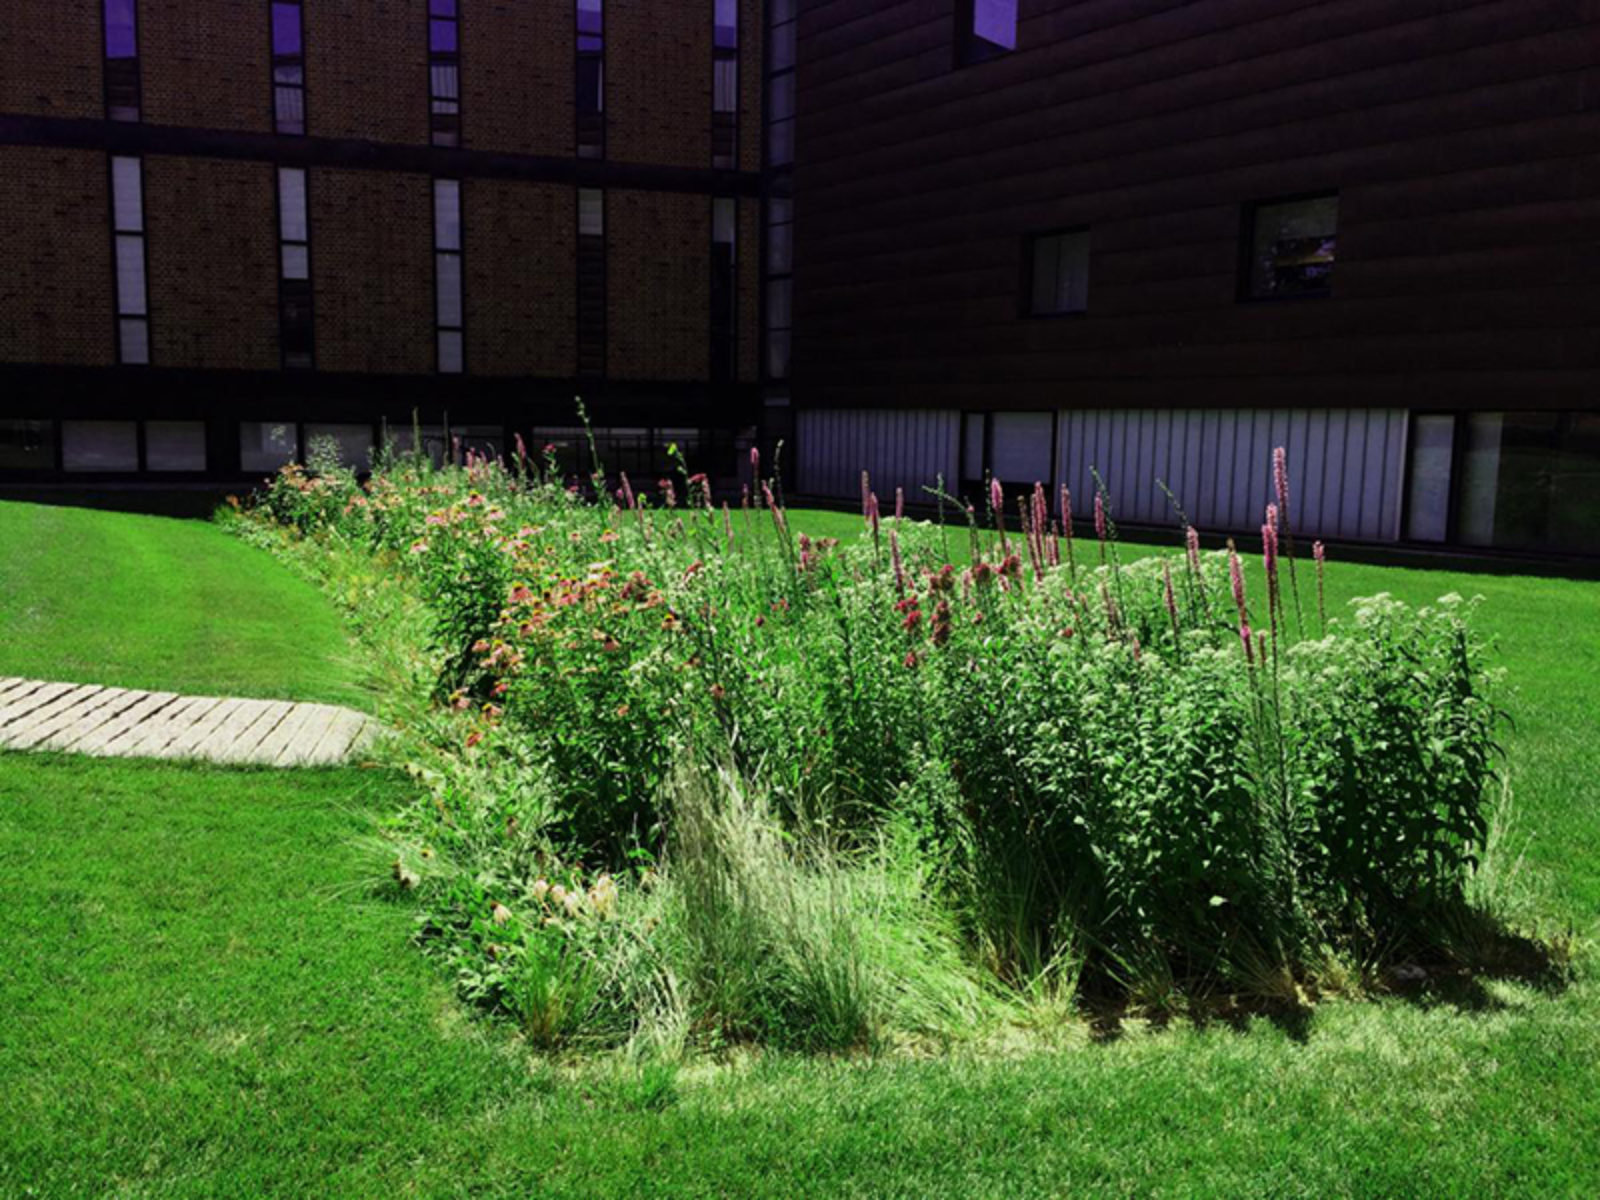
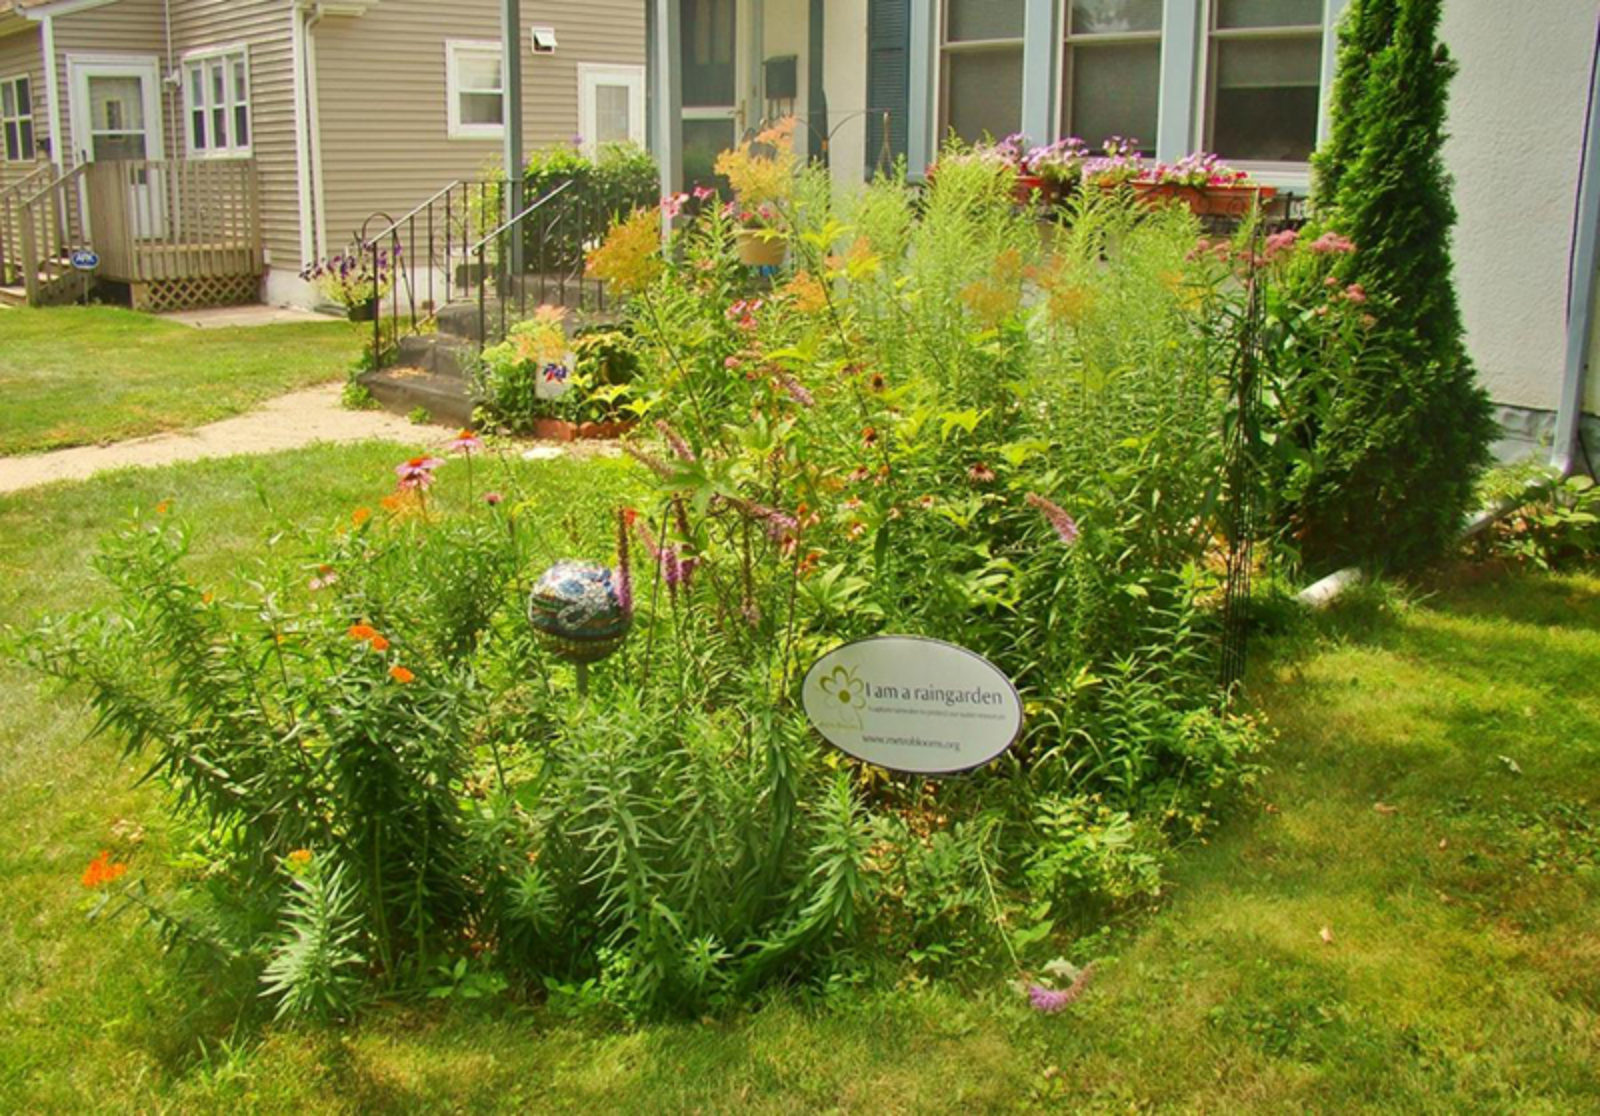
A rain garden is a bowl-shaped garden with a flat bottom that is designed to collect and infiltrate stormwater runoff from impervious surfaces such as roads, driveways, roofs, and sidewalks. Rain gardens serve as water filters, collecting polluted stormwater before it reaches our lakes and streams.
For more guidance on installing a rain garden, check out the Resilient Yards Online Learning Series.
Select your planting location
Steps to site your rain garden
- Look for a spot that is a minimum of 10 feet from any basement foundation.
- Avoid trees. Stay out of the dripline—roots generally extend at least as far as the leaves above them.
- Avoid utility lines and septic tanks. Call 811 to locate underground utility-owned lines and equipment.
- Direct downspouts, sump pump outlets, and/or driveway water runoff into the rain garden.
Conduct an infiltration test to see how much water your soil can infiltrate. This will inform how deep your rain garden can be.
- Dig a coffee can-sized hole in your chosen location.
- Fill your hole with water and let all of that water soak into the ground.
- Fill the hole with water again; mark the full water level with a stick or pencil to keep track of how long it takes all of the water to infiltrate.
- Measure the distance from the stick to the top of the water after one hour. Use the equation in the Design section to calculate the depth of your rain garden.
- Even though your soils may have the capacity to infiltrate more than 12” of stormwater, residential rain gardens are typically 4 – 9” deep.
Design considerations
- Calculate the size of your rain garden.
A = Area of your property draining to the rain garden, measured in square feet… (length x width)
D = Depth of rain garden in inches (from your infiltration test)
A / D = Garden Size
(This equation is for a 1-inch / 24-hr rain event)
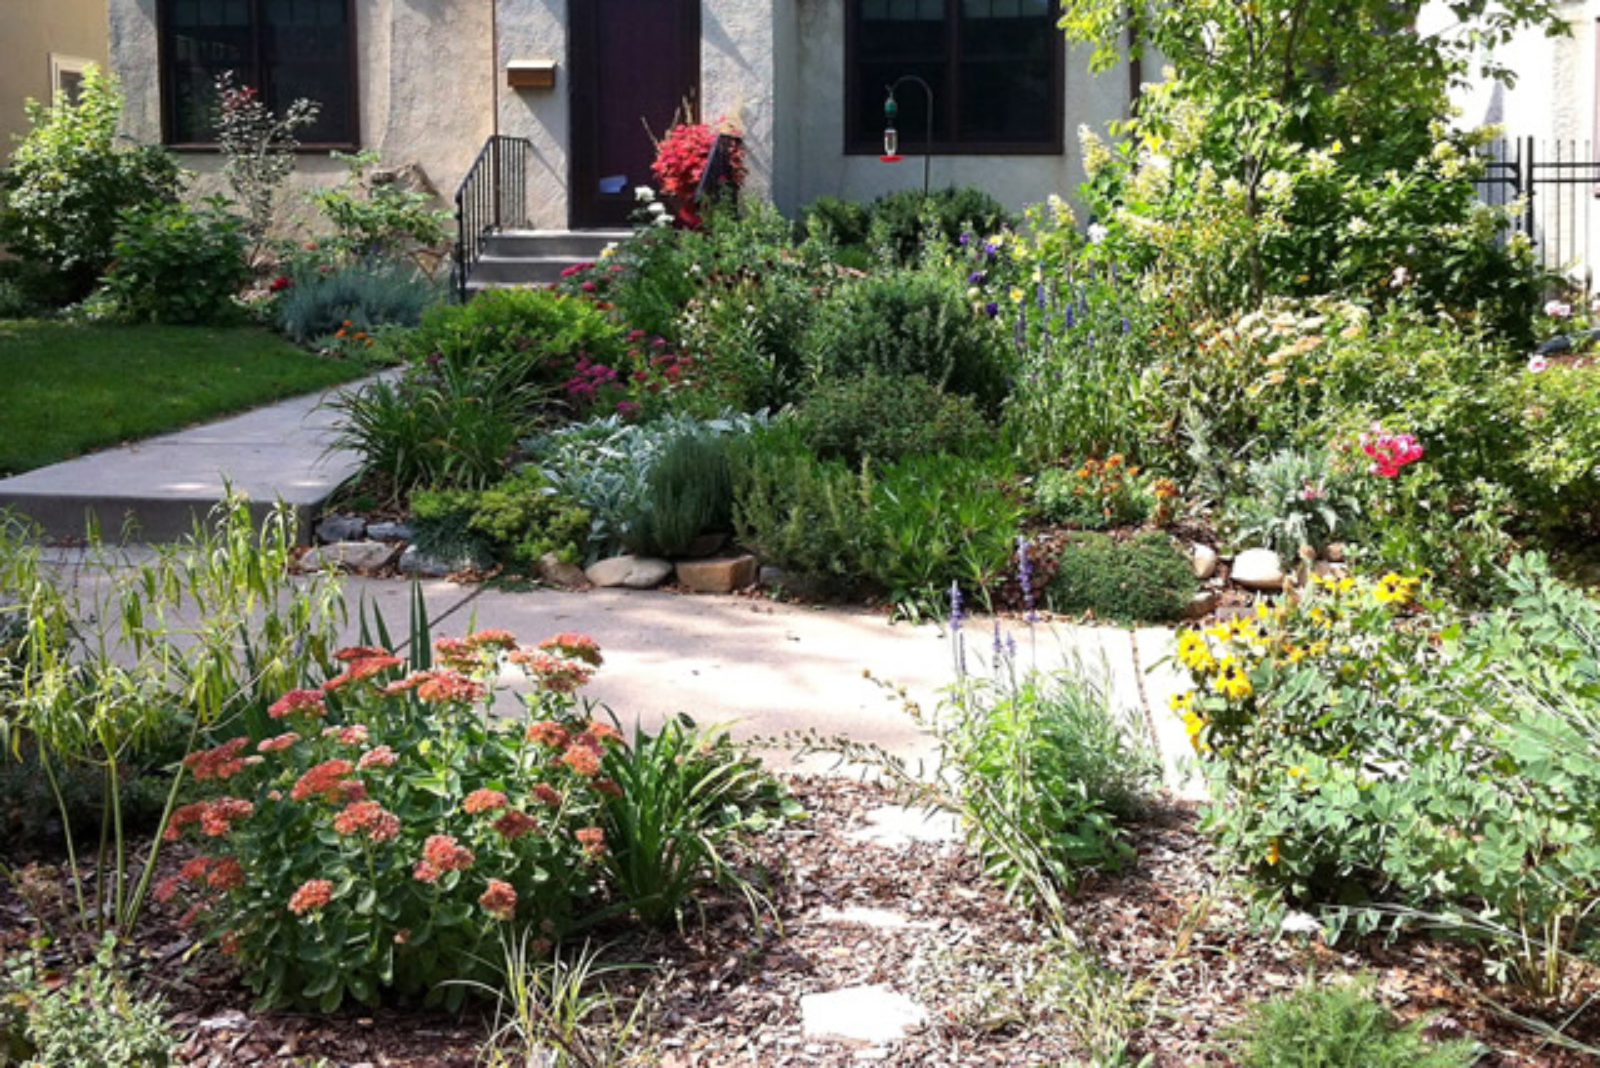
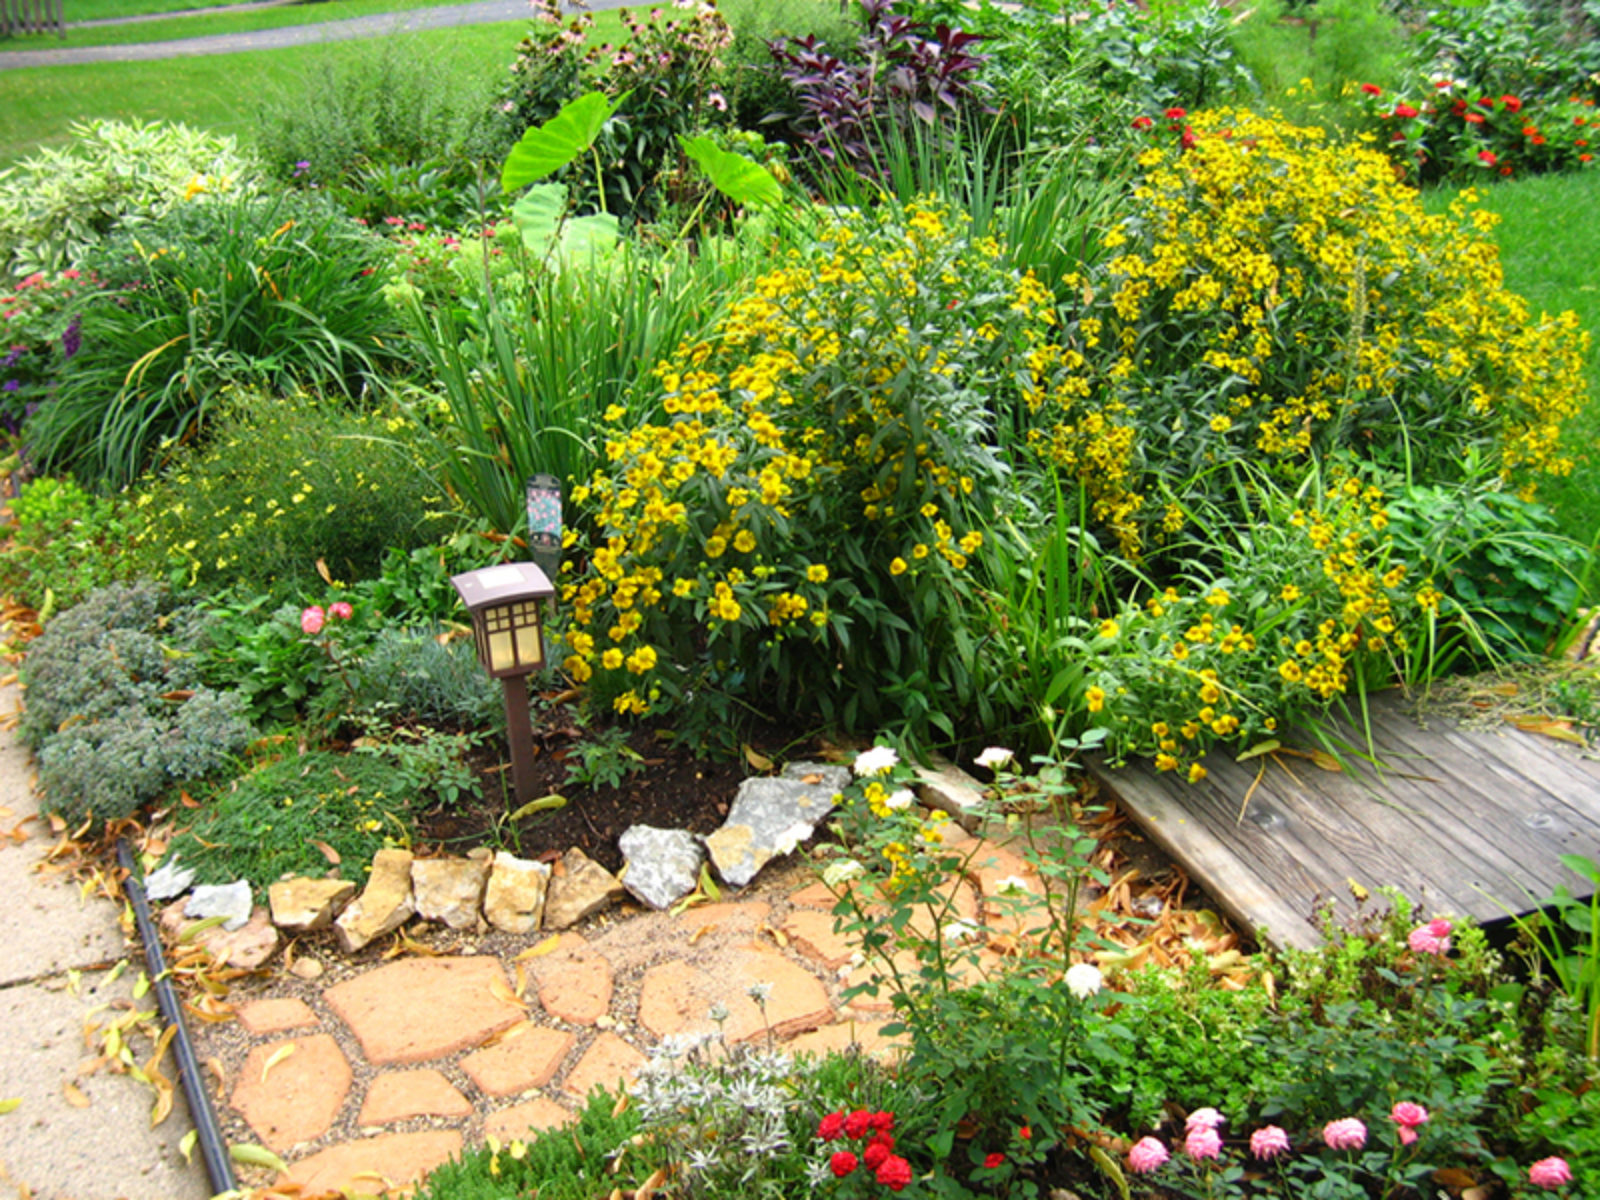
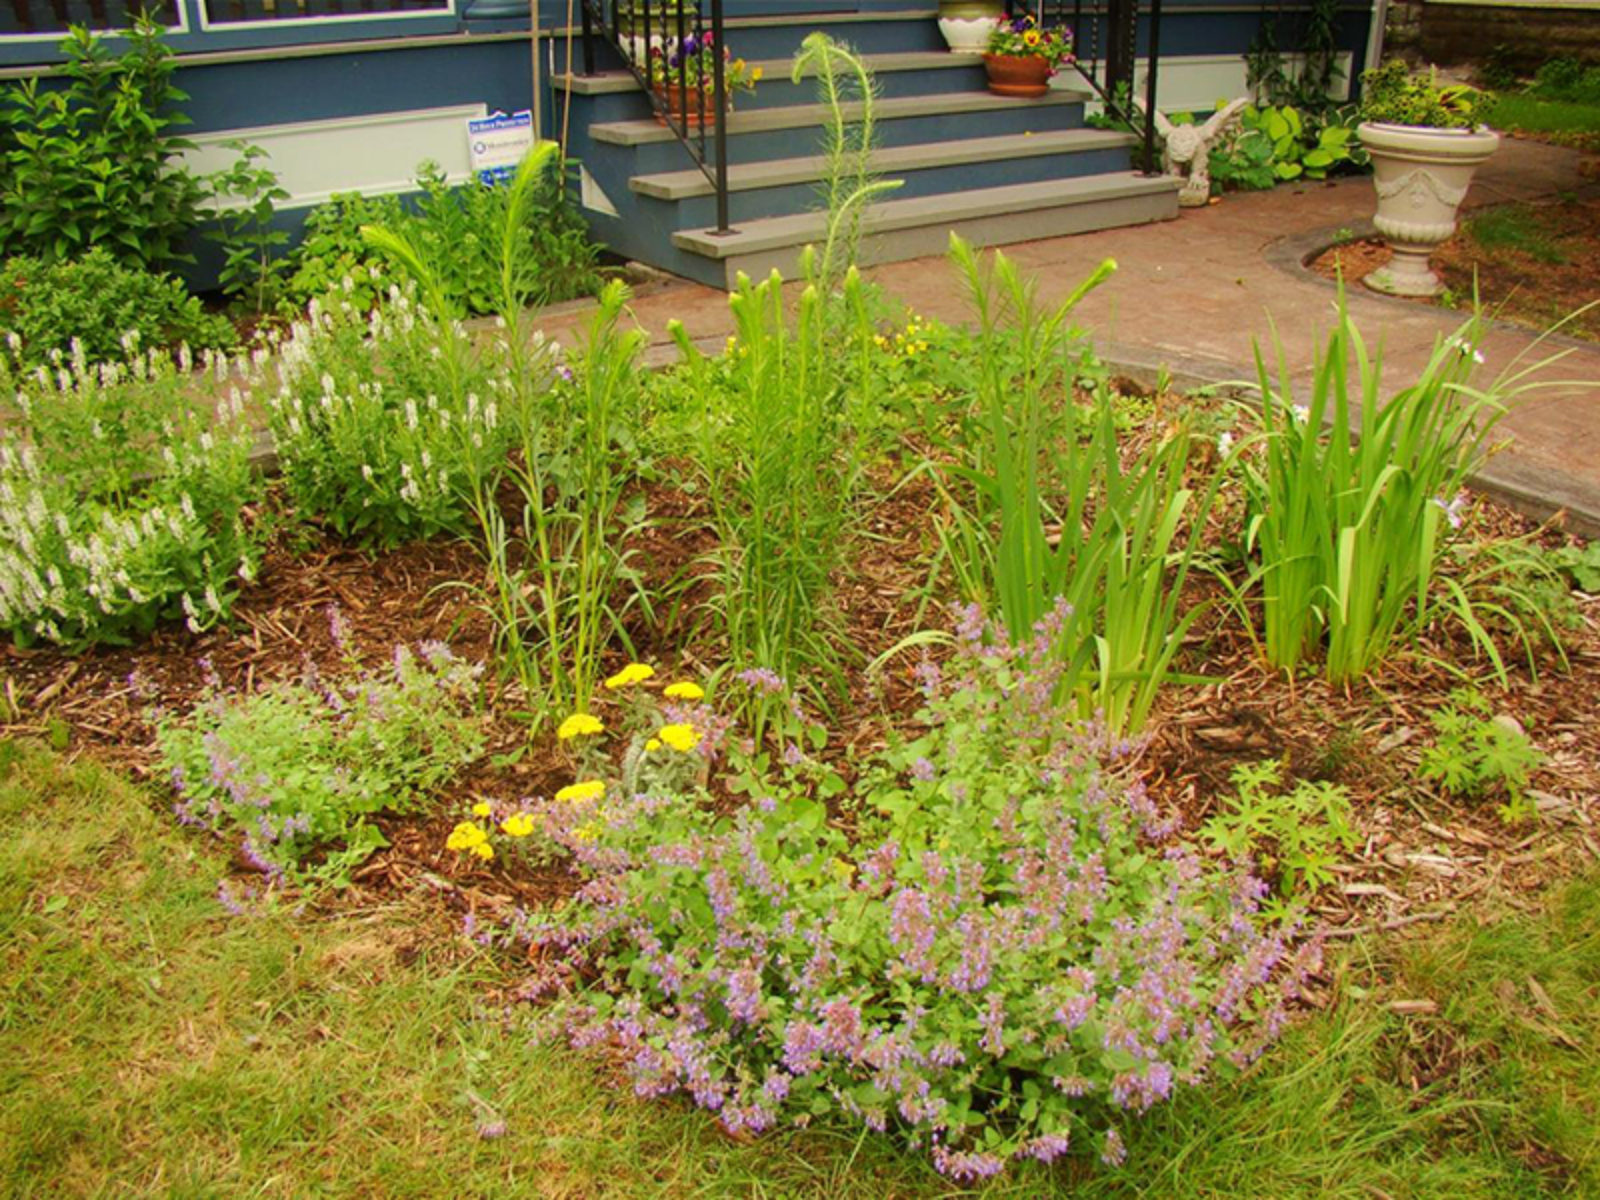
- Choose your plants. Select species that are suited for your site’s sun and soil conditions. Rain garden plants should be able to tolerate standing water for up to 48 hours. Several rain garden design templates are available on Blue Thumb’s Resources page.
- Special considerations for designing on a slope: If your yard is sloped, a small berm or retaining wall may be needed on the downhill side in order to hold water in the garden. Use stakes and a string to level the top of the garden and help you decide how high to make the berm or wall. Practice cut and fill; use soil dug from the basin to build the berm.
Use Blue Thumb’s Plant Finder to search for native plants that thrive in your site’s conditions!
Prepare your site
Once you’ve selected your site, calculated your rain garden’s size and depth, and selected your plants, it’s time to install your rain garden. You may choose to break up these tasks over several days or weekends.
- Gather your materials. Have at the ready double-shredded hardwood mulch, organic compost, rock (for conveyance), and your plants
- Lay out the rain garden using spray paint or a garden hose.
- Remove sod. See our Site Preparation Guide for sod removal options. Sod can be rolled up and reused, composted, or given away.
- Dig the basin. Start by excavating the basin area to desired depth, then simply turn over the side slope area. (Tips: Reuse the soil excavated from the basin for a berm on the downhill side of the garden or in a different place in the yard. Flip over sod rolls to serve as the base of a larger berm. Soil and sod may also be given away to neighbors or friends.
- Amend with compost. If your soil is sandy, spread a layer 1” think. A little bit goes a long way for native plants! Mix thoroughly to 12”.
- Grade slopes and flatten bottom. Check that the overflow/outlet is lower than the top of the inlet; be careful not to step in your garden
- Check your level. Use a 4’ level to make sure that the basin is flat.
- Mulch first. Applying mulch first is much easier, and it reduces soil compaction during planting!
- Then plant. Break apart the root balls and make sure to plant roots into soil rather than just the mulch. Watch this video for a quick how-to!
- Water. Plantings should receive at least 1” per week for the first year of establishment.
Maintaining your garden
Regular maintenance is essential for the success of your rain garden. Try to inspect your rain garden at least once a month to make sure that it is functioning properly.
Year 1:
- Ensure plants get a minimum of 1” of water per week, saturating the soil.
- Monitor for plant establishment, erosion of inlet or outlet, and ponding water. Ensure that water flows into the rain garden freely and remove trash and excess soil as necessary. Weed rain garden as needed. While working, take care to avoid trampling on plants or compacting soil.
- Leave ‘duff’ (decaying plant material) until spring of the following year and cut back before new growth begins. This will increase insect and bird habitat throughout winter dormancy.
Year 2:
- Clear basin of any leaves, sediment or trash that may have collected over the winter.
- Monitor for plant establishment, erosion of inlet or outlet, and ponding water. Ensure that water flows into the rain garden freely and remove trash and excess soil as necessary. Weed rain garden as needed. While working, take care to avoid trampling on plants or compacting soil.
- Replace mulch in the basin area if desired; after year three replace as needed
- Replace any plants that did not survive.
- Cut back last year’s growth before spring emergence of new growth.
Give it patience! Native plant seeds may take months or years to germinate. Small plugs usually take 3 years to grow to maturity. Even larger plants can spend the first growing season establishing a strong root system before they fill out above the ground.
For more year-round rain garden installation and maintenance information, check out the Resilient Yards Online Learning Series.
Go back to Plan a Project page