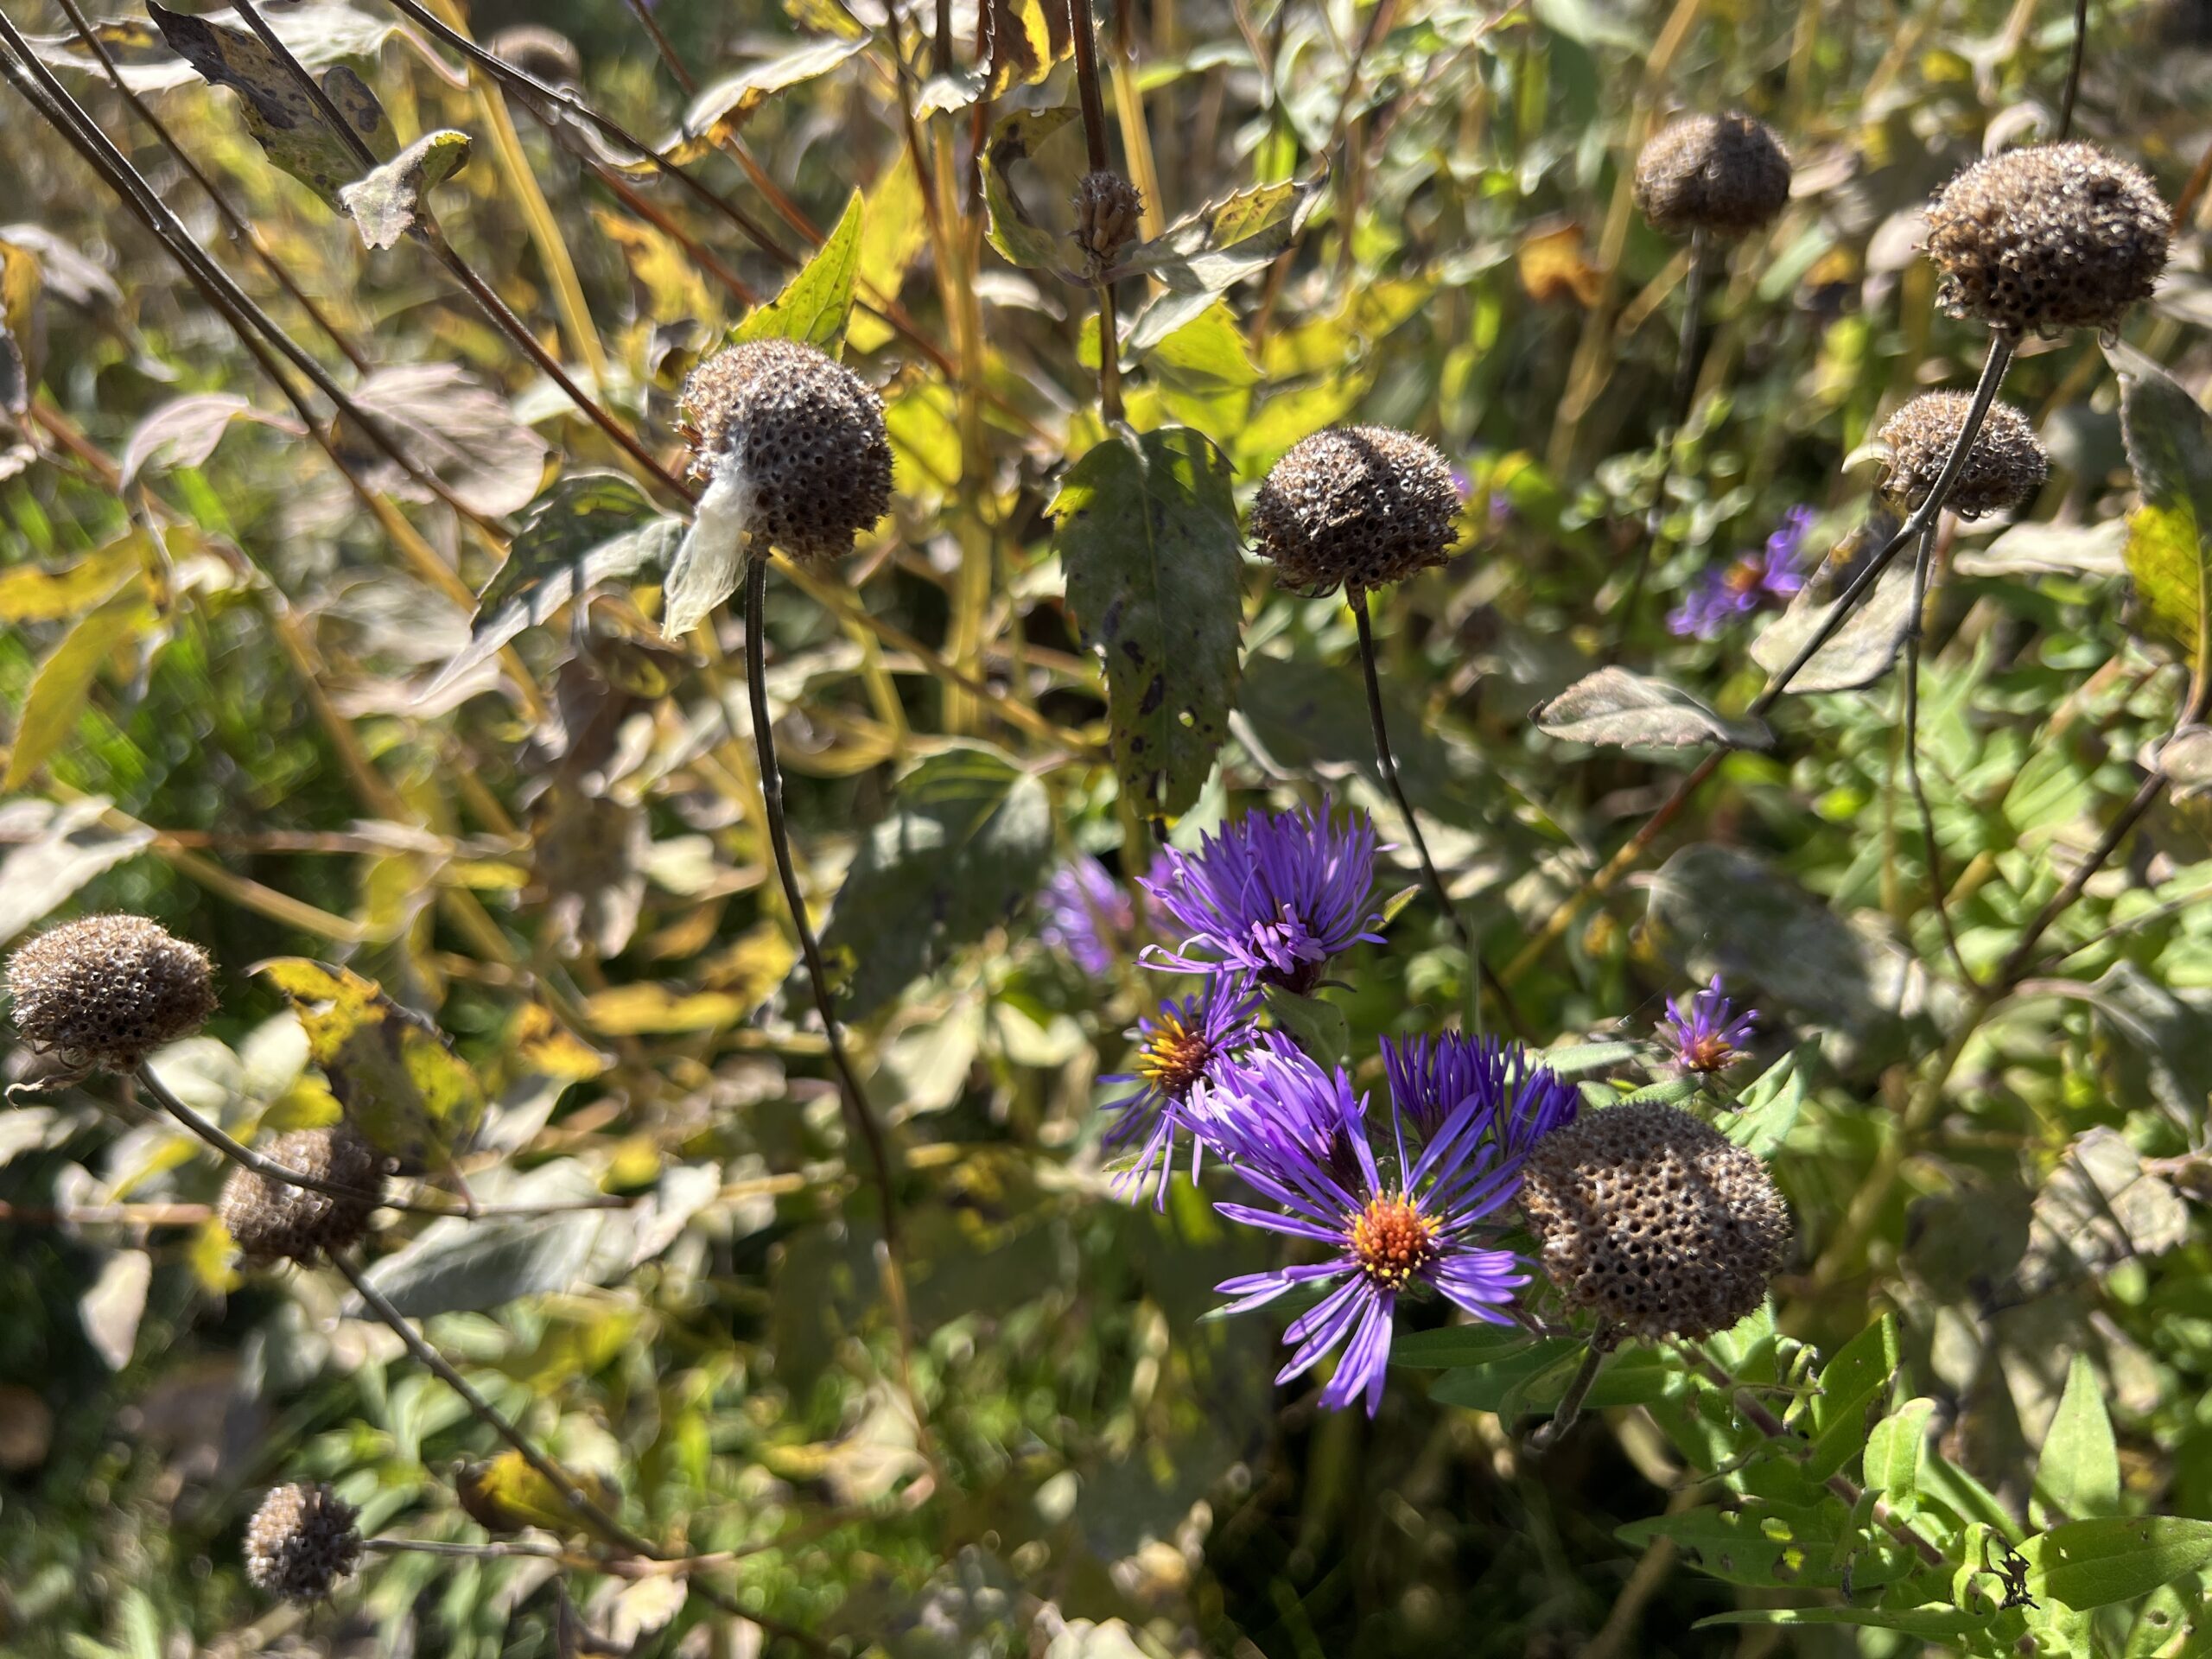
It’s easy to appreciate native plants for their colorful and varied blooms. But as autumn drifts in, petals wither and flower heads dry out. In their place, seeds are released that carry the promise of future generations of plants. Seeds are an under-appreciated part of native plants that deserve our attention. Beyond their beauty, we can learn how to harvest, store, and plant native seeds to rebuild habitat and help pollinators and ecosystems thrive.
The best part is, you don’t have to buy your native seeds from the store. Collecting seeds from your local environment can be a cost-effective method of expanding your garden and allows you to get to know native plants in a deeper way.
Earlier this fall, Blue Thumb hosted a Native Seed Collection Workshop at Minneapolis’s Northeast Middle School raingarden. We learned some great tips from the MN SEED Project and want to share them with you here. We’ll also cover a couple of techniques you can use to plant your seeds this winter. (Plant seeds in the winter? You heard that right!)
Finding Seeds
 Always ask for permission before you collect seeds. Collecting seeds may not be permitted on public land, such as a park. Eyeing your neighbor’s milkweed patch? Maybe you have some seeds yourself to share, and can do a seed swap!
Before you leave your house, gather your materials. Empty seed packets or paper envelopes do the trick for holding your collected seeds. Bring a pen or pencil to label your envelopes. Pruning shears or scissors can be used to cut off seed heads from tough plants.
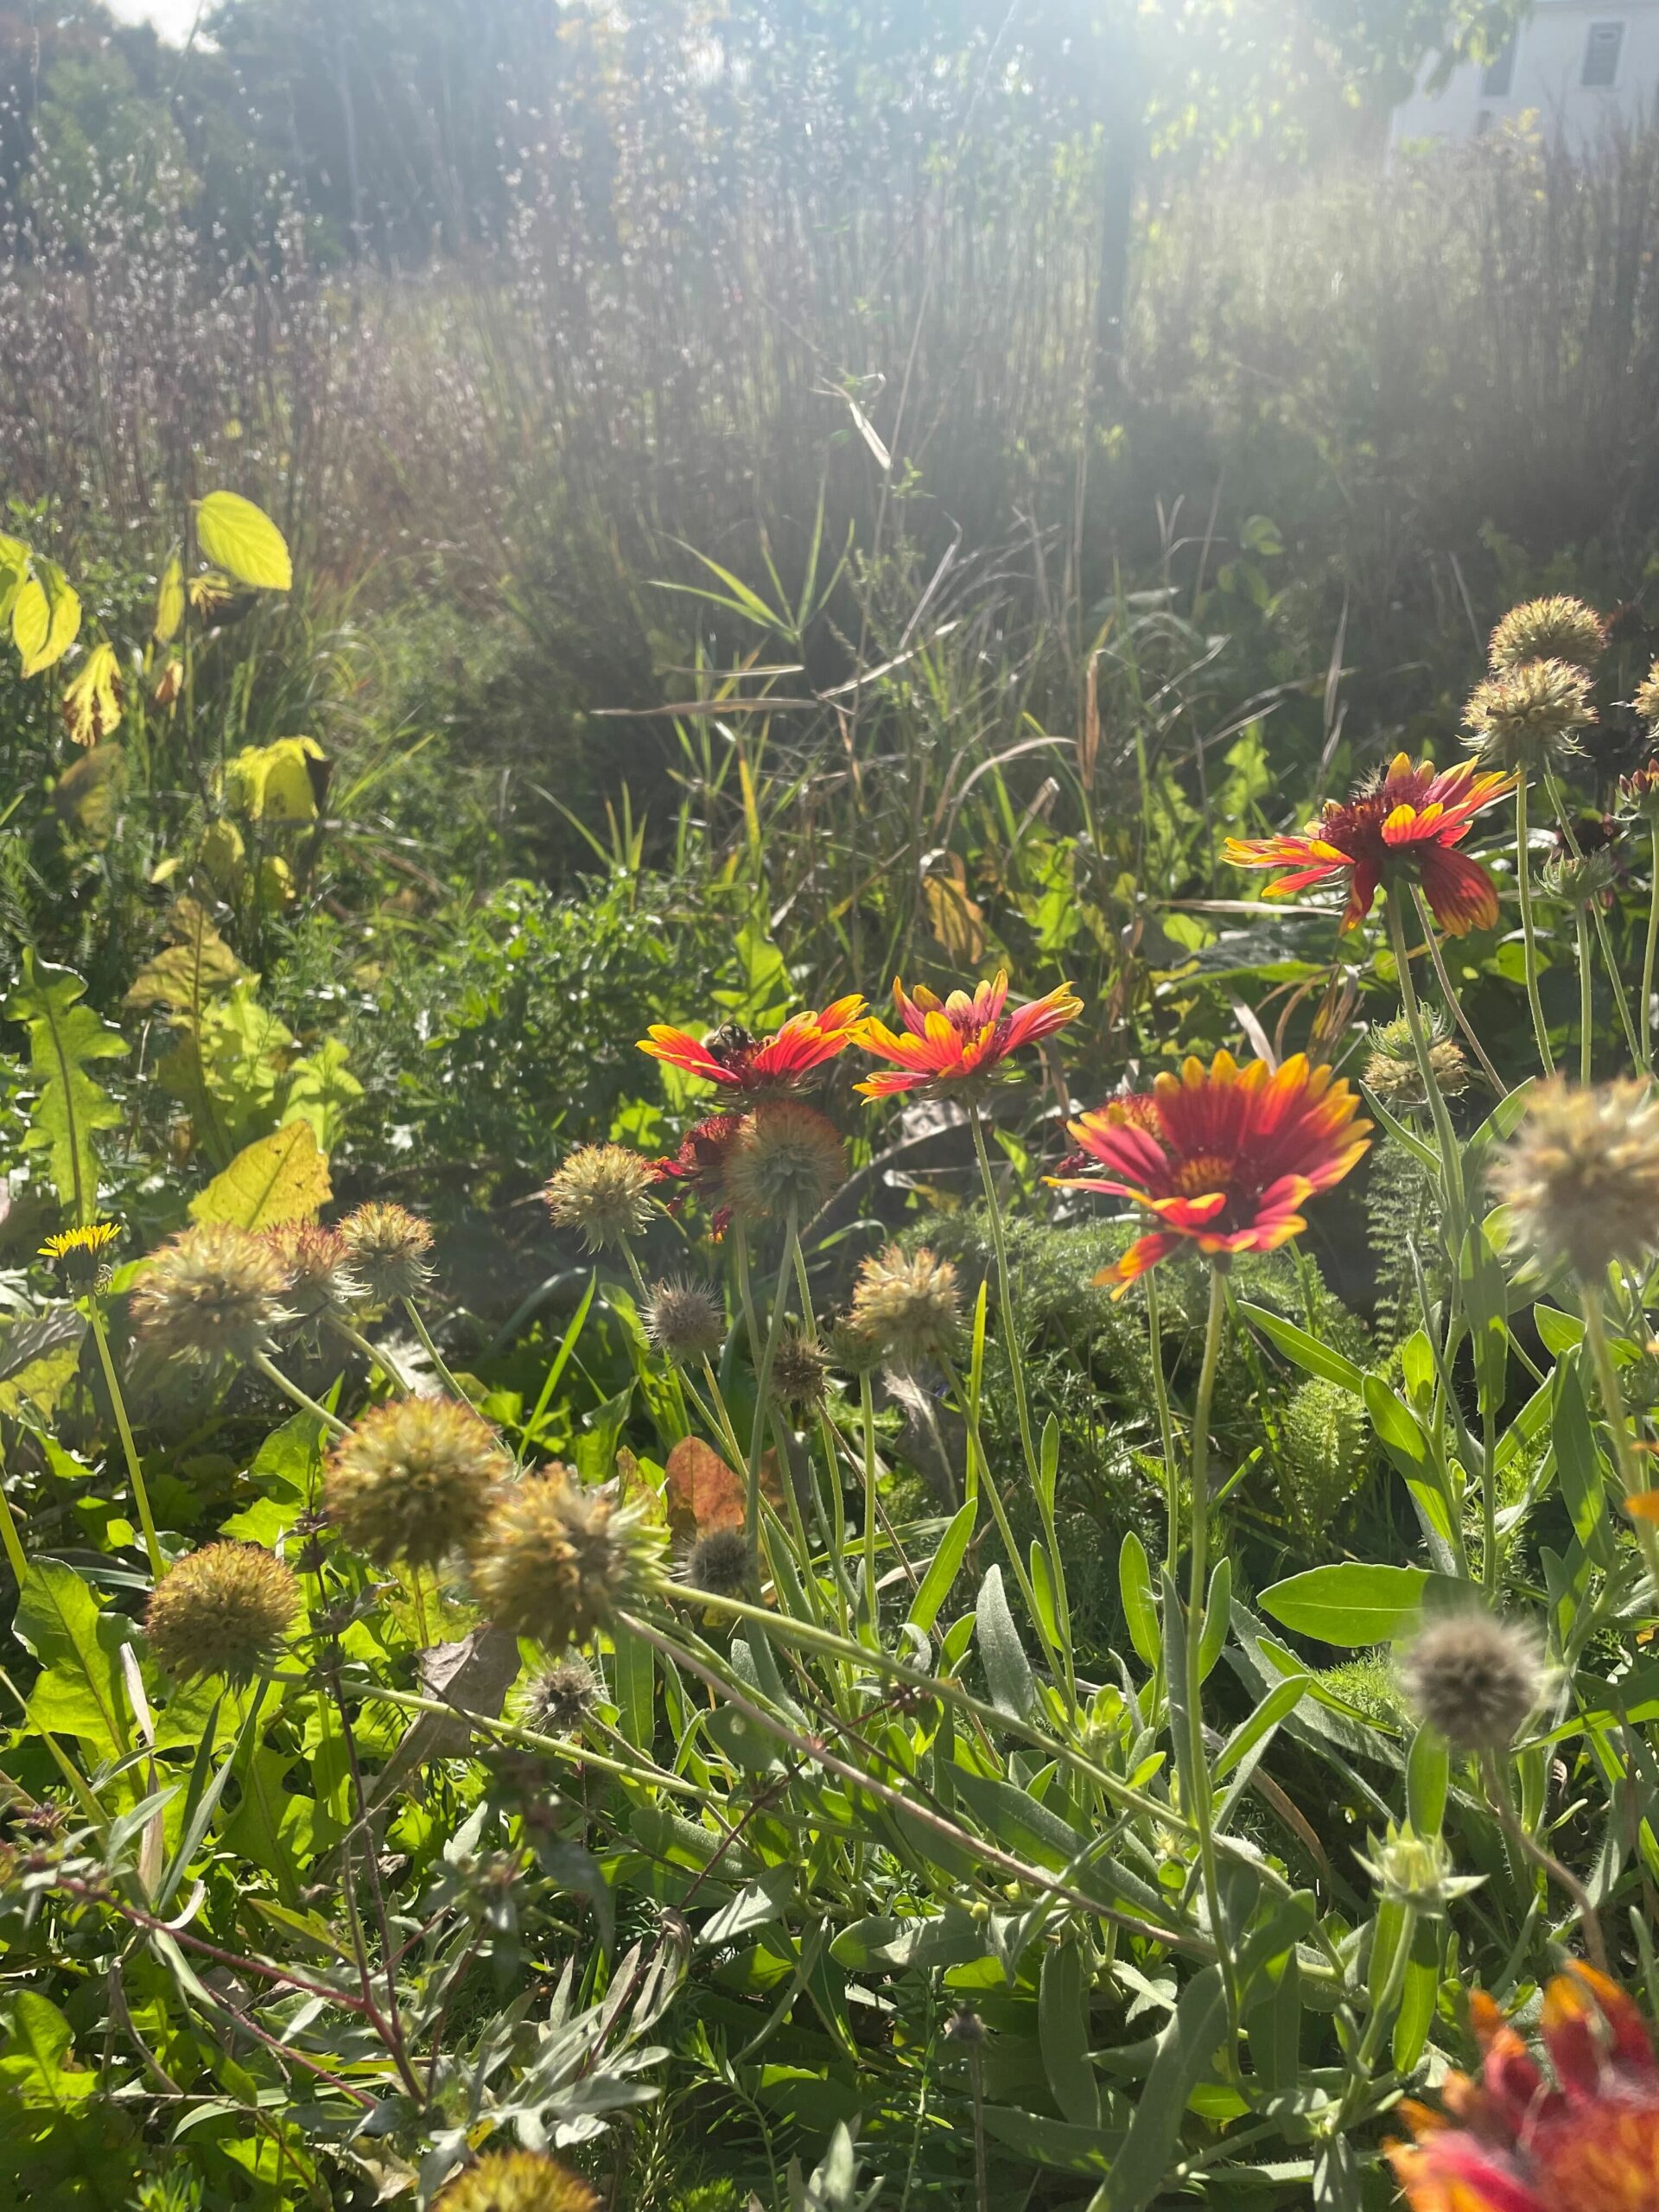
Once you arrive at your site, take some time to explore. Notice the varieties of plants present. As native plants lose their blooms, identifying species can become harder. When in doubt, use a plant ID app. Seek by iNaturalist or PlantNet are both good options.
When collecting native seeds, it’s important to only take 10-20% of a species’ seeds at a site so that it can keep providing habitat and food for wildlife. If you know that a plant is rare or only a few are present at the site, leave it be.
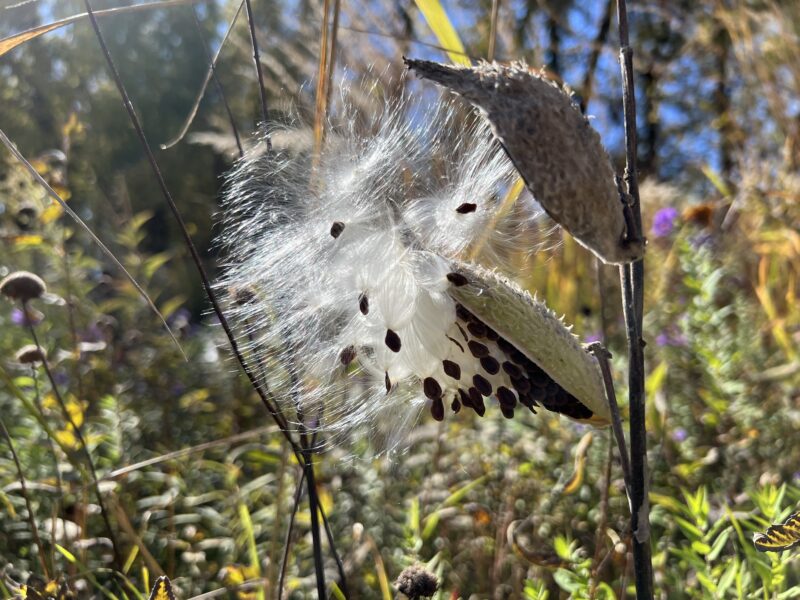
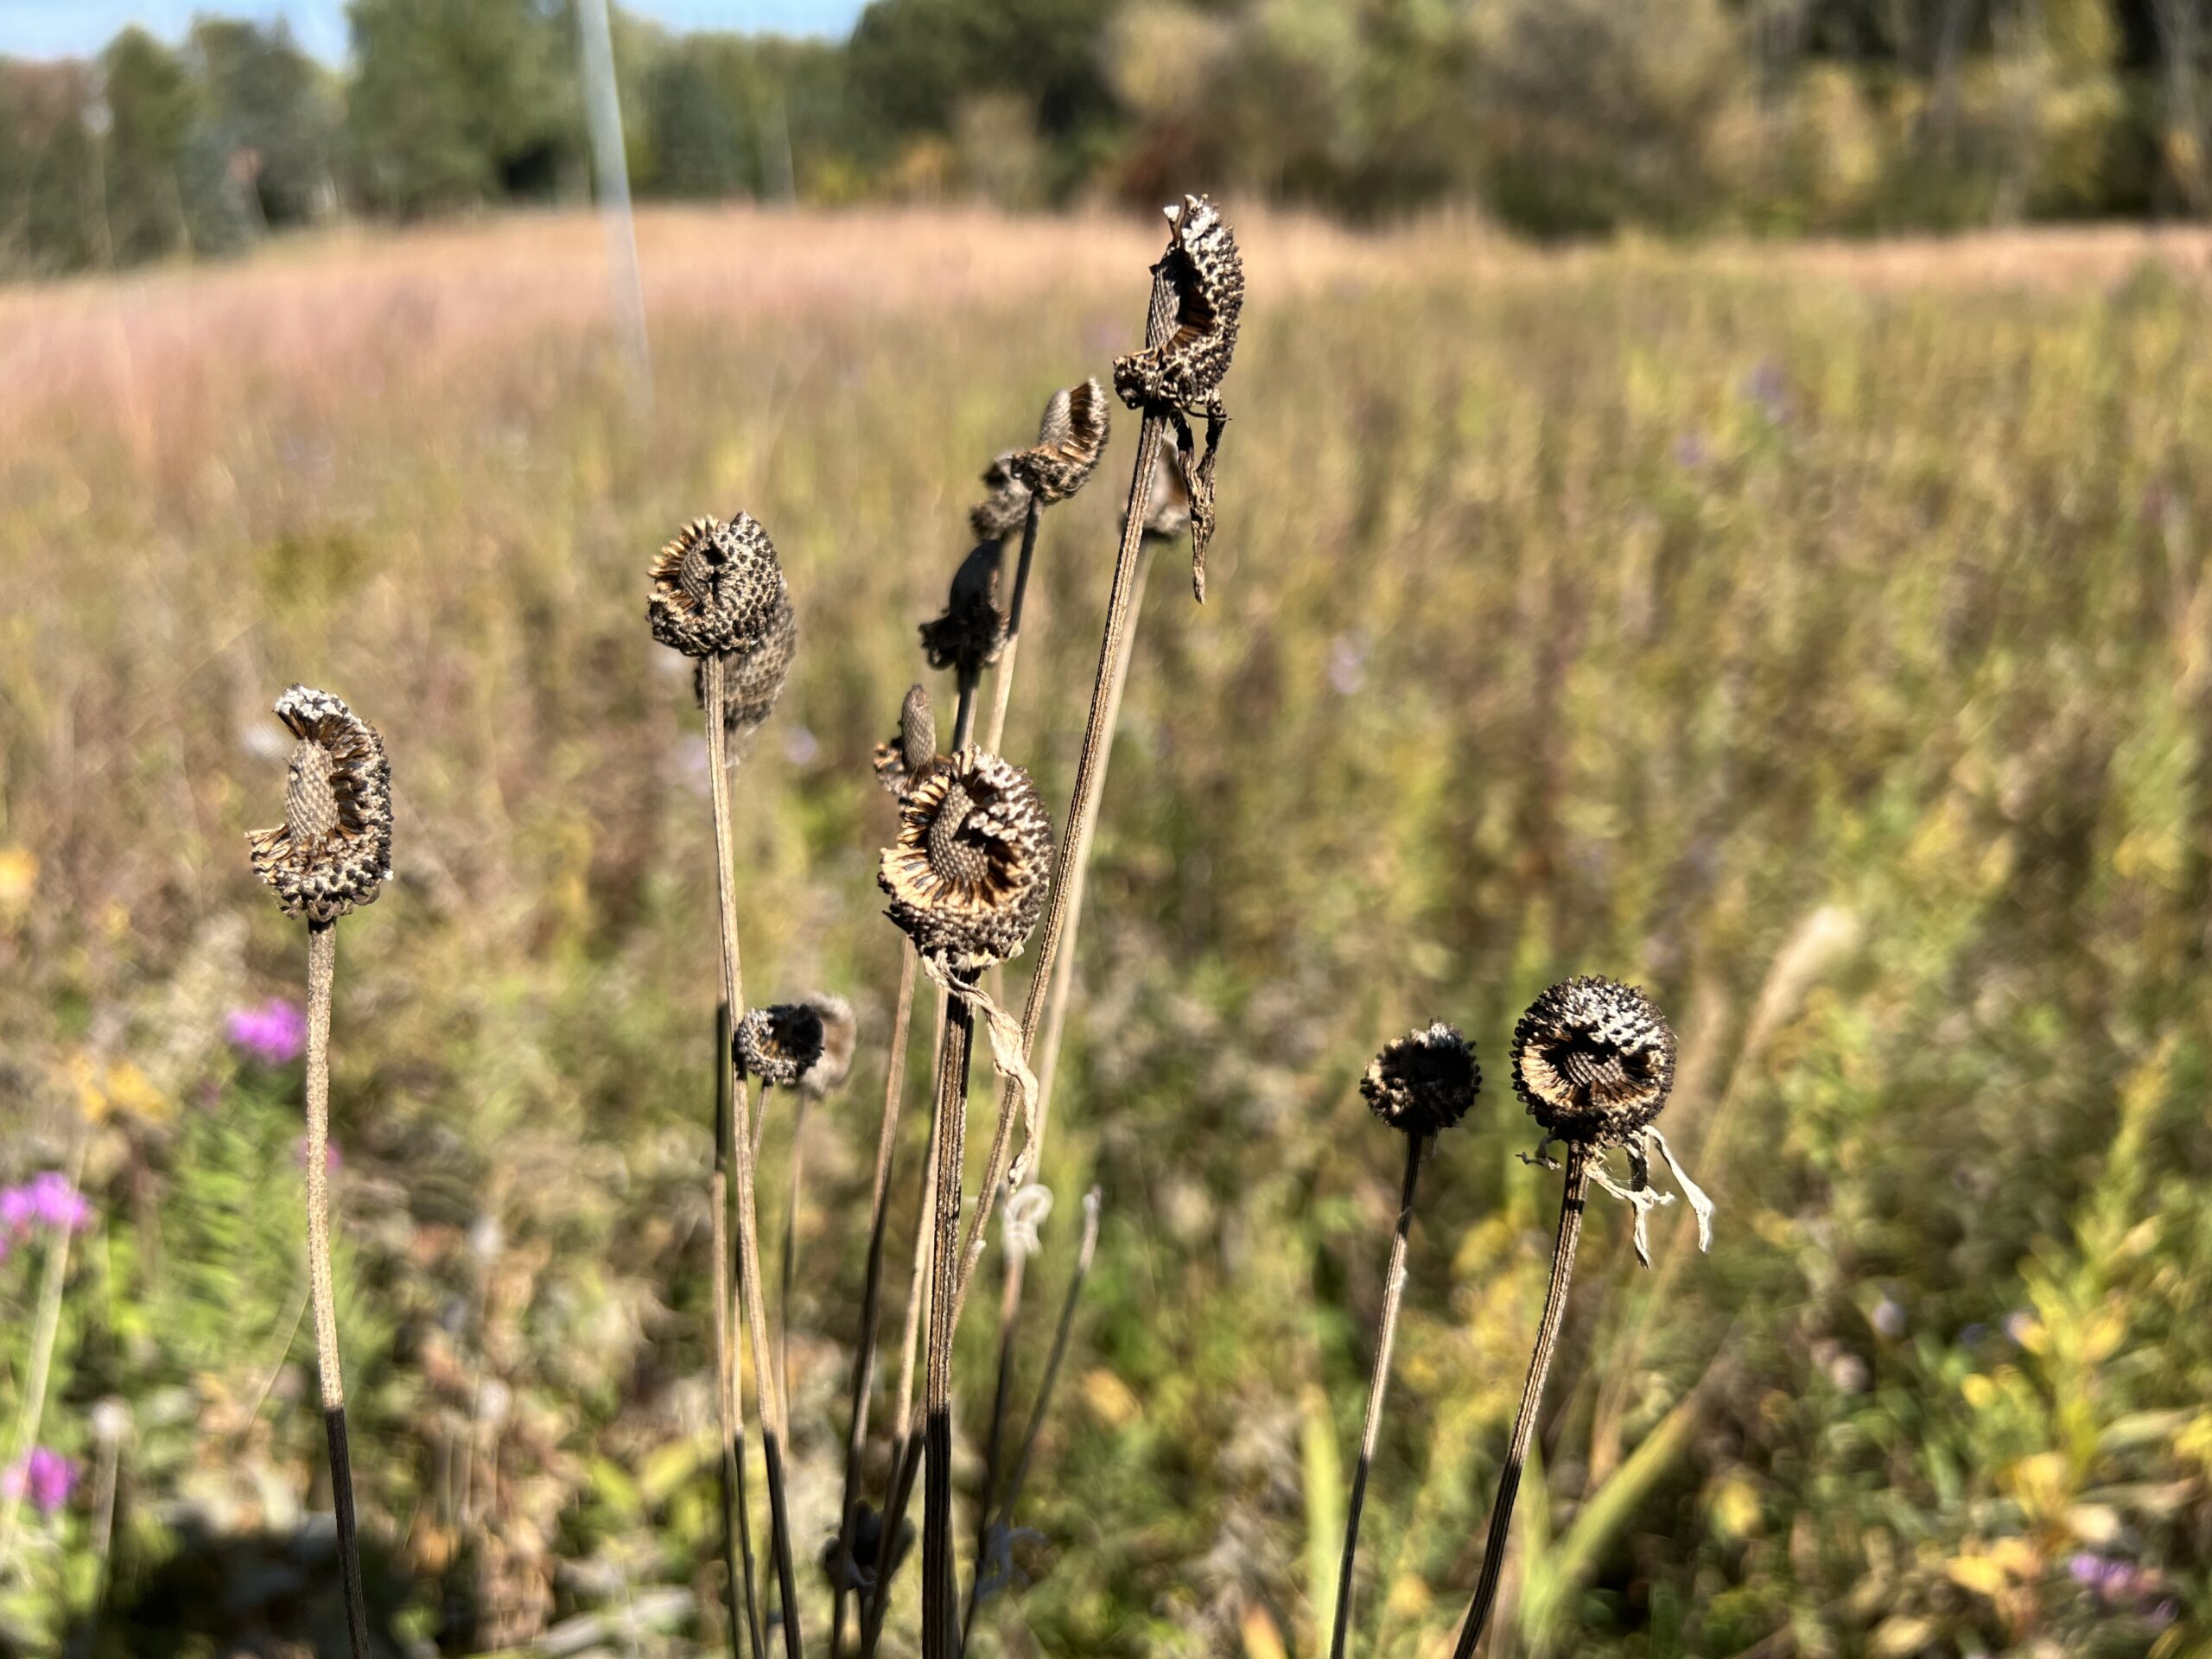
Once you find a plant you’d like to collect seeds from, it’s time to check whether the seeds are ready. When it comes to seed collecting, timing is key. Seeds collected too early may not be viable, and seeds collected too late are vulnerable to insect infestation and decay. In general, native seeds are ready to collect if:
- They detach easily from the rest of the plant, crumbling off with little resistance.
- The seed color has darkened, such as from white or green to yellow, brown, or black.
- The seed is hard and dry.
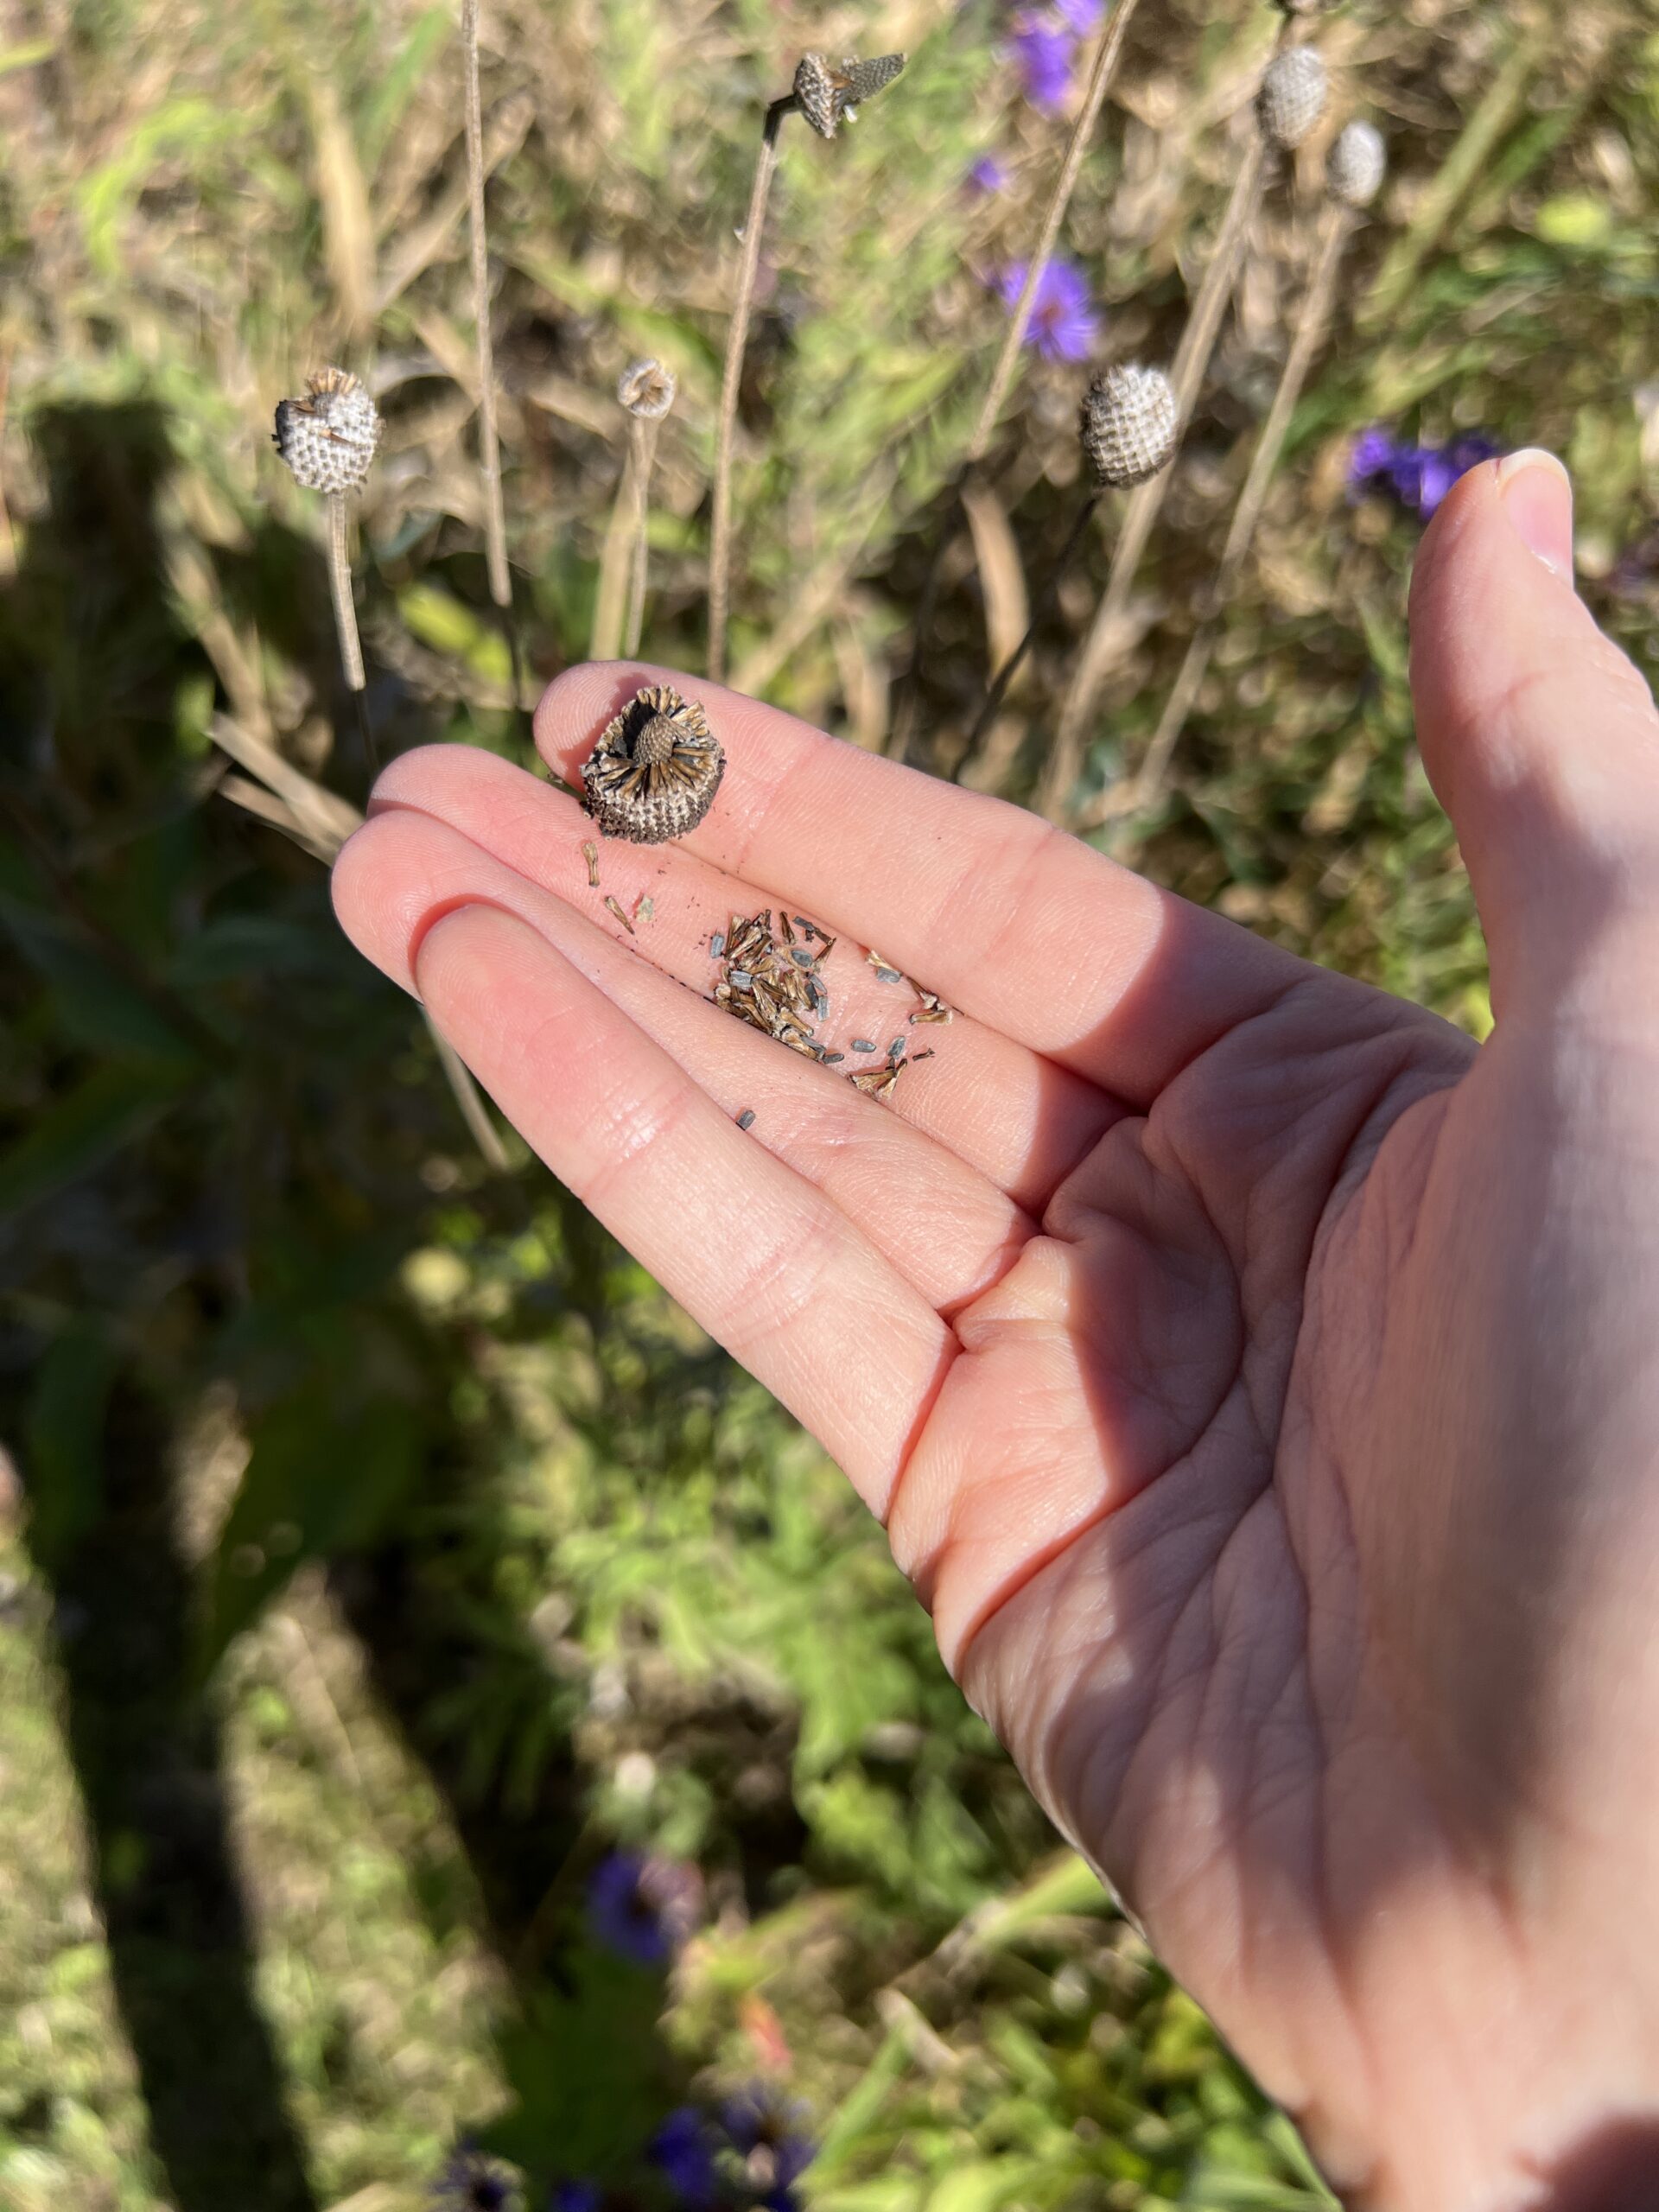 Seed collecting technique varies from species to species, but the basic approach includes two parts: loosening the seeds from the plant and removing the chaff (the seed’s protective casing). Most flowers that are ready will only require a gentle shaking of the seed head into your envelope to get the ripe seeds to fall out. Some flowers will need an extra pinch or push down the seed head to get the seeds into your envelope.
You can remove the chaff from your seeds on site or at home:
- After you shake the seeds off the seed head, loosen the chaff from the seed by rolling the seeds between your fingers. This is called threshing the seeds.
- Once the chaff has been loosened, blow on the seeds to fully remove them. This is called winnowing the seeds.
- After collecting your seeds, label your envelope with the species name, location, and date of collection. Back at home, store your seeds in a cool, dark place.
For more detailed guidance, examples of seed collecting techniques for different common native plants, and video demonstrations, check out the Seed Saving course in Blue Thumb’s free Resilient Yards Online Learning Series.
Planting Your Seeds
 You don’t have to wait until the spring to plant your seeds! Sowing your native seeds in late autumn or winter sets up your garden for success. This is because the chilly conditions of winter are vital in the germination process. Low temperatures jumpstart a process called cold stratification, where the seed coat of a seed breaks down. Many perennials require cold stratification to germinate in the spring.
There are a couple of approaches to planting: dormant seeding and winter seed sowing. Dormant seeding is a good option if you have enough seeds to transform a section of your yard into a pollinator meadow. Spread your seeds in late fall, ideally right before the first snow. The snow will act like a blanket, protecting the seeds from birds and keeping the seeds in place. Look at our Dormant Seeding Guide for detailed steps on site prep and seeding technique!
If you have fewer seeds to work with and want to be strategic about your planting design, give winter seed sowing a try. Winter seed sowing involves planting your seeds outdoors in a closed container such as a milk jug through the winter months. By spring, you’ll have hearty seedlings that you can transplant to your spot of choice! It’s best to winter sow when temperatures are consistently cold to prevent seeds from emerging from dormancy early. Once they are outside, all you need to do is occasionally check that your seeds are receiving adequate moisture and that the drainage holes of your container are working. Our Winter Seed Sowing Guide covers how to prepare your container, sow your seeds, and transplant them in spring.
Practice Patience
Starting native plants from seed saves money and is a hands-on way of getting to know your garden from the ground up. While the process takes more time than buying plug plants from the store, it can be fun to witness the full growth of your native plants while knowing the place that they came from. And don’t be afraid to bring your neighbors, friends, and family along the journey! One person at a time, we can build a local economy of people growing, exchanging, and collecting native seeds together to build connected coordinators of pollinator habitat.
Resources:
- Sign up for the free Resilient Yards Online Learning Series and gain access to our new Seed Saving course. (If you’ve already signed up, login to your account to view the new course!)
- Get more tips on starting a pollinator lawn in this Dormant Seeding Infographic
- Plant seeds outdoors this winter with help from the Winter Seed Sowing Guide
- Follow the MN SEED Project and sign up for updates
- Free webinar from Urban Roots on growing native plants from seed
- Learn more about the growing movement of seed saving from Minnesota Conservation Volunteer
– Megan Reich, Metro Blooms Communications and Program Manager