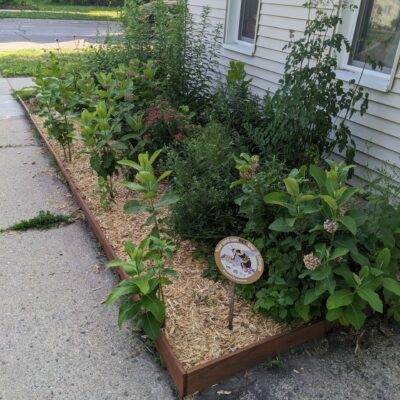
Native plants are hardy. Well-adapted to Minnesota’s harsh winters and summer heat, they don’t need much care to thrive. Once established, they provide food for pollinators, strengthen soil, and clean water with little help from humans. However, a native garden will need some attention during the first few years of its life to thrive in the long run.
Luckily, it only takes a little time and a few simple habits to maintain your new pollinator planting. Understanding the basic elements of a maintenance routine will equip you with the tools to provide for your plants’ needs and hopefully start you on a journey of learning more about your plants and celebrating their growth!
We walk through the steps of a typical summer maintenance session below. Along the way, we’ll hear insights from Lawns to Legumes volunteer coaches and Ab Fleming, Sustainable Landcare Manager with Metro Blooms Design + Build. Let’s get garden-tending!
Just Checking In
Make a habit of visiting your garden every few days to see how it’s doing. Whenever Fleming arrives at a site for maintenance, they first take note of what plants are present and blooming. Eva, a Lawns to Legumes coach from northern Anoka County shares, “Try walking through a part of your planting every day. This helps you notice weeds, water needs, and disease before anything gets out of hand.” What changes do you notice? What plants are different pollinators visiting? The more time you spend simply observing your planting, the more you will learn!
Which One’s the Weed?
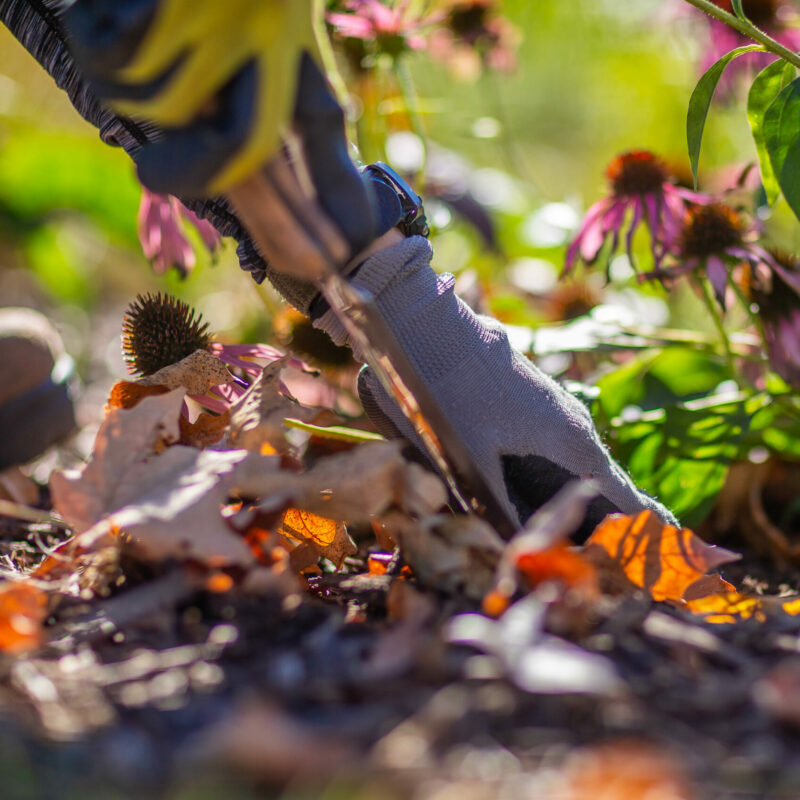
Next, it’s time to weed. Any plant can be considered a weed—it all depends on perspective and the purpose of your garden. For the purposes of a native planting, a weed is any unwanted species competing with the native plants that you installed intentionally. That being said, telling the difference between your intentionally-planted plants and weeds can be challenging, especially when plants are still small.
“When you don’t know where to start, it’s helpful to have an idea of what should be there,” says Fleming. If you made a planting map, you can use it as a visual reference for the location of your native plants. You can also put labeled markers next to your native plants. Plant ID apps like PictureThis and PlantNet can help you identify a weed with the snap of a photo, although they are less accurate when weeds are still seedlings. UMN Extension also has a handy weed ID tool.
If you’re planning a new planting area, Lawns to Legumes coach Mary from Minneapolis suggests planting species in groups so that they are easier to distinguish from weeds. Applying 3-4 inches of mulch at the time of planting can also help suppress weed growth. Reapply mulch sparingly through the first few years to keep weeds at bay.
In the end, it comes down to practice. As Lawns to Legumes coach Tim from St. Cloud shares, “The more you see these plants, the more knowledgeable you become in understanding what they are and if they are something you don’t want.”
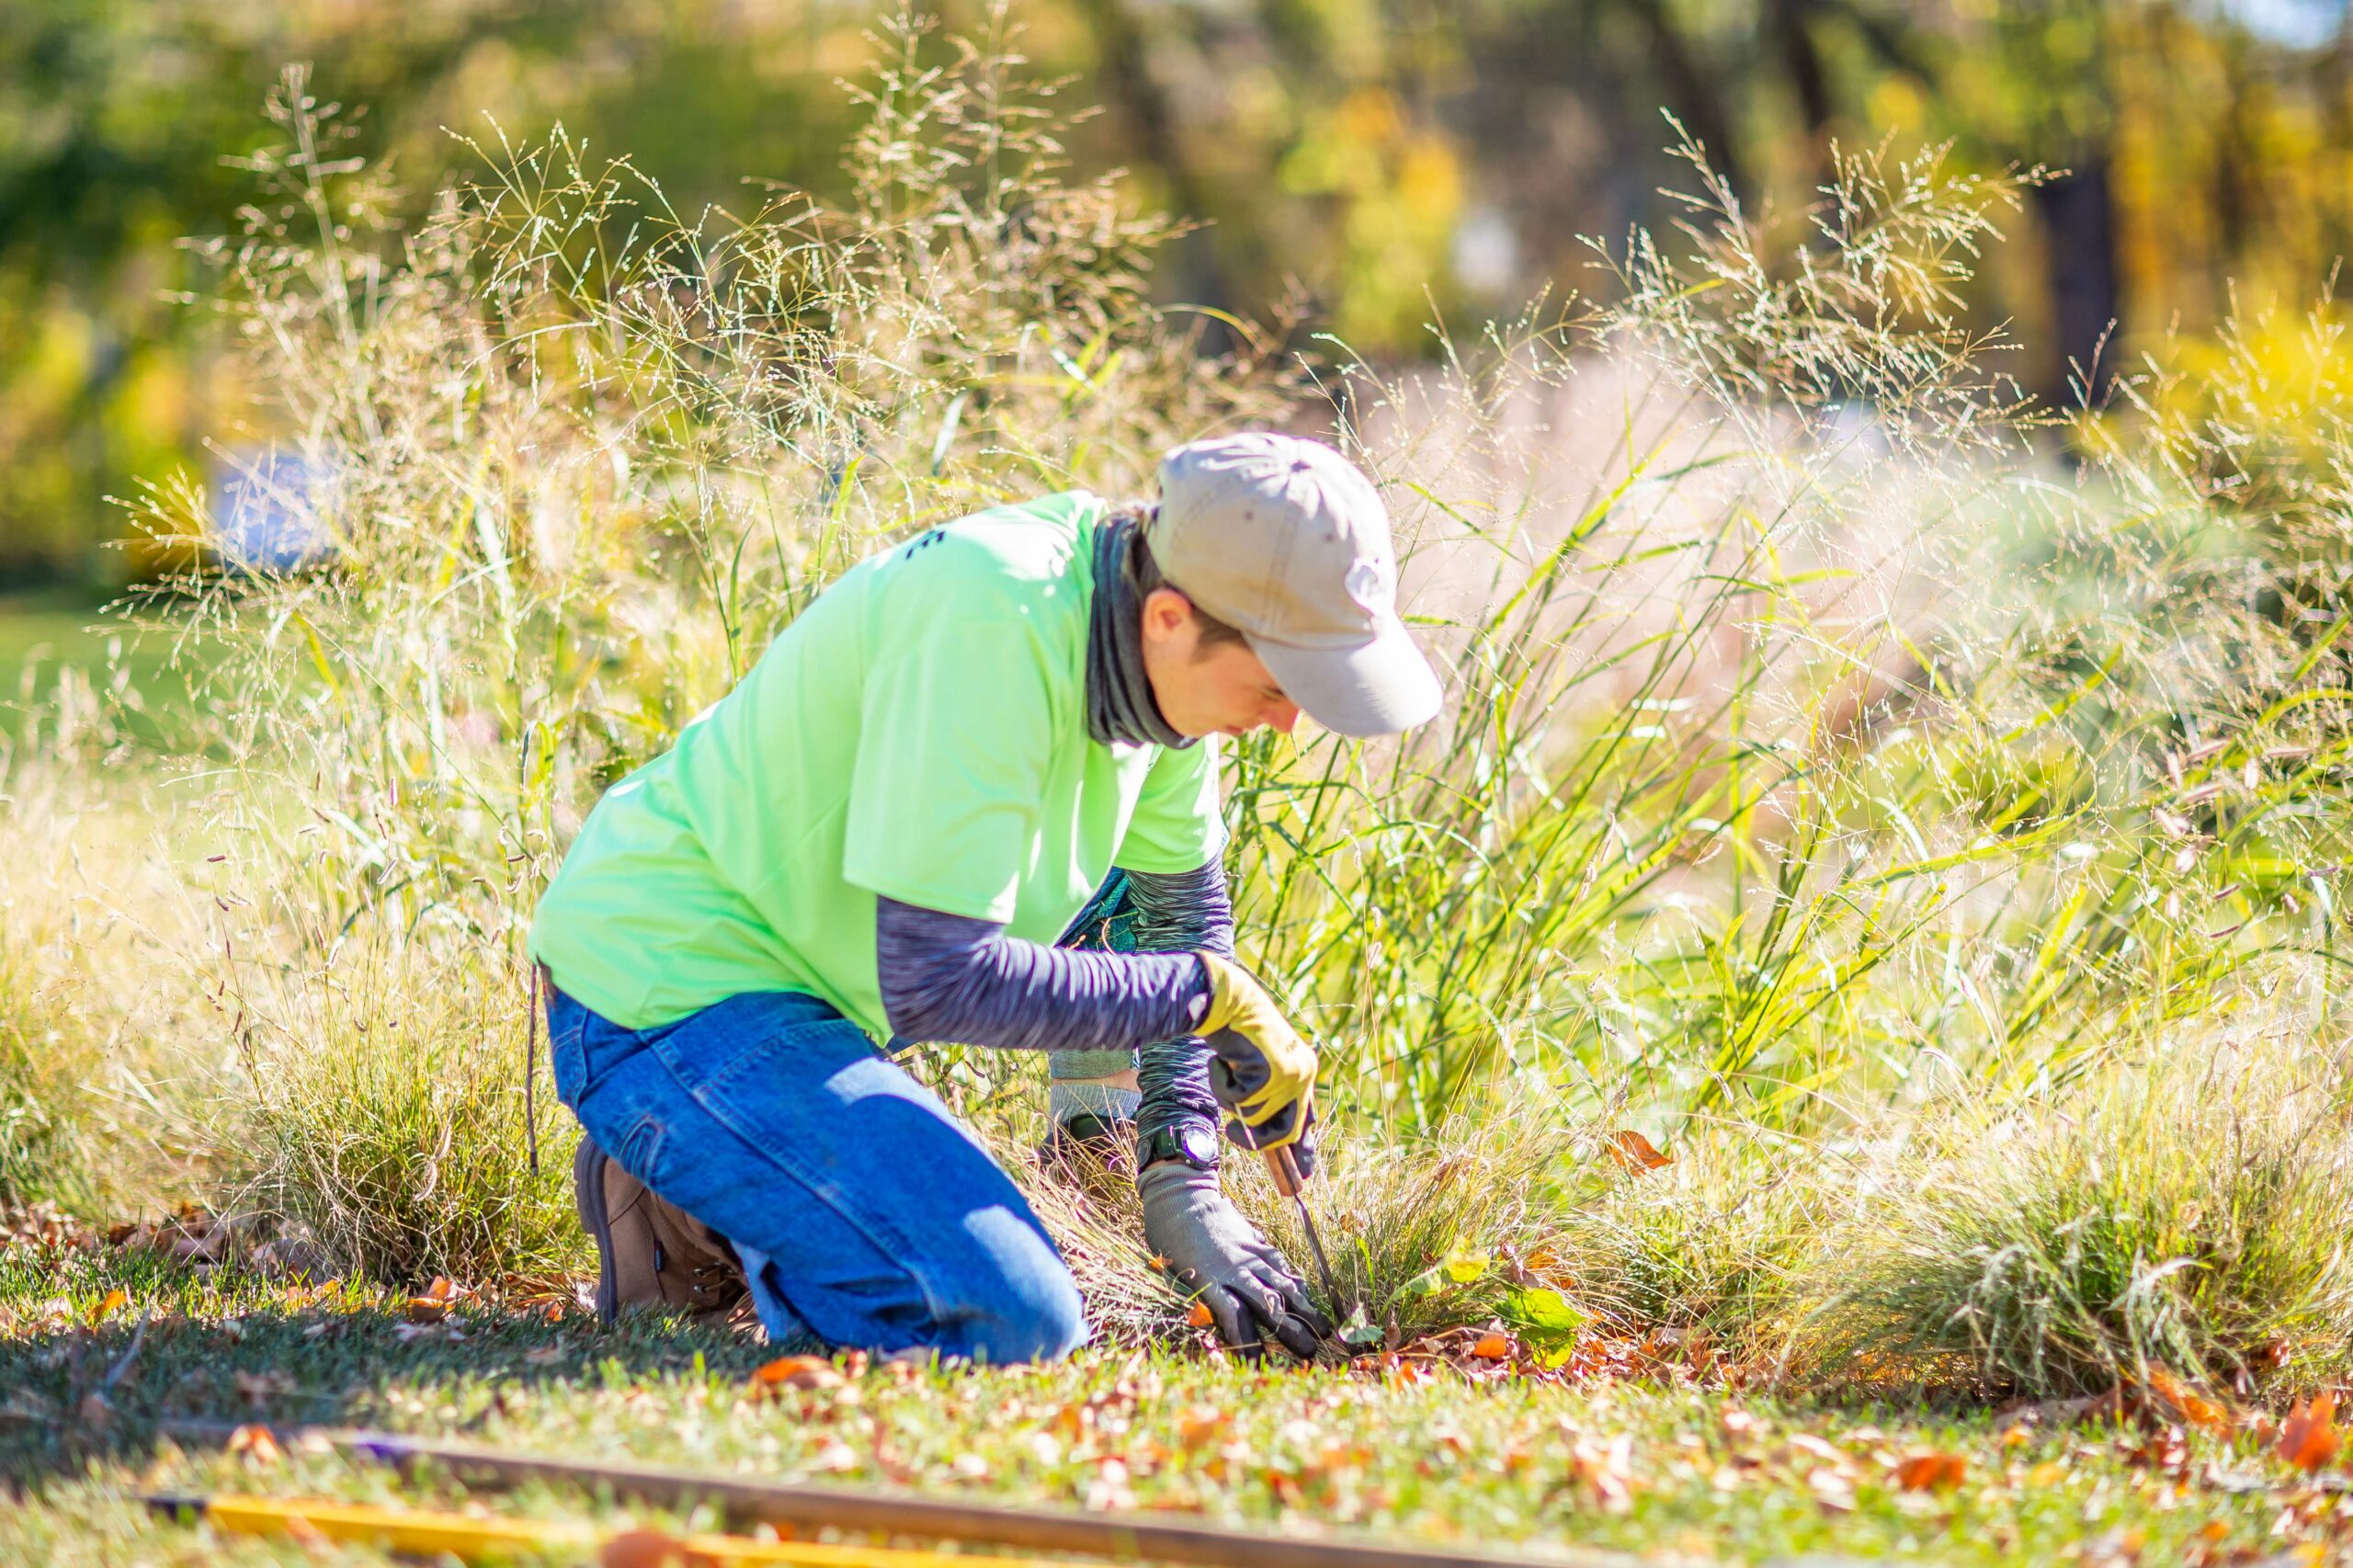
Plan for a weekly half-hour weeding session during the first year of your pollinator garden, more time if your planting is larger. Light weeding every week or two will save you work in future seasons and is much easier than a heavy weeding session once a year. As your garden matures, weeding will become less demanding.
Some weeds that Fleming most commonly encounters on the job include creeping bellflower, leafy spurge, yellow nutsedge, goatsbeard, quackgrass, amaranth, and lambs-quarters, but your assemblage of weeds may be different. Some weeds are known as “cool-season” weeds, meaning that they do most of their growth in the spring. Try to tackle these weeds earlier in the growing season before they go to seed. Warm-season plants sprout by mid-June and go to seed later in the summer. Some common advice is to weed cool-season weeds by Memorial Day and warm-season weeds by Independence Day. But weeding at any time will still make a difference!
You can remove weeds by pulling or digging. One of the best times to weed is a few hours after it rains, when water has had enough time to soak the soil. Grab the weed as low as you can and pull slowly to get all the roots. Do your best to minimize damage to neighboring desirable plants and fill in any holes left after digging. Bag and dispose of weed material—weeds left on the ground can root into the soil and grow back.
Weeds grow fast, especially in the summer! With a little persistence, early efforts will pay off. “The typical 4-inch native perennials that we install take at least three years to become established, so consistency is key,” Fleming shares.
Hydrated and Happy
There’s no denying that it’s been a hot and dry summer. To make watering a new planting count, try to water a minimum of 1 inch per week, more during especially dry weeks. It’s better to water a longer time every few days rather than a little every day. This encourages your native plants to grow deeper roots and become more resilient to drought. “Don’t be worried if the plant above ground looks sad or straggly—the roots underground are establishing,” encourages Christina, a Lawns to Legumes coach from Minneapolis.
During times of drought, be mindful of any local water restrictions in your area. Covering your new planting with mulch not only keeps weeds at bay but also helps with water retention. The best time of day to water is in the morning while the ground is still cool, which helps water soak into the soil. Watering in the afternoon is less efficient as some water will be lost through heat and evaporation, and watering at night should be avoided as water tends to rest in the soil and encourages rot and pests.
Building Resilience
Adding a diversity of native plants to your yard is already a first step in making your garden better able to handle stressors like weeds, drought, and pests. Even so, expect to occasionally troubleshoot challenges that need special attention.
One such challenge is rabbits or squirrels that see your native plants as the perfect lunch. Lawns to Legumes coach Allison from Moorhead shares, “For new baby plants or things rabbits won’t leave alone, I buy a case of 36 wire mesh small trash baskets from the Dollar Store to cover them—stake with a couple of landscape staples or thin bamboo stakes—until they get bigger and more established.”
If your pollinator planting is located on a hillside, erosion can be an issue. Heavy rainfall after a dry period can wash away topsoil. In addition to mulching, consider incorporating organic matter to fortify your soil structure. And when it comes to pests and disease, preventative measures are key. Avoid overcrowding your garden beds and remove damaged plants and diseased leaves as soon as you observe them.
Don’t worry if your maintenance journey isn’t perfect. “Understand that there is a learning curve,” Tim from St. Cloud says. “You will constantly be learning what works and what doesn’t.” “You will learn more from your mistakes than any book,” Eva from Anoka County adds.
Watch It All Unfold
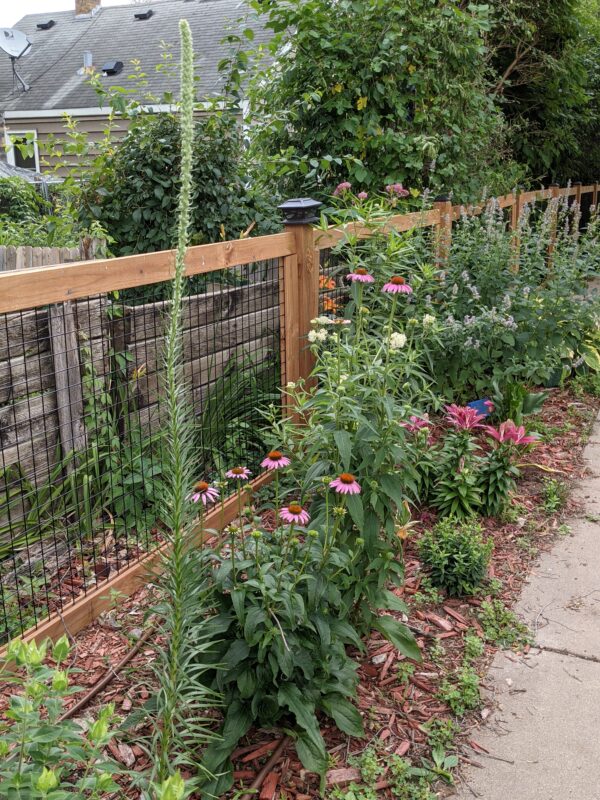
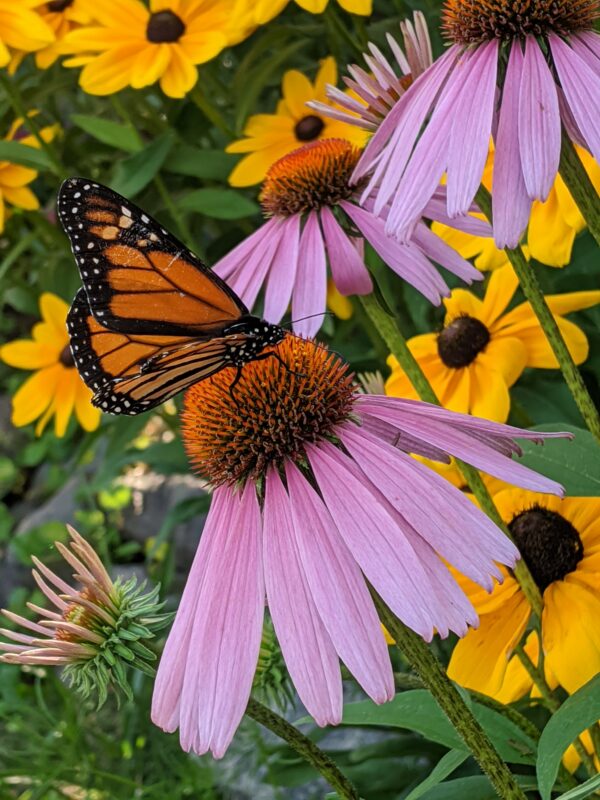 Don’t forget to enjoy your planting! It may take a little time for your garden to fully establish, but that doesn’t mean you can’t reap its rewards along the way. The best part about taking care of a pollinator planting is watching how it flourishes and observing the different types of wildlife that benefit from your project.
“The number of birds and bugs using my property has absolutely skyrocketed,” shares a Lawns to Legumes coach from the Mankato area. One of Fleming’s favorite things to find is a native insect on its favorite host plant. Allison from Moorhead loves watching the tiny monarch eggs on her milkweed leaves hatch and grow into chubby caterpillars. You can even put your observational skills to use by sharing where and when you see pollinators with a community science monitoring project. We’ve included some links to monitoring projects in the resources below!
With a little effort invested in the first couple years of your pollinator garden, you’ll soon have a mature native planting that’s easy to maintain and meaningfully contributes to a healthier, more resilient landscape. We’ve included a list of resources to help you on your maintenance journey. If you’re looking to start your own native planting, you can check out more resources under our Learn tab or apply for a Lawns to Legumes grant to receive funding for a project. Already got a garden going strong? Consider signing up as a Lawns to Legumes coach to help someone else start theirs. One yard at a time, we can work together to protect pollinators and make landscapes more resilient.
Resources
- Blue Thumb’s free Resilient Yards Online Learning Series
- Blue Thumb Garden Maintenance Guide
- Apply for a Lawns to Legumes grant
- University of Minnesota Extension weed diagnosis tool and weed identification resources
- A list of bee monitoring projects by the University of Minnesota Bee Lab
- A list of monarch monitoring projects by Monarch Joint Venture
– Megan Reich, Metro Blooms Communications and Program Specialist